Flowers
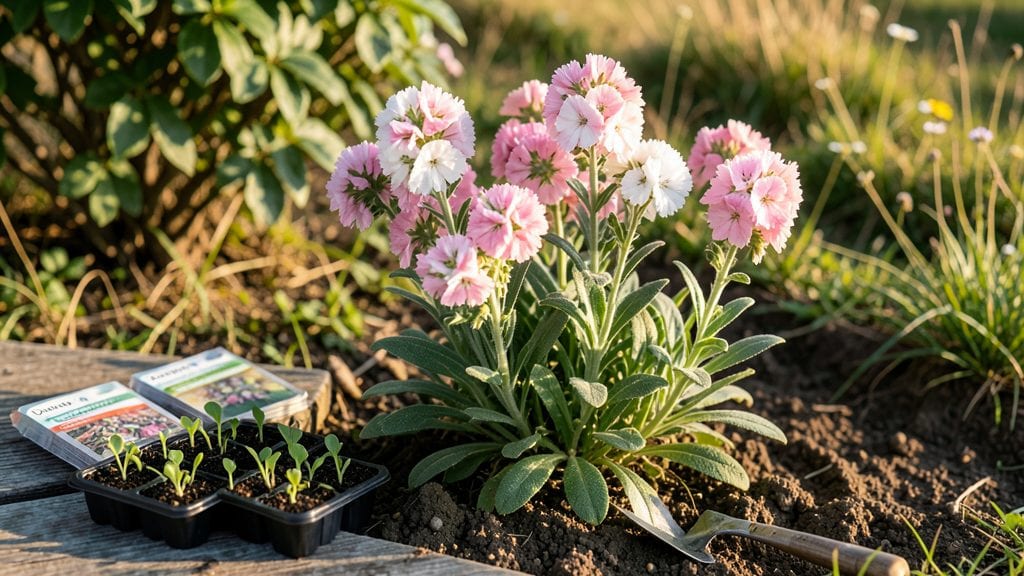
Growing the dianthus flower seeds starts with a cold-moist trick that mimics their natural winter dormancy—until I tried chilling them first after struggling with seeds that refused to sprout. 🌱 The secret isn’t complicated: it’s about timing, moisture, and patience to coax those tiny seeds into vibrant spring blooms.
You’ll need just three things: a plastic bag, damp paper towels, and your chosen dianthus varieties. Place the seeds between the towels, seal the bag loosely, and refrigerate for 4-6 weeks.
This mimics the cold stratification they need to break dormancy. Most gardeners skip this step and wonder why their seeds take forever—or never—appear.
After the cold treatment, you’ll see tiny roots within 7-10 days when planted in well-draining soil. Keep the surface moist but not soggy, and place them in bright, indirect light until the first true leaves appear.
The payoff? Pincushion-like blooms in shades of pink, red, or white by next summer, with fragrance that lingers in the evening air.
Works for both cottage gardens and containers, and the same method applies to sweet williams too. Here’s how to avoid the most common pitfalls—like overwatering or planting too deep—that turn eager gardeners away from dianthus forever.
📚 In This Guide
- What you need
- Instructions
- Tips and common mistakes
- Wrapping up and next steps
What you need
- ● Dianthus flower seeds – 1 packet (check seed count per packet; typically 20–50 seeds). Choose varieties like Sweet William or Pinks for bold colors!
- ● Seed-starting mix – 1 quart (sterile, well-draining potting mix or coco coir blend). Avoid garden soil—it’s too dense!
- ● Containers – 2–4 shallow trays (3–4 inches deep) with drainage holes or 4–6 small pots (2–3 inches wide). Cell packs work too!
- ● Watering can or spray bottle – For gentle moisture control. Mist mode is your best friend!
- ● Plastic wrap or humidity dome – 1 sheet (to retain moisture during cold prep). Clear wrap lets you peek inside!
- ● Refrigerator (or cool basement) – For stratification (4–6 weeks at 35–45°F). No fancy equipment needed!
- ● Plant labels – Small sticks or tags + marker (to track varieties if mixing seeds). Pro tip: Use toothpicks!
- ● Grow lights or sunny windowsill – For post-stratification sprouting. 6+ hours of light is ideal.
- ● Fertilizer – Balanced liquid fertilizer (5-5-5) (diluted to half-strength). Wait until seedlings have 2–3 true leaves!
- ○ Heat mat (optional) – For faster germination if your space is chilly. 70–75°F speeds things up!
- ● Tweezers – For delicate seed placement. Not required but helpful for tiny seeds!
Step-by-step instructions for germinating dianthus seeds with cold-moist stratification
This cold-moist method ensures your dianthus seeds break dormancy and produce sturdy, blooming plants next spring.
🌱 Step 1: Prepare the Seeds and Moist Growing Medium
Fill a small container with the moistened seed-starting mix—just damp enough to hold together when squeezed but not dripping. Dianthus seeds need consistent moisture to germinate, so avoid letting the mix dry out during this stage. I like to use a shallow tray or even a repurposed plastic container with drainage holes punched in the bottom.
Sprinkle the dianthus flower seeds evenly over the surface—don’t bury them. These tiny seeds need light to germinate, so covering them would prevent sprouting. Gently press them into the soil with your fingertip to ensure good contact. Label the container with the variety and date to track progress.
💧 Step 2: Seal and Stratify for 4-6 Weeks
Cover the container with plastic wrap or a humidity dome to maintain moisture and create a mini greenhouse effect. Place it in the refrigerator, where temperatures hover around 35-45°F—this cold-moist stratification mimics winter conditions and signals the seeds to break dormancy. Check the mix weekly; if it feels dry, mist lightly with water to keep it evenly moist.
After 4-6 weeks, remove the container from the fridge and place it in a warm, bright spot. You’ll see the first signs of germination within 10-14 days—tiny green shoots pushing through the soil. This is the moment you’ve been waiting for, so keep the soil consistently moist but not soggy during this critical phase.
☀️ Step 3: Transition to Warm Light for Seedling Growth
Once seedlings emerge, move the container to a sunny windowsill or under grow lights for 12-14 hours of light daily. Dianthus seedlings are delicate, so avoid direct afternoon sun, which can scorch them. If you notice the stems stretching toward the light (a sign of legginess), adjust the light source to within 4-6 inches of the seedlings.
Thin the seedlings to 2-3 inches apart once they develop their first true leaves—this prevents overcrowding and ensures stronger growth. Use small scissors or your fingers to gently remove weaker seedlings at the base, leaving the healthiest ones to thrive. Water from the bottom to avoid disturbing the roots, and keep the soil lightly moist.
🪴 Step 4: Harden Off and Transplant for Outdoor Success
About 4-6 weeks after germination, when seedlings have 4-6 true leaves, start hardening them off. Place the container outside in a sheltered spot for 1-2 hours the first day, gradually increasing exposure over 7-10 days. This acclimates the seedlings to outdoor conditions and prevents shock when transplanted.
Choose a sunny, well-draining location for your dianthus, as they thrive in full sun to partial shade. Transplant seedlings 6-8 inches apart, using the potting mix to fill gaps and firm the soil gently around the base. Water deeply after planting to help roots establish. With proper care, you’ll enjoy vibrant blooms next spring!
Tips & tricks for perfect dianthus germination
Cold-moist stratification might sound intimidating, but these simple tricks will help you achieve reliable germination every time—no green thumb required.
The Moisture Factor: The key to success lies in maintaining that perfect moisture balance in your seed-starting mix. It should feel like a damp sponge—not dripping, not bone-dry. I like to use a spray bottle for weekly misting during the 4-6 week stratification period, as this gives me better control than pouring water from above. Too much moisture leads to mold; too little means failed germination. Aim for that "squeeze test" consistency where water beads form but doesn't run through your fingers.
Stratification Temperature Secret: While the instructions mention 35-45°F, I've found that the back of most refrigerators—where temperatures naturally hover around 40°F—provides ideal conditions without requiring a thermometer. Place your container on the middle shelf where it won't be disturbed. Pro tip: If your fridge has a crisper drawer, avoid it—the humidity levels there can be too high and promote mold growth instead of germination.
Light Requirements After Stratification: Once you remove your container after 4-6 weeks, those 12-14 hours of daily light become critical. I've had the best results with a simple LED grow light positioned just 4-6 inches above the seedlings. The light should be strong enough that you can't read a newspaper underneath it—this prevents that classic "leggy" seedling syndrome where stems stretch toward the light. Rotate your container daily so all seedlings get even exposure.
Transplanting Timing: The 4-6 week hardening-off period after germination is where many gardeners rush the process. Don't skip the gradual exposure! Start with just 1-2 hours on day one, even if your seedlings look robust. I've seen perfectly healthy-looking seedlings wilt dramatically when transplanted too soon. The goal is to toughen their cell walls over those 7-10 days—think of it as their first gardening boot camp. Once they've earned their stripes, they'll handle outdoor conditions like pros.
Pro Tips for Dianthus Flower Seeds
- Cold-moist stratification might sound intimidating, but these simple tricks will help you achieve reliable germination every time—no green thumb required.
- The Moisture Factor: The key to success lies in maintaining that perfect moisture balance in your seed-starting mix.
- Place your container on the middle shelf where it won't be disturbed.
Frequently asked questions
Got questions about growing dianthus flower seeds? You’re not alone! Here are some of the most common concerns—plus straightforward answers to help you succeed.
When is the best time to plant dianthus seeds?
For vibrant spring blooms, start seeds 8–10 weeks before your last frost date (typically late winter to early spring). Use a cold-moist stratification method (like chilling seeds in damp paper towels for 2–4 weeks) to mimic winter conditions. If you’re impatient, sow seeds in late summer for a fall/winter start—just protect them from frost!
How do I keep dianthus seeds moist without drowning them?
Dianthus seeds need consistent moisture but hate soggy soil. Use a spray bottle to mist the soil lightly daily, or place a humidity dome over the tray. Avoid bottom-watering—it can cause rot. Pro tip: Use a well-draining seed-starting mix (like 50% perlite/50% peat) to prevent waterlogging.
Why aren’t my dianthus seeds germinating?
Cold stratification is key! If seeds sit too warm, they may refuse to sprout. Try this: Chill seeds in a sealed bag with damp paper towels for 2–4 weeks in your fridge (not freezer). Light exposure isn’t critical—keep them in low light during stratification. Patience is key; germination can take 2–4 weeks (or longer in cool temps).
Can I grow dianthus from seeds bought at a garden center?
Store-bought seeds are fine, but check the packet for stratification needs—some varieties (like Dianthus barbatus) may need it, while others (like Dianthus chinensis) germinate faster. For extra insurance, soak seeds in lukewarm water for 24 hours before planting. Just avoid seeds labeled “pre-treated”—they skip stratification!
What’s the easiest way to get blooms faster?
Skip the seed route and buy young dianthus plants from nurseries in early spring! They’ll bloom the same year. For seeds, pinch back flower stems after the first bloom to encourage bushier growth. Also, plant in full sun (6+ hours/day) and well-draining soil—these plants hate soggy roots.
Wrapping up and next steps
Growing dianthus flower seeds with the cold-moist prep method is your ticket to a burst of vibrant blooms next spring! 🌸 This simple yet effective technique ensures strong, healthy seedlings ready to thrive in your garden.
Whether you're a seasoned gardener or just starting out, these steps will set you up for success.
Now that you’re armed with the know-how, take the next step—grab those seeds and get planting! With a little patience and care, you’ll soon be rewarded with fragrant, colorful dianthus flowers that brighten up your outdoor space. Happy gardening! 🌱