Vegetables
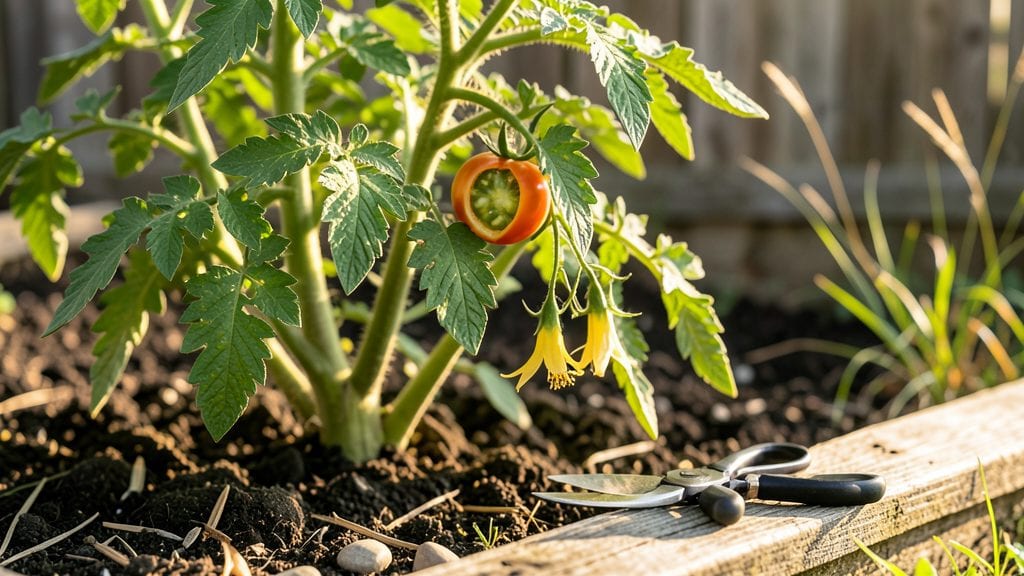
Green seeds inside your tomato mean the fruit was picked too early—something I’ve caught myself doing more times than I’d like to admit. 🌱 The seeds turn green when the tomato hasn’t fully ripened, leaving them underdeveloped and less viable for saving.
This isn’t harmful to the plant or your health, but it does mean you missed the sweetest flavor and the best chance to preserve those seeds for next year.
The good news is that this happens for simple reasons: either you picked the tomato before it was ready, or your growing conditions—like inconsistent heat or uneven watering—slowed its development. Hybrid varieties sometimes show this too, since their seeds aren’t always as mature as heirlooms.
To fix it, focus on letting tomatoes stay on the vine until they’re fully colored and slightly soft to the touch.
If you’re saving seeds, let the tomato sit on the counter for a few days to fully ripen before scooping out the seeds. Rinse them in water, then spread them on a paper towel to dry.
Properly mature seeds will be plump and firm, not shriveled or green. This small step ensures you’ll have strong seedlings for next season’s garden.
For future harvests, keep an eye on your tomatoes’ color and texture—especially in cooler weather. A fully ripe tomato should yield slightly when gently squeezed, and its seeds should be a creamy white or light tan.
With a little patience, you’ll avoid that green-seed surprise and enjoy tomatoes that taste like summer all season long.
📚 In This Guide
- What you need
- Instructions
- Tips and common mistakes
- Wrapping up and next steps
What you need
- ● Ripe tomatoes – Choose firm, ripe (but not overripe) tomatoes with green seeds inside. Quantity: 1-2 per batch.
- ● Sharp chef’s knife – A serrated or stainless-steel knife (3-4 inches long) for clean cuts.
- ● Cutting board – A sturdy, non-slip board (preferably plastic or wood) to protect your countertop.
- ● Small bowl or colander – For rinsing and draining seeds.
- ○ Fine-mesh strainer or cheesecloth – To separate seeds from pulp. Optional: A paper towel for blotting excess moisture.
- ● Water – For rinsing seeds (room temperature or slightly warm).
- ● Paper towels or clean kitchen towel – For drying hands and tools.
- ● Disinfectant or mild soap – To clean surfaces and tools before/after use.
- ● Food processor or blender – If you plan to ferment or save seeds long-term (for planting).
- ● Small glass jar – For storing seeds if you’re saving them for gardening.
- ● Rubber gloves – If you’re sensitive to tomato juices or prefer extra hygiene.
- ○ Salt or vinegar – For optional seed preservation (e.g., fermenting for planting).
Instructions for removing green seeds from tomatoes safely
Here's how to handle those unexpected green seeds without wasting the fruit.
🍅 Step 1: Identify and Select the Right Tomatoes
Look for tomatoes that have fully ripened but still contain green seeds—this usually means they ripened too slowly or were harvested too early. These seeds are immature and won't germinate properly, but they can still be safely removed. Choose 4 ripe tomatoes for this process, as they'll provide enough seed material to work with.
Cut the tomatoes in half lengthwise and scoop out the gel-like center with the seeds. This gel is actually the seed carrier, and it's full of nutrients that help seeds germinate. Place the gel and seeds in a bowl—you'll work with this directly.
💧 Step 2: Ferment the Seeds to Separate Them
Fill a clean bowl with warm water (around 70°F) and add the seed gel mixture. Stir gently to break up the gel, then cover the bowl with a piece of fine mesh screen or a clean cloth. This keeps pests out while allowing airflow. Let the mixture sit in a warm, dark place for 2-3 days.
During this time, the gel will ferment, creating a frothy, slightly bubbly liquid. This process helps separate the viable seeds from the gel and any debris. Stir the mixture once daily to ensure even fermentation. You'll notice the good seeds will sink to the bottom while the gel rises—this is exactly what you want to see.
⏰ Step 3: Rinse and Dry the Seeds
After 2-3 days, pour the mixture through a fine-mesh strainer to separate the seeds from the remaining gel. Rinse the seeds under cool water to remove any lingering gel or debris. The seeds should now be clean and ready for drying. Spread them out on a paper towel or clean screen in a single layer.
Place the seeds in a warm, dry spot with good airflow—like a sunny windowsill or a dehydrator set to 95°F. Let them dry completely for 2-3 days. They're ready when they're hard and dry to the touch. If you press a seed between your fingers and it crumbles, it's not dry enough. Store them in a paper envelope in a cool, dark place until you're ready to plant.
🌱 Step 4: Test Seed Viability (Optional)
If you're unsure whether the seeds will germinate, perform a quick viability test. Place 10-15 seeds between two damp paper towels in a sealed plastic bag. Keep them in a warm spot (75-80°F) and check daily. You should see sprouts within 5-7 days. If fewer than half sprout, these seeds may not be worth saving—start fresh with new seeds next season.
This test gives you confidence in your seeds before you invest time in growing. Even if they don't all sprout, you'll know whether the remaining seeds are worth planting. If they pass, you've just saved yourself money and effort for next year's garden!
Tips & tricks for removing green seeds from tomatoes
These simple tricks will help you safely extract those pesky green seeds without wasting your tomatoes.
Temperature Matters: The 70°F warm water in Step 2 is crucial for fermentation—too hot and you'll kill the seeds, too cold and the process slows dramatically. I always test the water temperature with my wrist before adding the seed mixture to ensure it's comfortably warm but not scalding.
Fermentation Timing: The 2-3 day fermentation window in Step 2 is flexible, but don't exceed 3 days or you risk mold growth. I've found that if your kitchen stays consistently warm (around 75°F), you can sometimes finish in just 2 days—just check daily for that telltale frothy separation.
Drying Strategy: For Step 3, a dehydrator at 95°F works perfectly, but if you don't have one, a sunny windowsill with good airflow is just as effective. I place a small fan nearby to speed up the process, especially in humid climates. The seeds are ready when they make a crisp sound when crushed between your fingers.
Viability Test: The optional test in Step 4 using damp paper towels is my favorite trick to save money. I always test a small batch first—if they sprout within 5-7 days at 75-80°F, I know the rest of my seeds are worth saving. This simple test gives me confidence before I invest in growing.
Pro Tips for Green Seeds Inside Tomato
- These simple tricks will help you safely extract those pesky green seeds without wasting your tomatoes.
- Temperature Matters: The 70°F warm water in Step 2 is crucial for fermentation—too hot and you'll kill the seeds, too cold and the process slows dramatically.
- Fermentation Timing: The 2-3 day fermentation window in Step 2 is flexible, but don't exceed 3 days or you risk mold growth.
Frequently asked questions
Got questions about those pesky green seeds in your tomatoes?
You’re not alone! Here are the most common queries—plus quick, practical answers to keep your kitchen (and your tomatoes) happy.
Are green seeds inside tomatoes safe to eat?
Yes! Green seeds are fully edible and harmless. They’re just immature or underripe seeds that haven’t fully developed their red pigment. Nutritionally, they’re the same as mature seeds—packed with fiber and antioxidants. No need to toss them!
Why do some tomatoes have green seeds while others don’t?
Green seeds appear when tomatoes are harvested before full ripeness or stored in cool conditions. Heat and sunlight trigger seed maturation, turning them yellow/red. If your tomatoes are refrigerated, seeds may stay green longer. Let them ripen at room temp to see the change!
How can I remove green seeds without ruining the tomato?
Gently scoop seeds with a spoon or your fingers—no need to squeeze the pulp. For sauces, blend the tomato (seeds and all) and strain through a fine-mesh sieve to separate seeds. Pro tip: Rinse seeds under water to remove excess gel if you’re saving them for planting!
Can I save green seeds to grow new tomato plants?
Green seeds are just as viable as red ones. Dry them thoroughly on a paper towel (3–5 days), then store in an airtight container. Plant them like you would mature seeds—they’ll germinate just fine! Just note: Seedlings may take slightly longer to mature.
Are green seeds a sign of spoilage or mold?
Not usually! Green seeds alone aren’t a red flag. However, if the tomato feels mushy, smells off, or has moldy spots (even near seeds), discard it. When in doubt, slice open the tomato to check for discoloration or slimy texture. Freshness > seeds!
Wrapping up and next steps
Discovering green seeds inside your tomato doesn’t mean your harvest is ruined—it’s just nature’s way of signaling maturity! These seeds are harmless and even packed with nutrients, but if you prefer fully ripe, red tomatoes, a little patience or strategic picking can help.
Whether you’re a seasoned gardener or a curious beginner, understanding this quirk makes tomato-growing even more rewarding.
Ready to put your new knowledge to work? Try harvesting your tomatoes at peak ripeness or experiment with pruning techniques to encourage even redder fruits. Happy growing—your next perfect tomato is just around the corner! 🌱🍅