Picking
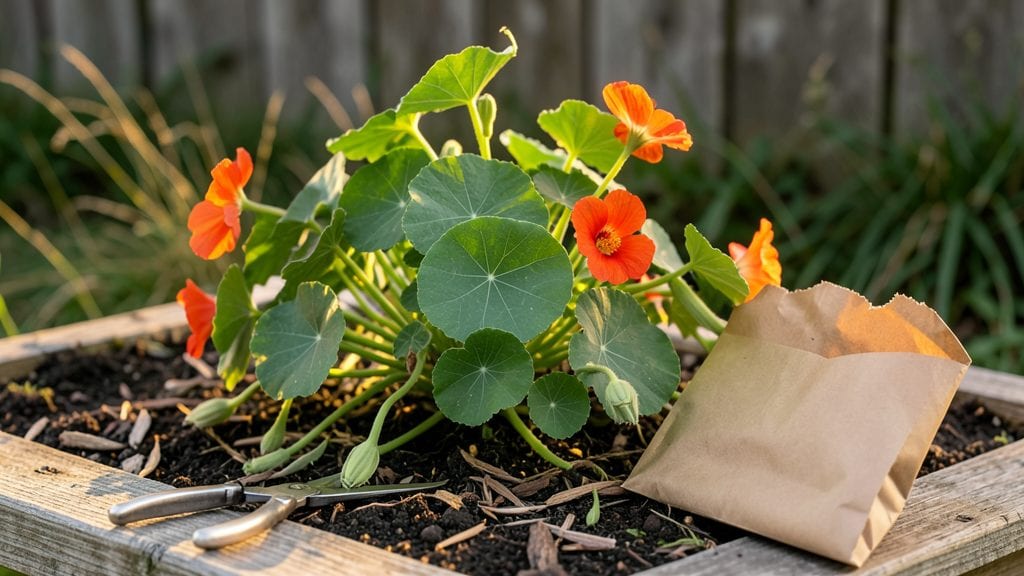
Harvesting nasturtium seeds is the secret to next year’s garden full of those bright orange and yellow blooms you can’t resist. 🌿 I used to toss the dried pods, but now I save them for a head start on spring—it’s like getting free, homegrown flowers with zero effort.
The key is timing: wait until the seed pods turn papery brown and start splitting open on their own. That’s when you know they’re ready to collect.
You’ll need just a few simple things: a pair of scissors or pruners, a paper bag or envelope for drying, and a dry, dark spot to store them. Once the pods are fully mature, snip them off the plant and let them dry out completely—this usually takes about a week.
If you rush it, the seeds might not stay viable, and you’ll end up with a bag of crumbly disappointment instead of next year’s garden starters.
When the pods are crispy and crumbling, gently crush them to release the seeds inside. You’ll see tiny, round black seeds that look like little jewels—these are the ones you’ll plant next spring.
Store them in a sealed envelope or jar in a cool, dry place, and they’ll stay good for up to three years. Imagine walking into your garden next summer and seeing those familiar nasturtiums popping up everywhere, just like magic.
Here’s where it gets interesting—if you let a few pods stay on the plant, they’ll self-seed all over your garden, creating a wildflower effect that hummingbirds and bees adore. But if you want to control where they grow, saving the seeds yourself gives you the power to choose.
Now grab those scissors and let’s get those seeds ready for their big debut next spring!
📚 In This Guide
- What you need
- Instructions
- Tips and common mistakes
- Wrapping up and next steps
What you need
- ● Mature nasturtium pods: Choose fully ripe, dried pods (usually brown or papery) from healthy plants. Aim for at least 10-15 pods per variety for a reliable seed stash.
- ● Sharp scissors or pruning shears: A clean, sterilized pair to snip pods without damaging the plant.
- ● Paper bags or brown lunch bags: 2-3 medium-sized bags (1 per variety if saving multiple types) for drying seeds.
- ● Labeling tags or masking tape + marker: To label bags with variety name, date, and location (e.g., "Alaska Peach, 2024, Backyard").
- ○ Small mesh bag or envelope (optional but helpful): For long-term seed storage (e.g., paper coin envelopes or breathable organza bags).
- ● Drying surface: A clean, dry tray or cardboard box lined with newspaper or parchment paper.
- ● Small funnel or rolled paper: To transfer dried seeds into storage containers without spills.
- ● Desiccant packets: Tiny silica gel packs to absorb excess moisture in airtight containers.
- ● Seed storage containers: Mason jars with tight lids or glassine envelopes for extra protection.
- ● Hand lens or magnifying glass: To inspect seeds for pests or damage before storing.
- ● Notebook or seed-tracking app: To log germination rates, planting dates, and notes on each variety.
Step-by-step instructions for harvesting nasturtium seeds
Here’s how to save seeds from your nasturtiums—simple, rewarding, and ready for next spring.
🌱 Step 1: Identify and Select Mature Seed Pods
Wait until the seed pods turn papery brown and begin to split open naturally—that’s your cue they’re ready. I like to harvest on a dry morning when the pods are fully mature but haven’t released seeds yet. Pick a few pods from the healthiest plants, leaving some for pollinators to enjoy.
Gently twist or pinch the pods to open them—don’t squeeze too hard, or you’ll crush the seeds inside. You’ll see small, round, orange or black seeds inside. These are your future nasturtiums! If pods are still green, wait a few more days; harvesting too early means immature seeds that won’t sprout well.
💧 Step 2: Dry the Seeds Properly
Spread the seeds on a clean, dry paper towel or a mesh screen in a warm, dry, shaded spot. Avoid direct sunlight, which can bake the seeds and reduce viability. I place mine on a windowsill with indirect light for 1-2 weeks, flipping them daily to ensure even drying.
Seeds are ready when they’re completely dry and crumbly—no moisture left. If they stick together or feel damp, keep drying them. Overly moist seeds mold or rot during storage. Once dry, separate any debris or empty pods by hand or with a fine sieve.
✂️ Step 3: Store Seeds for Long-Term Viability
Place the dried seeds in a small envelope or airtight container, like a glass jar with a tight lid. Label it with the variety name and harvest date—I use a permanent marker on the jar. Store the container in a cool, dark place, such as a pantry or fridge, where temperatures stay below 60°F.
Nasturtium seeds stay viable for 3-5 years under these conditions, though germination rates drop after the first year. Check the seeds annually: if they smell musty or look discolored, replace them. Properly stored seeds will sprout just as vigorously as fresh ones!
☀️ Step 4: Test Germination Before Planting Next Year
Before you plant, test a few seeds to confirm they’re still good. Moisten a paper towel, place 5-10 seeds on it, and fold it over. Keep it in a warm, dark spot (like on top of the fridge) for 5-7 days. If half or more sprout, your seeds are ready to grow.
If germination is slow or weak, the seeds may have lost viability. Don’t worry—just order fresh ones or try a different batch. Nasturtiums are easy to grow from seed, so you’ll have new blooms in no time! This step ensures you’re not wasting time or energy on seeds that won’t work.
Tips & tricks for perfectly harvesting nasturtium seeds
A few simple tricks will help you maximize your seed yield and ensure they stay viable for years to come.
Timing is Everything: Harvest your seed pods on a dry morning when they've turned papery brown but haven't yet split open completely. I've learned this the hard way—harvesting too early gives you immature seeds that won't sprout well, while waiting too long means the seeds scatter everywhere. Look for pods that feel dry to the touch but still hold their shape when gently squeezed.
Drying Strategy: For that crucial 1-2 week drying period, I recommend using a mesh screen instead of just a paper towel. The increased airflow helps prevent any lingering moisture, and you can easily see when seeds are properly dry. Place it in a warm, shaded spot—direct sunlight can actually bake the seeds and reduce their viability. Flip them daily to ensure even drying throughout.
Storage Wisdom: The cool, dark environment below 60°F is non-negotiable for long-term seed storage. I keep mine in the back of my pantry where the temperature stays consistently cool. Don't forget to label your containers with both the variety name and harvest date—next year's you won't remember which seeds you saved! A permanent marker works best for this purpose.
Germination Test: That 5-7 day germination test is your quality control step. I always test a small batch before planting my entire seed collection. If fewer than half sprout, it's time to order fresh seeds. This simple test saves you from planting dozens of seeds that might not grow, and it's especially important if you've stored your seeds for more than a year.
Pro Tips for Harvesting Nasturtium Seeds
- A few simple tricks will help you maximize your seed yield and ensure they stay viable for years to come.
- Timing is Everything: Harvest your seed pods on a dry morning when they've turned papery brown but haven't yet split open completely.
- Drying Strategy: For that crucial 1-2 week drying period, I recommend using a mesh screen instead of just a paper towel.
Frequently asked questions
Got questions about harvesting nasturtium seeds?
You’re not alone! Here are answers to the most common queries to help you master the process and ensure your seeds stay viable for next season.
When is the best time to harvest nasturtium seeds?
Harvest seeds when the seed pods turn papery brown and begin to split open naturally—usually 4–6 weeks after flowering. If left too long, the pods may burst, scattering seeds prematurely. Aim for late summer to early fall in most climates for optimal timing.
How do I know if nasturtium seeds are fully mature?
Fully mature seeds are dark brown or black and rattle inside the pod when shaken. If the pods are still green or firm, they’re not ready. For extra assurance, gently squeeze a pod—if it cracks easily, the seeds are likely ready for harvest!
Can I save seeds from hybrid nasturtiums?
Unfortunately, no. Hybrid varieties (like ‘Alaska Mix’ or ‘Jewel Mix’) may not produce true-to-type plants from saved seeds. Stick to heirloom or open-pollinated varieties (e.g., ‘Dwarf Jewel’ or ‘Empress of India’) for reliable seed-saving success.
What’s the best way to store nasturtium seeds long-term?
Store seeds in a cool, dry place (like a sealed envelope or airtight container with silica gel) at 32–41°F (0–5°C). Label with the variety and date—properly stored, they’ll stay viable for 2–4 years. Avoid refrigerators with humidity fluctuations!
Why aren’t my nasturtiums producing seeds?
Seed production hinges on pollination. If you see few pods, check for:
- Bees or other pollinators (hand-pollinate with a brush if needed).
- Healthy plants (over-fertilizing can reduce flowering).
- Sunlight (6+ hours daily ensures robust blooms).
Wrapping up and next steps
Harvesting nasturtium seeds is a rewarding way to ensure next year’s garden bursts with vibrant blooms—and you’ve got all the know-how now! 🌱 From selecting the right pods to mastering drying and storage techniques, every step brings you closer to a flourishing, self-sustaining garden. Don’t stop here—grab those seeds, share them with fellow gardeners, or experiment with new varieties! Your future garden (and taste buds!) will thank you.
🌟 Next Step:
- Mark your calendar for planting season and start a seed journal to track varieties.
- Share your success with friends or join gardening communities for more tips!