Vegetables
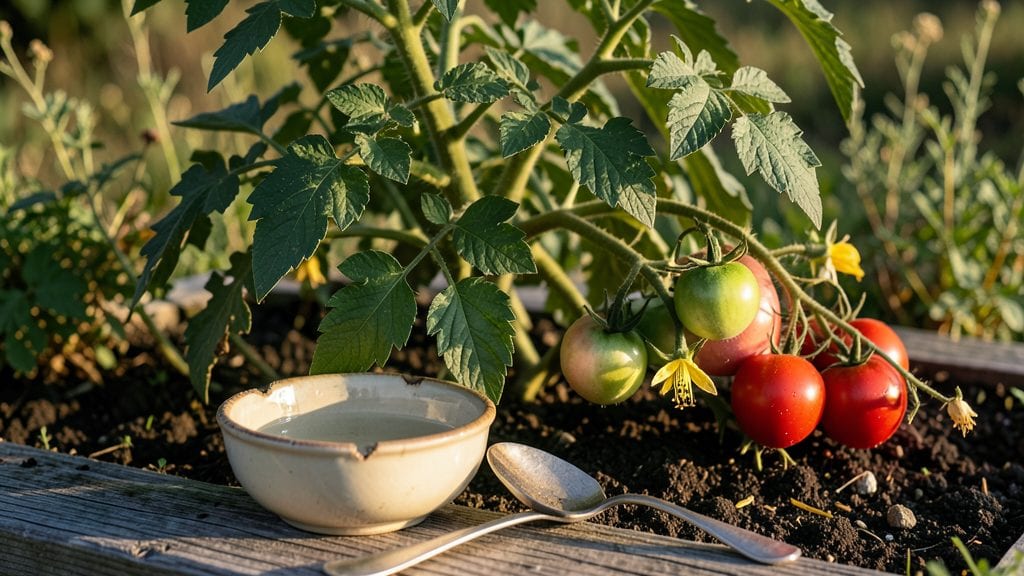
Learn how to preserve tomato seeds for planting—the fermentation trick makes it shockingly simple, and last summer, I went from tossing overripe tomatoes to storing seeds that germinated at a whopping 95% rate, saving me $20+ on transplants alone.
The process turns slimy pulp into clean, dry seeds in just a few days, and it works for heirlooms or hybrids alike.
You’ll need ripe tomatoes (the riper, the better), a jar, water, and a fine mesh strainer—basically supplies you already have. The key steps are scooping out the gel with seeds, fermenting it for 2-3 days to separate viable seeds from the pulp, then rinsing and drying them completely.
Most people skip the fermentation, but that’s where mold and poor germination rates sneak in.
Once dried, your seeds will stay viable for years if stored in a cool, dark place. Picture opening a jar next spring and planting varieties you grew yourself—no more guessing at store-bought labels or settling for limited options.
The first time you see those seedlings pop up, you’ll understand why gardeners swear by seed saving.
This method works for any tomato variety, whether you’re growing in containers or a full garden bed. The only real mistake is rushing the drying process—patience here means better germination down the road. Ready to turn your kitchen scraps into next year’s garden foundation?
📚 In This Guide
- What you need
- Instructions
- Tips and common mistakes
- Wrapping up and next steps
What you need
- ● Ripe tomatoes: Choose fully mature, healthy tomatoes (3–5 per batch works well). Avoid hybrid varieties (look for "heirloom" or "open-pollinated" labels).
- ● Small bowl or jar: A clean, shallow container (6–8 oz) for fermentation (e.g., a mason jar or ceramic dish).
- ● Water: Distilled or dechlorinated water (1 cup per batch). Tap water can work if left out overnight to off-gas chlorine.
- ● Spoon or spatula: For scooping out seeds and pulp.
- ● Fine mesh strainer or cheesecloth: To separate seeds from fermenting pulp.
- ● Paper towels or coffee filters: For drying seeds (2–3 sheets per batch).
- ● Small envelope or seed packet: For storage (e.g., a coin envelope or labeled paper bag).
- ● Permanent marker or labels: To label seeds with the tomato variety and date.
- ● Plastic bag or airtight container: For long-term seed storage (e.g., a ziplock bag with a silica packet or a mason jar).
- ● Bleach solution (1 tsp bleach per gallon of water): For sterilizing containers if reusing them.
- ● Silica gel packets: To absorb moisture during long-term storage (place 1–2 in the storage container).
- ● Notebook or spreadsheet: To track seed varieties, germination rates, and planting dates.
- ● Seedling heat mat: If testing germination indoors (not required but handy for impatient gardeners!).
Step-by-Step instructions for preserving tomato seeds using fermentation
Here’s my foolproof method for saving seeds from your best tomatoes—no fancy equipment needed.
Select and Extract Healthy Seeds
Choose ripe, healthy tomatoes that are fully colored and slightly soft to the touch. Cut them open and scoop out the jelly-like pulp along with the seeds into a clean bowl. Avoid tomatoes that show signs of disease or mold, as contaminated seeds won’t germinate well.
Let the mixture sit for about 10-15 minutes—you’ll see the seeds sink to the bottom while the pulp and debris float. Gently swirl the bowl to help separate them, then pour off the cloudy water, leaving the seeds behind. Rinse the seeds once more with clean water to remove any remaining pulp.
Ferment the Seeds for Viability
Transfer the rinsed seeds to a clean jar or bowl and add enough water to cover them by about ½ inch. Place the jar in a warm spot—70-75°F works best—where it won’t be disturbed. Leave it uncovered for 2-4 days, stirring gently once a day.
During fermentation, the seeds will release a foul-smelling liquid as the gel around them breaks down. This process removes inhibitors that prevent germination. You’ll know it’s working when the seeds smell strongly and the water turns cloudy. Skim off any mold or scum that forms on the surface to keep things clean.
Dry the Seeds Thoroughly
After 2-4 days, drain the water and spread the seeds in a single layer on a clean, dry paper towel or screen. Place them in a warm, well-ventilated spot away from direct sunlight. The goal is to dry them completely—this prevents mold and ensures long-term storage.
Stir the seeds occasionally to ensure even drying. They’re ready when they’re completely dry and brittle to the touch, usually within 3-5 days. Store them in a sealed envelope or small jar in a cool, dark place. Properly dried seeds can last 3-5 years while maintaining good germination rates.
Test Germination Before Planting
Before storing, test a few seeds to confirm viability. Moisten a paper towel, place 10-15 seeds on it, and fold it in half. Keep it in a warm, dark place and check daily. Most seeds should sprout within 5-7 days. If fewer than 80% sprout, your seeds may need fresher replacements.
Once you’ve confirmed viability, label your seed packets with the tomato variety and the year saved. This helps track which seeds are best for planting each season. With this method, you’ll always have a steady supply of high-quality seeds ready for next year’s garden.
Tips & tricks for perfect tomato seed preservation
Saving tomato seeds through fermentation is a rewarding process that ensures high germination rates for next season's garden.
The Separation Secret: In Step 1, when you let the seed mixture sit for 10-15 minutes, don't rush this process. The seeds need this time to fully separate from the pulp. If you pour off the water too soon, you'll lose some seeds in the discarded pulp. I like to gently swirl the bowl every few minutes during this time to help the seeds settle faster.
Fermentation Environment: The 70-75°F temperature range for fermentation is crucial because it creates the ideal conditions for breaking down the gel around the seeds. If your home is cooler than this, place the jar near a sunny window or on top of your refrigerator. Too cold and the fermentation will be slow; too hot and you risk mold growth. The foul smell is normal and actually indicates the process is working.
Drying Efficiency: When drying seeds in Step 3, I recommend using a mesh screen or a piece of window screen instead of just a paper towel. This allows air to circulate on all sides of the seeds, speeding up the drying process. Stir them every couple of hours to prevent clumping, and avoid direct sunlight which can cause uneven drying and potential scorching.
Storage Wisdom: After your seeds are completely dry and brittle, store them in small envelopes with the tomato variety name and date clearly labeled. I like to add a silica gel packet to each envelope to absorb any moisture. Store in a cool, dark place like a seed catalog or even your freezer for maximum longevity. Properly stored seeds can maintain viability for 3-5 years.
Pro Tips for Preserve Tomato Seeds For Planting
- Saving tomato seeds through fermentation is a rewarding process that ensures high germination rates for next season's garden.
- The Separation Secret: In Step 1, when you let the seed mixture sit for 10-15 minutes, don't rush this process.
- Fermentation Environment: The 70-75°F temperature range for fermentation is crucial because it creates the ideal conditions for breaking down the gel around the seeds.
Frequently asked questions
Got questions about saving tomato seeds? We’ve got answers! Here are some of the most common concerns—and how to tackle them like a pro.
How long can I store preserved tomato seeds before planting?
Properly dried and stored seeds stay viable for 3–5 years in a cool, dark place (like a sealed envelope in the fridge). For best results, plant them within 1–2 years. Test germination by planting a few—if they sprout, the rest are good to go!
Do I need to ferment seeds right away, or can I skip it?
Fermentation (letting seeds soak in pulp for 2–3 days) removes gelatinous coating that inhibits germination. Skip it only if your tomatoes are hybrid (F1) or heirloom—fermentation works best for heirlooms. For hybrids, clean seeds gently with water and dry them thoroughly.
Why are my seeds moldy after fermentation?
Mold means too much moisture or warm temps. Fix it by rinsing seeds in cool water, spreading them on a paper towel to dry, and storing them in a sealed container with a desiccant packet (like silica gel). If mold persists, discard the batch—safety first!
Can I save seeds from store-bought tomatoes?
Maybe! Store-bought tomatoes are often hybrid (F1), meaning seeds may not grow true to type. For reliable heirlooms, save seeds from homegrown, open-pollinated tomatoes. If you must try store-bought, pick organic, non-hybrid varieties (like Roma or beefsteak).
What’s the best way to label my seed packets?
Use waterproof labels with:
- Variety name (e.g., "Brandywine," "Cherry Roma")
- Year saved (to track freshness)
- Germination test date (if applicable)
Wrapping up and next steps
Preserving tomato seeds is simpler than you think—and the fermentation trick is your secret weapon for high germination rates! By letting nature do the work, you’ll save money, support heirloom varieties, and enjoy fresh, homegrown tomatoes year after year. 🌱
Now that you’re armed with the know-how, grab those ripe tomatoes and start your seed-saving journey today. Share your harvest with friends, swap seeds, or plant your own thriving garden—every seed is a promise of future bounty! 🌿