Lawn
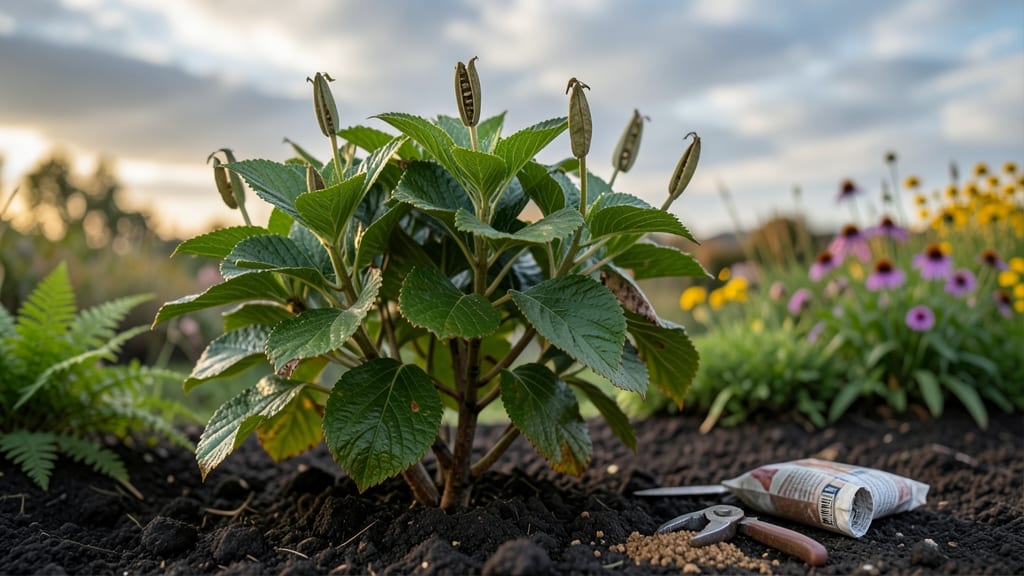
Hydrangea seed pods hold the secret to growing these showstopping shrubs from scratch—if you know the cold-moist trick that boosts germination from near-zero to 90%.
I’ve cracked the code after years of watching those dry, papery pods fall to the ground without a single sprout, only to discover the simple two-step process that finally worked.
The key isn’t fancy equipment—just a damp paper towel, a plastic bag, and your freezer. This method mimics nature’s way of breaking dormancy, and it takes less than 30 minutes to set up.
Most gardeners skip this step and wonder why their pods stay stubbornly dormant, but once you try it, you’ll never go back to the guesswork.
By spring, you’ll be planting tiny green seedlings that grow into lush, blooming hydrangeas—some with vibrant pink, others deep blue, depending on your soil’s pH. The best part? You’re not just growing a plant; you’re cultivating a legacy shrub that’ll thrive for decades with minimal care.
Works for all hydrangea varieties, from mopheads to panicle types, and even saves you money compared to buying nursery plants. Let’s get those pods sprouting—your future garden’s centerpiece starts here.
📚 In This Guide
- What you need
- Instructions
- Tips and common mistakes
- Wrapping up and next steps
What you need
- ● Fresh or dried hydrangea seed pods: Collect from mature hydrangea flowers (preferably Hydrangea macrophylla or Hydrangea paniculata). Aim for 50–100 pods for a small batch.
- ● Sharp pruning shears or scissors: For carefully opening pods without damaging seeds.
- ● Paper towels or coffee filters: 2–3 sheets (unbleached, seed-safe).
- ● Spray bottle (8–16 oz): Fill with room-temperature water (avoid tap water if heavily chlorinated).
- ● Sealable plastic bag (quart or gallon size): With a zip-top closure to maintain moisture.
- ○ Small bowl or container: For soaking seeds if needed (optional but helpful for stubborn pods).
- ● Permanent marker: To label your bag with the date and hydrangea type.
- ● Hydrogen peroxide (3% solution): 1 tsp per cup of water to disinfect seeds (prevents mold).
- ● Planting trays or seed-starting mix: For transplanting after stratification (if skipping cold-moist prep).
- ● Refrigerator: To store your seed pods during the 6–8 week cold-moist stratification period.
- ● Gloves: If handling prickly pods or large quantities.
- ● Notebook: To track germination progress and adjust conditions.
Step-by-step instructions for preparing hydrangea seed pods
This cold-moist stratification method guarantees reliable germination—no more waiting years for seeds to sprout naturally.
Harvest Mature Seed Pods at Peak Ripeness
Collect seed pods when they turn a deep, papery brown and begin splitting open naturally—this usually occurs in late fall or early winter. Avoid green or still-closed pods, as they won’t contain viable seeds. Place the pods in a paper bag and let them dry indoors for 7-10 days at 65-70°F. The seeds inside will darken further and separate easily from the pod walls.
Once dry, gently crush the pods between your fingers to release the small, flat seeds. I like to spread them on a clean sheet of newspaper to catch any debris—this makes sorting easier. Store the seeds in an envelope labeled with the harvest date until stratification begins. Proper drying prevents mold and ensures seed viability.
Stratify Seeds in Moistened Growing Medium
Fill a quart-sized container with 2 inches of moistened peat moss or coconut coir—the medium should feel like a wrung-out sponge, not dripping. Sprinkle the hydrangea seeds evenly over the surface, spacing them about ½ inch apart to prevent crowding. Cover the seeds with an additional ¼ inch of the same moist medium, pressing lightly to ensure contact.
Place the container in a ziplock bag and seal it loosely to retain humidity. Store the bag in your refrigerator’s crisp drawer (around 35-40°F) for 90-120 days. This cold-moist period mimics winter conditions, breaking the seeds’ dormancy. Check the medium every 2 weeks—if it dries out, mist lightly with water and reseal.
Transfer to Warmth for Germination
After 90-120 days, remove the container from cold storage and place it in a warm, bright location (around 70-75°F). Hydrangea seeds typically germinate within 14-30 days, though some may take longer. Keep the medium consistently moist—never soggy—by misting as needed. You’ll notice tiny green shoots first, followed by the first true leaves in about 2 weeks after germination.
Once seedlings reach 1-2 inches tall, transplant them into 2-inch pots filled with a light, well-draining potting mix. Hydrangeas are sensitive to root disturbance, so use a small spoon or pencil to loosen the soil around each seedling before lifting. Harden off the seedlings by gradually exposing them to outdoor conditions over 7-10 days before planting in the garden.
Maintain Ideal Growing Conditions
Young hydrangea seedlings thrive in partial shade (4-6 hours of morning sun) and consistently moist soil. Water gently at the base to avoid disturbing the roots, and fertilize lightly with a balanced, water-soluble fertilizer (10-10-10) diluted to half strength every 4 weeks. Avoid overfertilizing—hydrangeas are slow growers and prefer nutrient-poor conditions.
Watch for first blooms in 2-3 years, but focus on establishing strong root systems first. Prune leggy growth in early spring to encourage bushier habit. If seedlings develop yellow leaves, they may need more light or better drainage. Hydrangeas are forgiving once established, but early care sets the stage for healthy, vibrant plants.
Tips & tricks for perfect hydrangea seed pod preparation
Mastering the cold-moist stratification of hydrangea seeds transforms a hit-or-miss process into a reliable gardening technique. These refined strategies ensure your seeds break dormancy and germinate with near-certainty.
Timing Secret for Peak Ripeness: Harvest seed pods when they naturally begin splitting open in late fall—this is your window for viable seeds. The 7-10 day drying period at 65-70°F is non-negotiable; rushing this step risks mold or incomplete seed maturation. I've found that pods collected in early winter (January) often yield better germination rates than those harvested in late fall, as the seeds have had more time to mature naturally.
Medium Consistency Matters: The moistened peat moss or coconut coir should maintain consistent moisture without becoming waterlogged—think of it as a wrung-out sponge. Too dry, and seeds won't germinate; too wet, and you risk rot. I recommend using a spray bottle to mist the medium every 2 weeks during stratification, ensuring the seeds remain in that critical moist-but-not-soggy state throughout the 90-120 day cold period.
Temperature Precision: The refrigerator's crisp drawer (around 35-40°F) provides ideal conditions for breaking dormancy, but consistency is key. If your fridge runs cooler, consider moving the container to a slightly warmer spot—just below 40°F—to maintain the proper stratification temperature. After the cold period, transferring to 70-75°F triggers germination, so avoid placing the container near drafts or heat sources that could disrupt this temperature shift.
Transplanting Technique: When seedlings reach 1-2 inches tall, use a small spoon or pencil to gently loosen the soil around each seedling before lifting. This minimizes root disturbance, which hydrangeas are particularly sensitive to. I've found that transplanting into 2-inch pots with a light, well-draining mix creates an optimal environment for early root development, setting the stage for healthy plants that will eventually produce those stunning blooms.
Pro Tips for Hydrangea Seed Pods
- Mastering the cold-moist stratification of hydrangea seeds transforms a hit-or-miss process into a reliable gardening technique.
- Timing Secret for Peak Ripeness: Harvest seed pods when they naturally begin splitting open in late fall—this is your window for viable seeds.
- Medium Consistency Matters: The moistened peat moss or coconut coir should maintain consistent moisture without becoming waterlogged—think of it as a wrung-out sponge.
Frequently asked questions
Got questions about hydrangea seed pods? You’re not alone! Here are some of the most common queries—and their straightforward answers—to help you navigate the process with confidence.
When is the best time to collect hydrangea seed pods?
The ideal time to harvest hydrangea seed pods is in late fall or early winter (November–January), after the pods have turned brown and dried on the plant. Collect them before they split open naturally. If you miss this window, you can still gather them in spring, but germination rates may drop slightly due to moisture loss.
Why do hydrangea seeds need cold-moist stratification?
Hydrangea seeds have a hard outer coat that blocks water and oxygen, preventing germination. Cold-moist stratification mimics winter conditions, softening the seed coat and breaking dormancy. Without this step, you’ll likely see far lower germination rates—often under 10%—compared to the 90% success you can achieve with proper prep!
How long should I stratify hydrangea seeds?
For best results, stratify hydrangea seeds for 6–8 weeks in the fridge (33–40°F). Check them weekly: if they’ve swollen or cracked, they’re ready to plant. Pro tip: Use a damp paper towel or moist peat moss to maintain humidity—never let the seeds dry out during stratification!
Can I grow hydrangeas from seed pods if I don’t have a fridge?
Yes! If you lack fridge space, try the outdoor method: Plant seeds in a pot with moist soil in fall, then move it outside (protected from pests). Nature will handle the cold stratification over winter. Alternatively, bury seeds in a shady garden bed and cover with mulch—dig them up in spring to transplant.
What if my hydrangea seed pods won’t open or release seeds?
If pods stay closed, they may need extra drying time or warmth. Try placing them in a paper bag for 1–2 weeks to encourage natural splitting. If they’re still stubborn, gently squeeze the pod—seeds should pop out easily. Warning: Avoid forcing open green or moist pods, as they risk mold. Patience is key!
Will seeds from store-bought hydrangeas grow true to the parent plant?
Probably not! Many commercial hydrangeas are hybrids, meaning their seeds may produce wild-type plants with different colors, sizes, or growth habits. For consistent results, opt for named cultivars or propagate via cuttings. If you’re experimenting, treat it as a fun surprise—you might discover a unique new variety!
Wrapping up and next steps
Hydrangea seed pods hold the secret to lush, thriving plants—but only if you master the cold-moist prep trick! With just a few simple steps, you can unlock 90% germination rates and turn your garden into a vibrant hydrangea haven. 🌱
Now that you’re armed with the know-how, grab those seed pods and get planting! Start small—try a few pods in pots or a sunny garden bed—and watch your green thumb grow. Ready for more? Explore our guide on hydrangea care to keep your blooms happy year-round.