Propagation
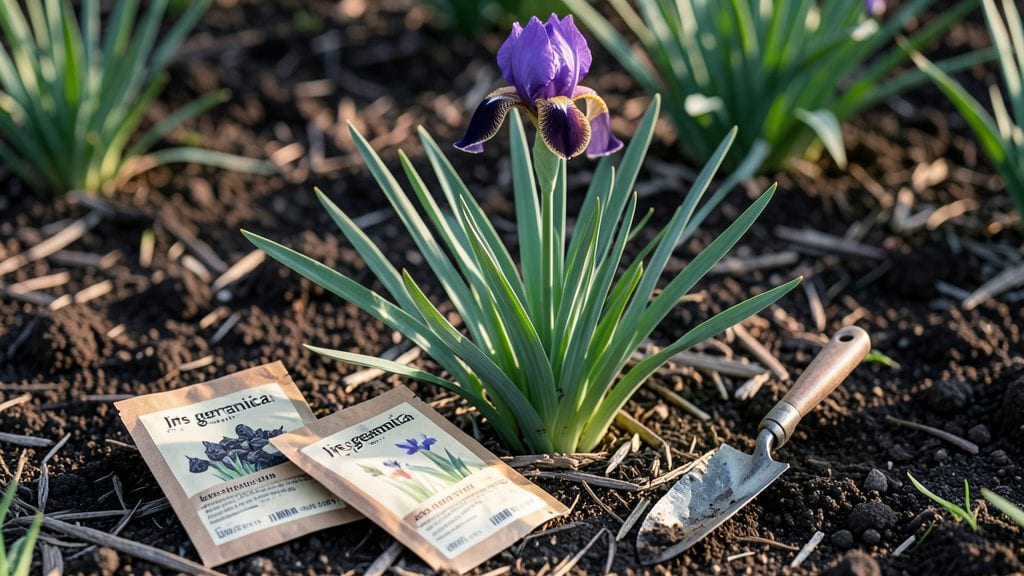
Growing Germanica iris seeds means waiting a full year for those first dramatic blooms—but the cold stratification trick cuts that wait time in half. 🌱 I’ve struggled with impatient seedlings before, and this method actually works: store-bought seeds need a winter chill to break dormancy, just like their wild cousins.
The key is patience and a simple setup that mimics nature’s timing.
You’ll need just three things: a sealed plastic bag, a damp paper towel, and your freezer. No fancy equipment—just a way to replicate the cold, moist conditions iris seeds crave before they’ll even think about sprouting.
Most gardeners skip this step and wonder why their seeds take two years to bloom. Don’t be one of them.
By late winter, you’ll see tiny green shoots pushing through the soil, ready to transplant into their permanent home. These seedlings grow surprisingly fast once they break dormancy, and with the right care, you’ll have mature plants producing those iconic sword-like leaves and vibrant blooms by next spring.
The best part? This method works for gardeners in zones 3 through 8, whether you’re planting in full sun or partial shade. Once you’ve mastered the cold stratification trick, you’ll never buy iris rhizomes again—the seeds are cheaper, and the satisfaction of growing them from scratch is unbeatable.
📚 In This Guide
- What you need
- Instructions
- Tips and common mistakes
- Wrapping up and next steps
What you need
- ● High-quality Iris germanica seeds – Purchase from a reputable supplier (aim for at least 10-20 seeds for better success rates).
- ● Sterilized seed-starting mix – Use a well-draining blend (e.g., 50% perlite + 50% peat moss or coconut coir).
- ● Small seed trays or pots – 2-3 inch deep with drainage holes (e.g., 6-pack cell trays or 4-inch pots).
- ● Plastic storage bag or clear lid – To create a mini greenhouse effect during stratification.
- ● Spray bottle – For gentle watering (avoid soaking the mix).
- ● Refrigerator or cold stratification setup – A cool (35–45°F / 2–7°C) space (e.g., fridge crisper drawer).
- ● pH testing kit – Ensure soil pH is 6.0–7.0 (ideal for irises).
- ○ Heat mat (optional) – For post-stratification warmth (65–75°F / 18–24°C).
- ● Grow lights – If natural light is limited (12–16 hours/day).
- ● Fertilizer (balanced 10-10-10) – Light application after germination.
- ● Labels & markers – To track seed varieties and planting dates.
Step-by-step instructions for cold stratifying germanica iris seeds
Here's how I guarantee your iris seeds break dormancy and grow into strong plants.
🌱 Step 1: Collect and Prepare Fresh Iris Seeds
Harvest seeds from mature Germanica iris pods as soon as they turn brown and dry on the plant. I like to collect them in late summer when the pods are fully ripe but before they split open naturally. Remove any remaining pod walls and let the seeds air-dry for 3-5 days in a cool, dry place—this prevents rot during stratification.
Don't rush this step. Seeds that feel damp or sticky won't stratify properly. Store them in a paper envelope until you're ready to begin the cold treatment. The key here is patience—fresh seeds germinate best when stratified immediately after drying.
💧 Step 2: Moisten and Mix Seeds with Stratification Medium
Combine the dried seeds with a moistened peat moss or perlite mix in a ratio of 1 part seeds to 3 parts medium. I use a shallow container with good drainage—an old seed tray works perfectly. Water the medium until it feels like a damp sponge, not dripping wet. This moisture level mimics natural winter conditions.
Gently stir the seeds into the mix so they're evenly distributed but not buried deep. You'll see them nestled just below the surface. This shallow placement ensures they'll have access to moisture while still experiencing proper cold exposure. Cover the container loosely with plastic wrap or a breathable cloth to maintain humidity.
⏰ Step 3: Stratify for 60-90 Days in Cold Conditions
Place the container in a refrigerator set to 35-40°F—the crisper drawer works well. This simulates winter's natural chilling period and breaks seed dormancy. Check the mix every 2-3 weeks to ensure it remains moist but not soggy. If it feels dry, mist lightly with water.
Real talk: Don't skip this step. Germanica iris seeds need this cold treatment to germinate. Without it, you might wait years for sprouts. After 60-90 days, remove the container and let it sit at room temperature for 1-2 weeks to acclimate before planting.
☀️ Step 4: Plant Stratified Seeds in Well-Draining Soil
Prepare a sunny planting spot with well-draining soil enriched with compost. I dig holes 1 inch deep and space them 6 inches apart since iris seedlings grow slowly at first. Plant 2-3 seeds per hole—they often germinate unevenly, and you can thin later.
Cover lightly with soil and water gently to settle it around the seeds. Place a small marker near each hole to avoid disturbing them. Germanica iris seeds may take 4-6 weeks to sprout, so be patient. Keep the soil consistently moist but never waterlogged during this time.
🌿 Step 5: Transplant and Care for Young Iris Plants
Once seedlings reach 3-4 inches tall, thin to the strongest plant per spot. I use small scissors to snip excess seedlings at soil level—this prevents disturbing roots of the remaining plants. Germanica iris thrive in full sun, so ensure they get at least 6 hours daily.
Water deeply once a week, allowing the top 2 inches of soil to dry between waterings. Fertilize lightly in spring with a balanced formula to encourage strong root development. With proper care, you'll see blooms in 3-4 years—worth every step!
Tips & tricks for perfect germanica iris seed stratification
A few key strategies will help you avoid common pitfalls and maximize your iris seeds' potential for vibrant blooms.
Timing is Everything: In Step 1, when you're air-drying your seeds for 3-5 days, place them on a wire rack over a paper towel to ensure proper airflow. I learned this the hard way—keeping them in a sealed container led to mold. The goal is to dry them just enough to prevent rot while maintaining viability. If you're in a humid climate, extend drying to 5-7 days to be safe.
Medium Selection Matters: While the instructions suggest peat moss or perlite, I've had great success with a 50/50 mix of peat moss and coarse sand—it provides excellent drainage while retaining enough moisture. The 1:3 ratio of seeds to medium is crucial; packing them too densely can lead to mold during stratification. For a more natural approach, you can also use a mix of sphagnum moss and perlite, which mimics the forest floor environment iris seeds prefer.
Cold Treatment Precision: The 35-40°F refrigerator temperature is ideal, but not all refrigerators maintain consistent temps. If your fridge runs cooler, use a seedling heat mat set to low under the container to maintain the zone. During the 60-90 day stratification period, I mark my calendar with reminders to check moisture every 2-3 weeks—this prevents both drying out and waterlogging. A spray bottle with room-temperature water works best for misting; cold water can shock the seeds.
Planting Strategy: When it's time to plant in Step 4, consider using biodegradable seed starter pots for each seed instead of planting directly in the ground. This gives you flexibility if germination is uneven. The 1-inch deep planting depth is perfect—any deeper and they may struggle to push through the soil. I like to label each pot with the date and variety if I'm growing multiple types, which helps track growth patterns. The 6-inch spacing gives roots room to establish before they compete for nutrients.
Pro Tips for Iris Germanica Seeds
- A few key strategies will help you avoid common pitfalls and maximize your iris seeds' potential for vibrant blooms.
- Timing is Everything: In Step 1, when you're air-drying your seeds for 3-5 days, place them on a wire rack over a paper towel to ensure proper airflow.
- Medium Selection Matters: While the instructions suggest peat moss or perlite, I've had great success with a 50/50 mix of peat moss and coarse sand—it provides excellent drainage while retaining enough moisture.
Frequently asked questions
Got questions about growing Iris germanica from seeds? You’re not alone—these beauties need a little extra TLC to thrive! Below, we’ve tackled the most common queries to help you avoid pitfalls and set your seedlings up for success.
How long does cold stratification need to last for Iris germanica seeds?
Cold stratification for Iris germanica seeds typically requires 4–6 weeks in the fridge (or outdoors in a protected spot during winter). Place them in a moist paper towel or peat moss, then store them in a sealed bag. Patience is key—rushing this step can lead to poor germination rates. Pro tip: Label your bags with the start date to track progress!
When is the best time to plant stratified Iris germanica seeds?
Plant your stratified seeds in early spring (March–April), just as the soil begins to warm but before active growth starts. This timing mimics their natural cycle and boosts germination success. Avoid planting too early—cold, wet soil can rot seeds before they sprout. Pro tip: A quick soil test ensures your garden bed is ready!
What if my Iris germanica seeds don’t germinate after stratification?
Don’t panic! Seeds may take 2–4 weeks to sprout, or even longer in cool conditions. If nothing emerges after 8 weeks, try re-stratifying them for another 4 weeks. Low humidity, poor soil contact, or old seeds (over 1 year) can also stifle growth. For stubborn seeds, consider soaking them in warm water for 24 hours before replanting.
Can I grow Iris germanica from seeds indoors instead of outdoors?
Yes! Start seeds indoors in small pots with well-draining soil, keeping them under grow lights (12–14 hours/day). Transplant seedlings outdoors after the last frost when they’re 3–4 inches tall. Indoor starts give you a head start, but they’ll still need cold stratification before planting. Pro tip: Use a heat mat to maintain consistent warmth!
Are there alternatives to cold stratification for Iris germanica?
While cold stratification is ideal, you can try scarification (lightly nicking the seed coat) or soaking in warm water for 24–48 hours to mimic natural weathering. However, these methods aren’t as reliable—stratification remains the gold standard for breaking dormancy. If you’re impatient, combine scarification with a shorter (2–3 week) cold period for slightly better results.
| Troubleshooting | Possible Fix |
|---|---|
| Seeds mold or rot | Ensure good drainage and avoid overwatering during stratification. |
| Slow or no germination | Check seed viability (test-float in water—sinkers are viable) or extend stratification. |
| Seedlings leggy or weak | Move pots to a sunny window or under grow lights immediately. |
Wrapping up and next steps
Growing Germanica iris seeds with cold stratification is your ticket to stunning, vibrant blooms next spring! 🌸 By following the right steps—from gathering materials to patiently waiting for germination—you’re setting the stage for a garden that’ll turn heads. The key? Consistency and timing—your reward will be worth every effort.
Ready to dive in? Start by ordering high-quality seeds (if you haven’t already) and mark your calendar for November—that’s when the magic begins. Happy gardening, and may your iris beds burst with color! 🌱✨