Pruning
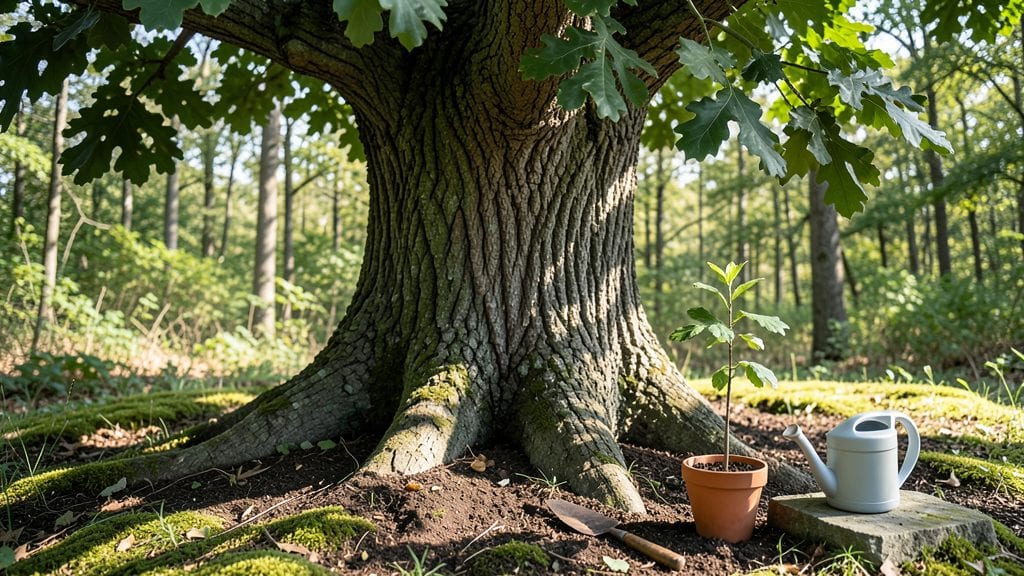
Transforming a fragile seedling into a towering privacy screen is one of the most rewarding gardening journeys you can take. 🌱 I’ve watched my own saplings grow from delicate shoots to sturdy trees that block winter winds and summer glare—it’s a process that demands patience but pays off in shade, beauty, and even fruit.
The key isn’t just time; it’s understanding each stage’s unique needs, from the first true leaves to the day you lean against your own living fence.
You’ll need the right soil mix for your tree type—fast-draining for fruit trees, nutrient-rich for ornamentals—and a location with consistent sunlight. Pruning young trees shapes their structure early, while deeper watering encourages roots to spread wide.
Most people rush this part, but skipping the first year’s careful pruning leads to weak branches later. Think of it like building a house: a solid foundation now means a sturdy screen in a decade.
By year three, you’ll see dramatic changes: leaves the size of your hand, branches thick enough to support climbing kids, and that unmistakable confidence of a tree you nurtured from seed. The best part?
Every pruning session after that becomes easier, and your screen grows more valuable—whether for privacy, wildlife habitat, or even harvests. Let’s break down the exact steps to get you there without the guesswork.
This works for fruit trees like apples or pears, fast-growing screens like Leyland cypress, or even slow-and-steady oaks—just adjust watering and pruning timelines. The principles stay the same: protect young growth, train the structure early, and let nature do the heavy lifting. You’ll have a living masterpiece in no time.
📚 In This Guide
- What you need
- Instructions
- Tips and common mistakes
- Wrapping up and next steps
What you need
- ● Seeds or seedlings: Choose fast-growing, hardy species like Leyland cypress, arborvitae, or bamboo (for privacy screens). Buy 5-10 per foot of desired screen length (e.g., 50 seeds for a 5-foot section).
- ● Well-draining potting soil: 5-10 gallons (sterilized, organic blend with perlite or compost).
- ● Containers or nursery pots: 4-6 inch diameter (biodegradable or plastic, 1 per seedling).
- ● Mulch: 2-3 inches of wood chips or straw to retain moisture and suppress weeds.
- ● Organic fertilizer: Slow-release, 10-10-10 NPK ratio (1 lb per 100 sq ft).
- ● Watering can or hose: With a gentle spray nozzle for seedlings.
- ● Hand trowel or small shovel: For transplanting seedlings.
- ● Pruning shears: Bypass-style (sharp, 6-8 inch blades) for shaping and maintenance.
- ● Measuring tape: To space seedlings 3-6 feet apart (depending on species).
- ● Gloves: Heavy-duty for handling soil and thorny plants.
- ○ Stakes and twine (optional): For supporting young trees in windy areas.
- ● pH test kit: To ensure soil pH is 6.0-7.0 (ideal for most trees).
- ● Sunlight assessment: Confirm your site gets 6+ hours of sunlight daily (adjust for shade-tolerant species).
- ● Soil test: Check drainage and nutrient levels before planting.
- ● Permits (if applicable): Verify local regulations for large plants or invasive species.
- ● Patience: Privacy screens take 3-5 years to mature!
How to cultivate a privacy screen from seedlings
Here's my foolproof method for nurturing fast-growing seedlings into a lush, year-round privacy barrier.
🌱 Step 1: Select and Prepare Fast-Growing Species
Choose 4 seedlings of quick-growing trees like Leyland cypress, arborvitae, or bamboo (if zoned for it). These varieties grow 3-5 feet annually once established. I always pick healthy 1-gallon transplants with well-developed root balls—avoid leggy or root-bound plants.
Before planting, trim any broken branches with clean, sharp pruners. This ensures the tree puts energy into new growth rather than repairing damage. Soak the root ball for 15-20 minutes to hydrate roots thoroughly before handling.
🪴 Step 2: Plant in a Windbreak Trench
Dig a 12-inch-deep trench along your property line, spacing seedlings 3-4 feet apart for optimal growth. The trench helps direct roots deeper and prevents wind damage. Mix 2 parts native soil with 1 part compost in the planting hole.
Place each seedling in the trench so the top of the root ball sits 1 inch below soil level. This prevents root exposure during dry spells. Backfill with the soil-compost mix, tamping gently to remove air pockets. Water immediately with 1 gallon per plant to settle the soil.
☀️ Step 3: Provide Strategic Watering and Mulching
Water deeply twice weekly for the first 3 months, ensuring 1 inch of moisture reaches the root zone. Use a rain gauge or tuna can to measure—eyeballing leads to over- or under-watering. I always water in the early morning to reduce evaporation and fungal risks.
Spread 2 inches of wood chips around each base, keeping mulch 6 inches away from the trunk. This conserves moisture and suppresses weeds. Replenish mulch annually to maintain coverage as it decomposes.
✂️ Step 4: Prune for Structure and Health
In the first year, remove any branches growing toward the center of the plant to encourage an open, airy structure. Use sterilized pruners to make clean cuts at a 45-degree angle just above a leaf node. This prevents disease and promotes faster healing.
Watch for suckers (shoots growing from the base) and remove them immediately. These divert energy from your privacy screen's main growth. I prune lightly in late winter to shape the tree before new growth begins.
🌿 Step 5: Monitor and Maintain Year-Round
Fertilize annually in early spring with a balanced 10-10-10 formula, applying 1/2 cup per plant. This supports steady growth without overfeeding. Check for pests like spider mites or bagworms monthly—treat early with horticultural oil or neem spray to prevent infestations.
By year three, your screen should reach 8-10 feet tall. Continue spacing new plants 3-4 feet apart to fill gaps. With consistent care, you'll have a full privacy barrier in just 4-5 years—no fence required!
Tips & tricks for perfect seedling privacy screens
Transforming seedlings into a thriving privacy barrier takes patience—and these pro tips will help you avoid common pitfalls while maximizing growth.
Root Hydration Secret: That 15-20 minute soak in Step 1 isn't just about hydration—it's about reviving stressed roots. I like to soak the root balls in a bucket of water with a handful of seaweed fertilizer. This gives your seedlings a quick nutrient boost right when they need it most. Don't skip this step, especially if your transplants look wilted from shipping or store display.
Soil Mix Matters: The 2:1 native soil to compost ratio in Step 2 is perfect for fast growth, but don't use just any compost. I recommend a well-aged, chunky compost with visible organic matter. Avoid fresh manure or overly fine compost—they can compact and suffocate young roots. If your native soil is heavy clay, add perlite to improve drainage while maintaining that 2:1 ratio.
Watering Wisdom: Those twice-weekly waterings in Step 3 are non-negotiable for the first 3 months, but timing matters just as much as quantity. I've learned this the hard way—watering in the late afternoon can lead to fungal issues from prolonged leaf wetness. Stick to early morning watering to give foliage time to dry before evening. Use that tuna can measurement trick to ensure you're actually delivering that crucial 1 inch of moisture.
Pruning Precision: When pruning in Step 4, think of it like giving your tree a haircut—you want to shape it, not shave it bald. That 45-degree angle cut just above a leaf node isn't just for looks; it creates a natural shield that protects the cut from disease. I keep my pruners in rubbing alcohol between cuts to maintain sterility. And remember, late winter pruning in Step 4 is your chance to shape the tree before it puts all its energy into new growth.
Pro Tips for Seedling To Tree
- Transforming seedlings into a thriving privacy barrier takes patience—and these pro tips will help you avoid common pitfalls while maximizing growth.
- Root Hydration Secret: That 15-20 minute soak in Step 1 isn't just about hydration—it's about reviving stressed roots.
- Soil Mix Matters: The 2:1 native soil to compost ratio in Step 2 is perfect for fast growth, but don't use just any compost.
Frequently asked questions
Got questions about nurturing your seedlings into thriving trees? You’re not alone! Here are answers to the most common concerns—plus practical tips to keep your green thumbs happy all year round.
How long does it take for a seedling to grow into a privacy screen?
Most fast-growing trees like Leyland cypress or Thuja can reach 10–15 feet tall in 5–10 years, depending on species, climate, and care. Slower growers (e.g., oak or maple) may take 20+ years. Plan ahead—consistent watering, mulching, and pruning speed up the process!
Can I plant a seedling in winter or fall?
Yes! Fall (September–November) is ideal—cool temps and rain help roots establish before spring. Winter planting is tricky (avoid frost), but bare-root seedlings can thrive if soil isn’t frozen. Skip summer heatwaves—opt for early spring if you miss fall.
What’s the best way to protect young seedlings from pests or animals?
Use tree guards (metal or plastic spirals) to deter deer and rabbits. For insects, spray neem oil or apply beneficial nematodes early. Mulch heavily (3–4 inches) to deter burrowing critters. Avoid chemical pesticides—they can harm roots!
How often should I water a new seedling?
Water deeply 2–3 times per week for the first year (more in extreme heat). Check soil moisture—top 1–2 inches should be dry before watering. Drip irrigation or soaker hoses work best to avoid leaf diseases. Overwatering is worse than underwatering!
What if my seedling isn’t growing? Troubleshooting tips.
Yellow leaves?
Overwatering or poor drainage. Let soil dry slightly between waterings.
Stunted growth?
Check for nutrient deficiencies (use slow-release fertilizer) or root-bound roots (repot if potted).
Wilted or drooping?
Underwatering or heat stress. Move to shade and water immediately.
No new leaves?
Could be pest damage or transplant shock. Inspect stems and adjust care.
Pro tip: Take a soil sample to test pH—most trees thrive in 6.0–7.0. Adjust with lime or sulfur if needed!
Wrapping up and next steps
From a tiny seedling to a thriving privacy screen, your hard work has paid off! 🌱🌳 The key to success lies in patience, proper pruning, and consistent care—no matter the season.
Whether you’re nurturing a single plant or a lush hedge, remember that every trim and nurturing step brings you closer to your green oasis.
Now that you’re armed with knowledge, take the next step—grab those shears and get growing! 🌿 Start small, stay consistent, and watch your vision take root. Happy pruning!