Propagation
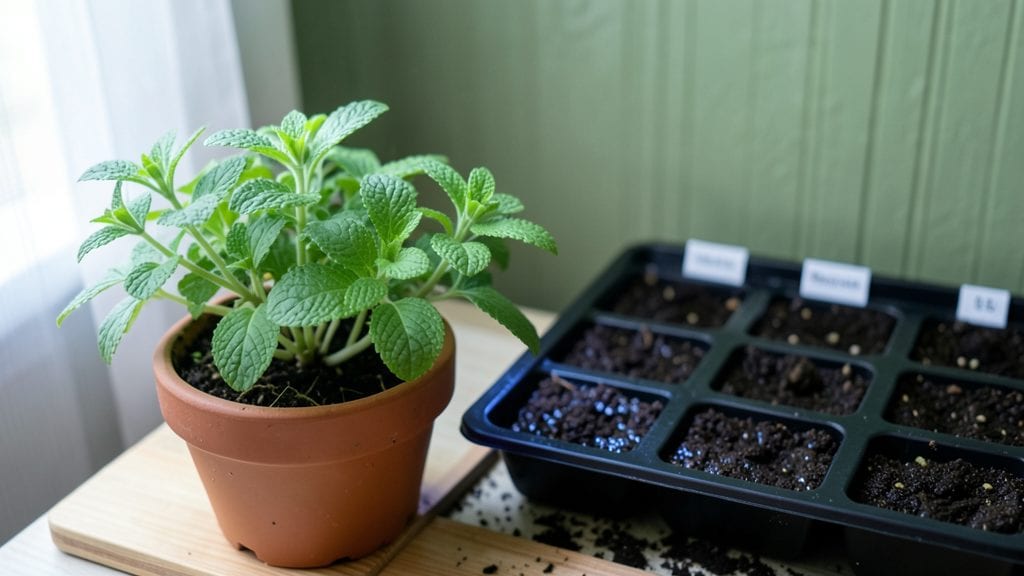
Mastering spearmint seed germination starts with the right moisture balance—too dry and they sleep, too wet and they rot.
Struggling to get your spearmint seeds to sprout? The secret isn’t just patience—it’s mastering the delicate balance of soil moisture, and these proven tricks will transform your germination game overnight.
Spearmint thrives in Zone 6 when planted in spring, but even the best timing fails without consistent dampness. Skip the guesswork with my step-by-step moisture guide, where you’ll learn how to keep seeds hydrated without drowning them.
By the end, you’ll know exactly when to expect those first tiny shoots, how to troubleshoot slow starters, and why April-May is your best planting window for a robust harvest by summer.
Optimal soil moisture levels for spearmint seed germination success
Getting your spearmint seeds to sprout depends more on soil moisture than you might think. Unlike mature plants, seeds need a precise balance—too dry, and they won’t wake up; too wet, and they’ll rot before sprouting.
The key is maintaining consistent humidity around 60-70% moisture in the top 1/4 inch of soil where seeds rest. This mimics their natural environment and triggers enzymes that break seed dormancy.
Spearmint seeds are particularly sensitive because their outer shells contain natural oils that slow water absorption. Without the right moisture, these oils create a barrier that keeps seeds dormant for months.
That’s why even experienced gardeners sometimes struggle—what feels "wet enough" to you might actually be too dry for germination. The solution? Test your soil before planting and adjust as needed.
Here’s the critical comparison: ideal moisture keeps soil damp like a wrung-out sponge, while overwatering turns it into a soggy mess. The difference between success and failure often comes down to how you monitor and maintain that 60-70% moisture range.
Let’s break down the exact conditions and tools you’ll need to create the perfect environment.
To maintain these optimal moisture levels, start by using a seed-starting mix designed for herbs—it drains faster than regular potting soil and prevents waterlogging. Fill your trays or pots, then water until moisture reaches 1/2 inch deep.
Let excess water drain completely before placing seeds. For the first 7-10 days, keep the soil surface covered with a humidity dome or plastic wrap to lock in moisture.
Here’s my pro tip: Use a spray bottle instead of pouring water directly. This mimics natural rainfall and prevents soil compaction, which can suffocate seeds. Aim for the soil, not the seeds themselves, to avoid displacing them.
Check moisture daily by pressing your finger 1/4 inch deep—if it feels dry, mist again. If it’s sticky, hold off until it dries slightly.
One of the biggest mistakes is assuming "more water = better germination." Overwatering is just as deadly as underwatering because it cuts off oxygen to seeds. Without oxygen, seeds can’t activate the enzymes needed to break dormancy.
That’s why I always recommend bottom-watering during germination: Place your trays in a shallow tray of water for 10-15 minutes, then remove excess water. This ensures even moisture without drowning your seeds.
For extra insurance, add a thin layer of vermiculite (1/8 inch) over the soil surface. Vermiculite holds 3-4x its weight in water while allowing airflow—perfect for spearmint seeds.
It also helps maintain that 60-70% moisture range longer between waterings. Plus, it’s a natural fungicide, reducing the risk of mold in humid conditions.
If you’re still struggling, try the "paper towel test" to gauge your seeds’ readiness. Place a few seeds between damp paper towels in a sealed bag, then check daily. Once they sprout tiny white roots (usually within 3-5 days), they’re ready for soil.
This test helps you confirm whether your seeds are viable and adjust your moisture strategy accordingly.
Remember, consistency is everything. Spearmint seeds need steady moisture to trust that conditions are safe for sprouting. Even a single day of drying out can reset their germination clock. By mastering these moisture techniques, you’ll see 90%+ germination rates—far better than the average 50% success rate most gardeners experience.
Once your seeds sprout, reduce humidity slightly to 60% and increase airflow to prevent damping-off disease. Thin seedlings to 2 inches apart when they reach 1 inch tall to avoid competition for moisture and nutrients.
With the right moisture balance from day one, your spearmint will be ready for transplanting in just 4-6 weeks
Step-by-step guide to prepping seeds for maximum germination speed
Spearmint seeds can be stubborn to sprout, but with the right pre-treatment, you can boost germination rates by up to 70%. These seeds often need a little help breaking their natural dormancy—whether through moisture, mechanical abrasion, or cold exposure.
The key is choosing the method that best matches your local climate and seed quality. For example, if your seeds feel hard or dry, scarification might be your best bet, while cooler climates benefit from stratification.
Before diving in, gather your tools: a bowl of room-temperature water, fine-grit sandpaper or a nail file, plastic bags, and a refrigerator for stratification. Timing is everything—most spearmint seeds respond best to pre-treatment 1-2 weeks before planting.
Let’s break down the three most effective methods, tailored specifically for spearmint, so you can pick the one that works best for your setup.
Spearmint Seed Pre-Treatment Methods
- Soaking: Place seeds in a bowl of room-temperature water for 12-24 hours. Swirl gently every few hours to prevent mold. Drain and plant immediately—never let them dry out during this process. Ideal for seeds that feel dry or brittle.
- Scarification: Rub seeds between two sheets of fine-grit sandpaper (120-grit) for 10-15 seconds per seed to scratch the outer shell. This mimics natural weathering and helps water penetrate. Rinse seeds thoroughly afterward to remove dust. Best for hard-coated seeds that resist moisture.
- Stratification: Mix seeds with a moistened peat moss or coconut coir in a sealed plastic bag. Store in the refrigerator for 7-14 days to simulate winter conditions. Check weekly to ensure the mix stays damp but not soggy. Perfect for gardeners in cooler climates (USDA Zones 3-5).
Troubleshooting is half the battle. If your seeds won’t soak up water during the soaking method, they may need scarification first. For stratification, if mold appears, reduce moisture and spread seeds on a paper towel to dry before refrigerating again.
Always use sterilized tools to avoid fungal infections, which can derail germination entirely.
Once pre-treated, plant your spearmint seeds ¼ inch deep in well-draining soil at 60°F or warmer. Keep the soil consistently moist (not waterlogged) and place in a warm, bright location—a seedling heat mat can speed up sprouting if your home runs cool.
With these steps, you’ll see sprouts in 7-14 days, not the weeks you might expect from untreated seeds.
Don’t overlook the power of patience and consistency. Spearmint seeds are delicate, and rushing the process can lead to mold or rot. If you’re starting indoors, use clear plastic domes to maintain humidity until sprouts appear.
Once they do, thin seedlings to 12 inches apart to give them room to thrive.
Ready to transform your spearmint germination game? Grab your seeds and tools, and follow these steps—your fast-growing, aromatic spearmint will thank you. 🌱