Vegetables
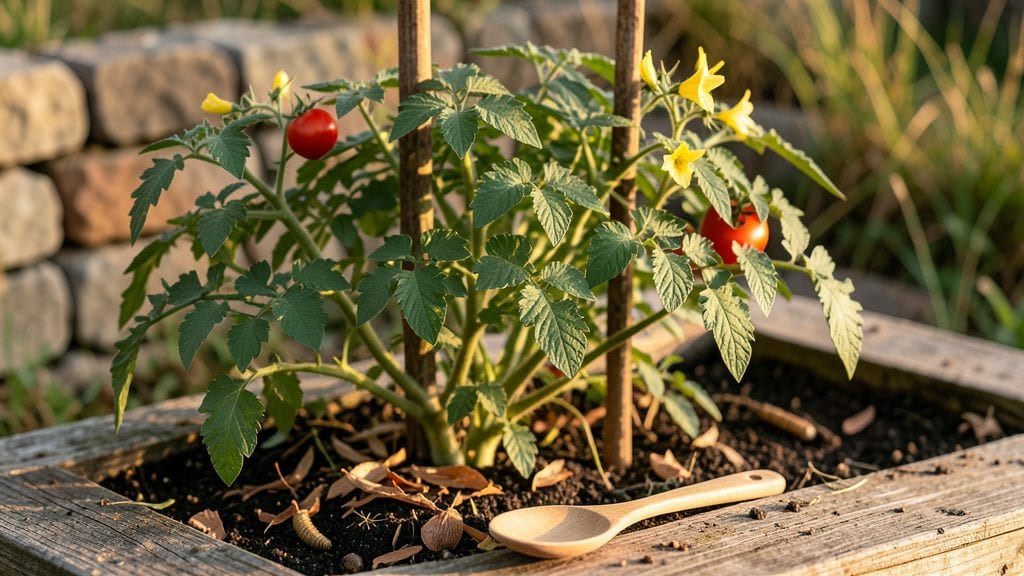
Storing tomato seeds properly means you’ll have fresh, viable plants next spring instead of wilted store-bought seedlings. 🌱 I learned the hard way—last year’s seeds sat in a damp envelope, and half of them sprouted mold instead of tomatoes.
The right drying, labeling, and storage make all the difference between a thriving garden and a sad, shriveled mess.
You only need a few simple supplies: ripe tomatoes (or saved seeds), a bowl of water, a fine-mesh strainer, paper towels, and an airtight container with a silica packet or desiccant.
The key is patience—seeds need 3-5 days to dry completely before storage. Skipping this step is how you end up with seeds that refuse to germinate.
Once dried, store them in a cool, dark place below 40°F for long-term viability. Label each container with the variety and date—trust me, you’ll forget by next spring.
Test a few seeds in damp paper towels before planting to confirm they’re still good; if they sprout within 5-7 days, you’re golden.
This method works for heirloom and hybrid tomatoes alike, but avoid storing seeds from hybrid varieties if you want true-to-type plants next year. With these steps, your saved seeds could last 3-5 years—or even longer if stored perfectly. Ready to turn this year’s harvest into next year’s garden?
📚 In This Guide
- What you need
- Instructions
- Tips and common mistakes
- Wrapping up and next steps
What you need
- ● Mature tomatoes – Choose fully ripe, healthy tomatoes (at least 3-4 per variety).
- ● Small bowl or container – For fermenting seeds (glass or ceramic works best).
- ● Water – Enough to cover seeds (about 1 cup per bowl).
- ● Fine-mesh strainer or coffee filter – For rinsing seeds.
- ● Paper towels or coffee filters – To pat seeds dry.
- ● Small paper envelopes or seed packets – For storage (label each variety!).
- ● Permanent marker – To label seed packets with variety names and dates.
- ○ Air-tight containers or resealable bags – Optional but helpful for long-term storage (e.g., Ziploc bags with silica gel packets).
- ● Silica gel packets – Absorbs moisture and extends shelf life.
- ● Desiccant packets – Place in storage containers for extra dryness.
- ● Notebook or spreadsheet – Track seed varieties, harvest dates, and germination notes.
- ● Fine-tip tweezers – For gently separating seeds from pulp.
Step-by-Step instructions for storing tomato seeds properly
Here's my foolproof method for saving seeds that stay viable for years—no fancy equipment needed.
🌱 Step 1: Select and Extract Ripe Tomato Seeds
Pick fully ripe tomatoes that are soft to the touch and have deep color—these yield the most vigorous seeds. Slice them open and scoop out the gel-like seed mass into a small bowl. The gel contains a natural inhibitor that prevents premature germination, so we need to remove it.
Add 1 cup of water to the bowl and stir gently. Let the mixture sit for 2-3 days at room temperature. You'll see seeds sink to the bottom while the gel and pulp ferment and rise to the surface. Skim off the moldy pulp daily—it's crucial to prevent seed rot during fermentation.
💧 Step 2: Rinse and Dry the Seeds Thoroughly
After fermentation, pour the seeds through a fine-mesh strainer and rinse them under cool running water until the water runs clear. This removes any remaining pulp. Spread the seeds in a single layer on a clean paper towel or seed drying screen—don't crowd them, or they'll mold.
Place the seeds in a warm, dry spot with good air circulation, like a sunny windowsill or a seed dehydrator set to 70-80°F. They're ready when completely dry and brittle to the touch—this usually takes 3-5 days. Test by gently pressing a seed between your fingers; it should crumble easily.
⏰ Step 3: Store Seeds in Optimal Conditions
Transfer the dried seeds to a small envelope or airtight container. I use paper envelopes for short-term storage (1-2 years) or glass jars with desiccant packets for long-term preservation (5+ years). Label each container with the tomato variety and harvest date—seeds lose viability over time, so freshness matters.
Store the containers in a cool, dark place like a pantry or refrigerator. The ideal temperature range is 32-41°F, which slows moisture loss and maintains viability. Avoid basements with high humidity or attics with temperature fluctuations—both can reduce seed longevity.
🌿 Step 4: Test Seed Viability Before Planting
Before sowing, test a few seeds by placing them on a damp paper towel in a sealed plastic bag. Keep them at 70°F and check daily. If 50% or more sprout within 7-10 days, your seeds are still viable. If fewer than half sprout, consider reducing the number of seeds planted or sourcing fresh ones.
This simple test saves you from planting dozens of seeds only to have poor germination. I always test a small batch from each variety to confirm vigor before committing to a full planting. Remember, older seeds may take slightly longer to germinate, but they'll still produce healthy plants if stored properly.
Tips & tricks for perfect tomato seed preservation
A few simple strategies will help you maximize seed viability and avoid common pitfalls in the drying and storage process.
Fermentation Precision: The 2-3 day fermentation window in Step 1 is critical—don't rush it! The natural inhibitors in the gel need this time to break down completely. I've learned the hard way that skipping this step leads to seeds that either mold or fail to germinate. Use a spoon to stir the mixture daily, which helps release more inhibitors and speeds up the process slightly without compromising quality.
Drying Technique: When drying seeds in Step 2, avoid direct sunlight—it can create hot spots that cause uneven drying. Instead, place your drying screen on a counter near a sunny window where indirect light provides warmth. If using a dehydrator, set it to 70-80°F and monitor closely; seeds are ready when they crumble easily between your fingers. This test is more reliable than guessing by appearance.
Storage Environment: The 32-41°F range mentioned in Step 3 is non-negotiable for long-term viability. I keep my seed jars in the back of my refrigerator where the temperature stays consistently cool. For pantry storage, place containers in the coolest, darkest corner away from appliances that generate heat. Humidity control is equally important—consider adding a small silica gel packet to your storage containers for extra protection.
Labeling System: Create a simple labeling system that includes both the tomato variety and harvest date. I use small masking tape labels on my glass jars with permanent marker. This helps me track which seeds are freshest and which varieties I might want to prioritize for next season's planting. Trust me, you'll thank yourself when you're sorting through seeds a year later!
Pro Tips for Storing Tomato Seeds
- A few simple strategies will help you maximize seed viability and avoid common pitfalls in the drying and storage process.
- Fermentation Precision: The 2-3 day fermentation window in Step 1 is critical—don't rush it!
- Drying Technique: When drying seeds in Step 2, avoid direct sunlight—it can create hot spots that cause uneven drying.
Frequently asked questions
Got questions about storing tomato seeds?
Here are some of the most common ones—plus quick, practical answers to keep your seeds viable and ready for next season’s garden!
How long can I store tomato seeds before they lose viability?
Most tomato seeds stay viable for 3–5 years if stored properly in cool, dry conditions (below 40°F/4°C). After 5 years, germination rates may drop, but some seeds can still sprout! Test a few before planting to check viability. Pro tip: Label seed packets with the harvest date to track freshness.
When is the best time to extract seeds from tomatoes?
Harvest seeds from fully ripe, healthy tomatoes—overripe or diseased fruit can carry pathogens. Extract and ferment seeds in a jar for 2–4 days (until mold-free and slimy), then rinse and dry them. Avoid green tomatoes, as their seeds may not mature properly. Timing tip: Wait until tomatoes are soft and pulpy for optimal seed development.
What’s the ideal humidity and temperature for long-term seed storage?
Store seeds in a cool (32–41°F/0–5°C), dry environment with 30–50% humidity. A sealed airtight container (like a glass jar with silica gel) or a sealed envelope in the fridge/freezer works best. Avoid damp basements or attics—moisture is the enemy! Quick fix: Use a small packet of rice in the container as a natural moisture absorber.
Can I store tomato seeds without fermenting them first?
Fermenting isn’t always required, but it helps remove gelatinous coatings that can inhibit germination. If you skip fermentation, rinse seeds thoroughly, dry them completely, and store them as usual. However, fermenting increases viability and removes potential pathogens. Caution: Unfermented seeds may have lower germination rates.
What do I do if my stored seeds won’t germinate?
First, check for moisture damage (musty smell, mold) or old age (seeds >5 years). Try stratification (mixing seeds with damp paper towels and refrigerating for 1–2 weeks) or a warm water soak (80°F/27°C) for 24 hours to encourage sprouting. If all else fails, test a few seeds in damp paper towels—if none sprout, it’s time to save new seeds! Troubleshooting tip: Store-bought seeds often have higher viability; consider supplementing with fresh ones.
What’s the best container for long-term seed storage?
Use airtight, moisture-proof containers like:
- Glass jars (with silica gel packets)
- Mylar bags (sealed with an impulse sealer)
- Vacuum-sealed bags
- Small, labeled envelopes in a cool, dark place
Avoid plastic bags (they trap moisture) or cardboard boxes (which degrade over time). Label each container with the tomato variety and harvest date for easy organization! Organization hack: Use a spreadsheet to track seed batches by year and variety.
Wrapping up and next steps
Storing tomato seeds is a rewarding way to preserve heirloom varieties and ensure a thriving garden next season! With just a little effort—fermenting, drying, and proper storage—you’ll have fresh seeds ready to plant. Now’s your chance to become self-sufficient and connect with the joy of gardening.
Ready to take the next step? Start small—save seeds from your favorite tomatoes this year! Share your progress with fellow gardeners or experiment with new varieties. Happy growing! 🌱