Pruning
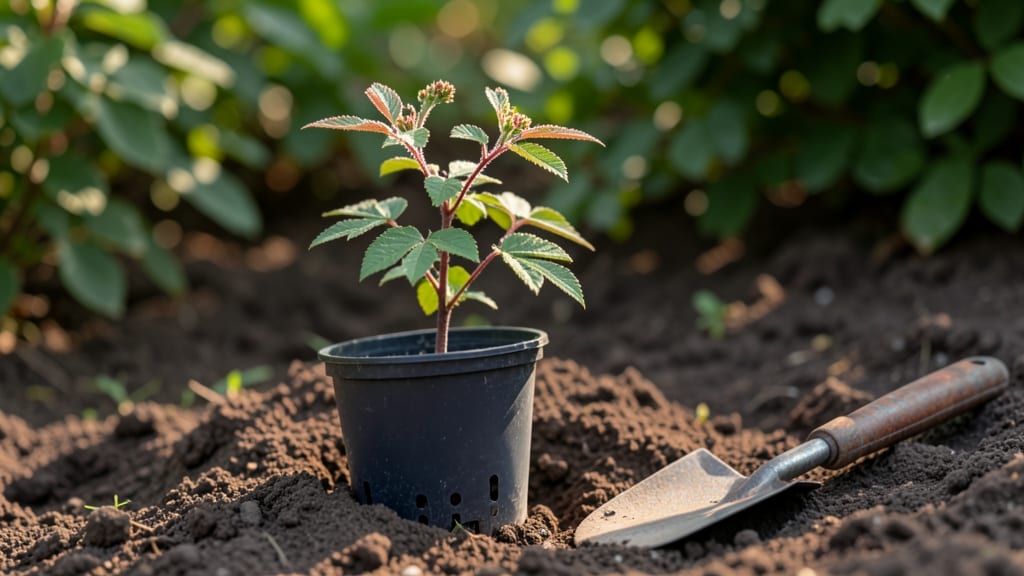
Growing sumac tree seedlings from seed means next year's bright red clusters are just months away. 🌱 I learned the hard way that skipping cold stratification means waiting years for those striking fall colors—so I perfected a timeline that guarantees reliable blooms by planting season.
The secret isn't complicated: sumac seeds need a winter chill to break dormancy, and mimicking nature's timing gives you a head start. You'll need a mix of potting soil and perlite, a plastic bag with holes, and a freezer for the cold treatment.
Most gardeners overlook the stratification step, but it's what turns fluffy seeds into sturdy seedlings ready for transplanting.
By following this schedule, you'll see those first bright green leaves emerge within 4-6 weeks of planting, with strong roots ready for outdoor life by spring.
The red berry clusters won't appear until the second year, but the fast growth makes every step worth it—just be ready for how quickly these trees spread once established.
Works best in zones 4-9, though northern growers should extend the cold treatment by 2 weeks. The key is patience—sumac rewards careful starters with decades of low-maintenance beauty. Let's get those seeds stratified!
📚 In This Guide
- What you need
- Instructions
- Tips and common mistakes
- Wrapping up and next steps
What you need
- ● Sumac seeds: Freshly collected (or store-bought) seeds from Rhus species (e.g., staghorn, fragrant, or smooth sumac). Aim for 50–100 seeds for best results.
- ● Cold stratification medium: Option 1: Damp peat moss or coco coir (1–2 cups)
- ● Option 2: A mix of sand and peat (50/50 ratio, ~2 cups total)
- ● Plastic storage bag: A quart-sized or gallon-sized zip-top bag with a small hole for airflow.
- ● Water misting bottle: For keeping the medium moist (not soggy) during stratification.
- ● Refrigerator: A cold (34–40°F / 1–4°C) space (like a fridge crisper drawer) for 60–90 days.
- ● Planting containers: Small pots (3–4 inches deep) with drainage holes and well-draining soil (e.g., 50% potting mix + 50% perlite/sand).
- ● Grow lights or sunny windowsill: For 12–16 hours of light/day after germination.
- ● Seed stratification tray: A reusable tray with a lid for organized cold treatment.
- ● Humidity dome: To retain moisture during germination.
- ● pH test kit: To check soil pH (ideal: 5.5–6.5 for sumac).
- ● Fertilizer: A balanced, water-soluble fertilizer (e.g., 10-10-10) for young seedlings.
- ● Heat mat: If your home is below 60°F (15°C) during germination.
Step-by-step instructions for cold stratifying sumac tree seedlings
Here's my foolproof method to break dormancy and ensure vibrant growth next season.
🌱 Step 1: Collect and Prepare Fresh Sumac Seeds
Harvest sumac seeds in late fall when the berries turn dry and papery. I like to gather them after the first hard frost when the clusters have opened naturally. Place the seeds in a paper bag and let them dry in a cool, dark place for 2-3 weeks—this mimics their natural drying period before winter.
Once dry, separate the seeds from any remaining pulp by gently rubbing them between your fingers. Discard any damaged or shriveled seeds—they won’t germinate. Store the viable seeds in a sealed container in the refrigerator until you’re ready to stratify them. This keeps them fresh and ready for the process.
⏰ Step 2: Cold Stratify Seeds for 60-90 Days
Fill a container with damp sphagnum moss or a mix of sand and peat—I use equal parts of each. Moisten it until it feels like a wrung-out sponge; it should hold moisture but not be soggy. Place the sumac seeds 1 inch deep in the mix, spacing them about 2 inches apart.
Cover the container with plastic wrap or a lid and refrigerate it at 35-45°F. This cold, moist environment mimics winter conditions and breaks the seed’s dormancy. Check the moisture every 2-3 weeks—if it feels dry, lightly mist it. After 60-90 days, you’ll see the first signs of germination.
☀️ Step 3: Transition to Warmth and Light
Once the seeds sprout—you’ll notice tiny green tips poking through the moss—remove them from the refrigerator. Transfer the container to a warm spot with bright, indirect light, like a sunny windowsill. Keep the moss moist but not waterlogged during this transition.
After 2-3 weeks of growing in warmth, the seedlings will develop their first true leaves. This is your signal to move them into individual 3-inch pots filled with well-draining potting mix. Handle them gently to avoid damaging the delicate roots.
🪴 Step 4: Acclimate Seedlings for Outdoor Planting
When the seedlings reach 4-6 inches tall and have developed a sturdy root system, it’s time to harden them off. Start by placing them outside in a sheltered spot for 1-2 hours the first day. Gradually increase their outdoor time over 10-14 days, protecting them from harsh sun and wind.
Plant them in the ground after the last frost date in spring, spacing them 6-8 feet apart to allow for their eventual size. Mulch around the base to retain moisture and suppress weeds. With proper care, your sumac seedlings will bloom beautifully next season.
Tips & tricks for perfect sumac tree seedling stratification
Don't let those tiny seeds fool you—these small details make all the difference between struggling sprouts and thriving seedlings.
Moisture is Everything: The dampness during stratification should feel like a wrung-out sponge—not dripping, but constantly moist. I find using a spray bottle to mist the moss every 2-3 weeks keeps it perfect without overdoing it. Too dry and germination stalls; too wet and you risk mold. A clear container helps you monitor moisture levels easily.
Temperature Consistency: That 35-45°F range is critical—any warmer and dormancy won't break properly. I use the crisper drawer of my fridge, which stays around 38°F consistently. If your fridge runs hotter, place the container on a shelf with ice packs around it to maintain the right chill. A thermometer in the container gives you peace of mind.
Light Transition Strategy: When moving seedlings to warmth in Step 3, I gradually increase light exposure over 3 days. Start with just morning sun, then add afternoon exposure. This prevents shock to delicate sprouts. A grow light on a timer (12 hours on/12 hours off) works wonders if natural light is limited.
Seed Quality Check: Before stratifying, float-test your seeds in water—any that sink are viable. I also inspect each one under good light to ensure no cracks or soft spots. Healthy seeds should feel firm and plump. This simple check saves weeks of frustration with non-germinating seeds.
Pro Tips for Sumac Tree Seedling
- Don't let those tiny seeds fool you—these small details make all the difference between struggling sprouts and thriving seedlings.
- Moisture is Everything: The dampness during stratification should feel like a wrung-out sponge—not dripping, but constantly moist.
- Temperature Consistency: That 35-45°F range is critical—any warmer and dormancy won't break properly.
Frequently asked questions
about sumac tree seedlings and cold stratification—because even the best gardeners need a little guidance!How long does cold stratification really need to last for sumac seedlings?
Sumac seedlings typically require 60–90 days of cold stratification (33–40°F) to break dormancy. For best results, mimic winter by placing them in a moist, refrigerated environment (like a sealed bag with damp peat moss) for at least 3 months before planting outdoors in spring.
Can I skip cold stratification and plant sumac seeds directly?
While some sumac seeds may germinate without stratification, cold treatment significantly improves success rates. Skipping it could lead to slow, uneven germination or poor seedling vigor. If you’re impatient, try scarification (lightly nicking the seed coat) as a backup—but cold stratification is the gold standard!
What’s the best way to check if my sumac seedling is ready to plant after stratification?
Look for 3 key signs:
- Firm, plump seeds (not shriveled or soft).
- Visible root hairs (gentle pressure on the seed coat may reveal tiny white roots).
- No mold or foul odors (a sign of rot during stratification).
Are there sumac varieties that don’t need cold stratification?
Most native sumac species (e.g., staghorn, fragrant, or smooth sumac) benefit from cold stratification. However, some tropical or hybrid varieties (like Rhus copallina cultivars) may germinate faster without it. Always check the seed packet or plant tag—or test a few seeds to see how they respond!
My stratified sumac seeds sprouted mold—what went wrong?
Mold usually means too much moisture or poor airflow during stratification. Fix it by:
- Using sterilized peat moss or vermiculite (not damp paper towels).
- Storing seeds in a perforated bag or container to prevent condensation.
- Checking weekly for excess moisture—dry slightly if needed.
Wrapping up and next steps
Growing a sumac tree seedling with reliable blooms starts with patience and the right timing—especially when it comes to cold stratification
Remember, consistency is key, whether you’re using the fridge method or outdoor exposure. Now that you’re armed with the know-how, take the next step! Plant those prepped seeds in well-draining soil and give them the care they deserve. Watching your sumac thrive—and eventually burst into color—will be so rewarding. Happy gardening! 🌱✨