Planting
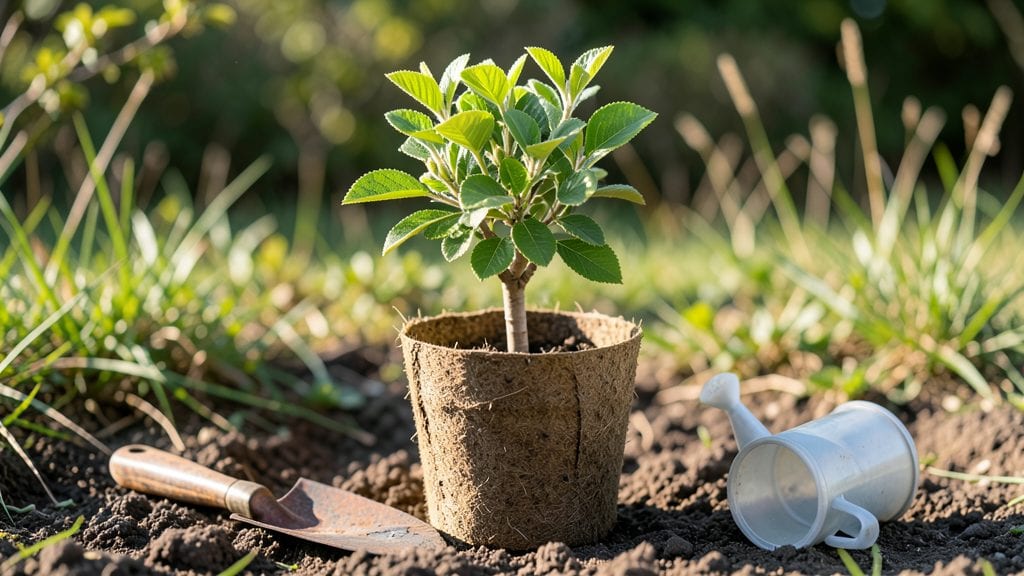
Growing a sweet chestnut seedling starts with that layered soil moisture trick—the secret to breaking dormancy without drowning the seed. 🌱 I remember my first attempt where I overwatered and lost the seedling in two days.
The right balance keeps the soil damp but never soggy, mimicking the forest floor where chestnuts naturally sprout.
You’ll need a well-draining mix of peat moss, perlite, and a handful of sand to prevent rot. Plant the seed about an inch deep in a small pot, then cover it with a clear plastic dome or plastic wrap to trap humidity.
Keep it in a spot with indirect light—direct sun can dry it out too fast, and too little light stunts growth.
Within 4-6 weeks, you’ll see the first green shoot pushing through the soil, a sign you’ve nailed the moisture balance. The key is checking soil dampness daily—it should feel like a wrung-out sponge, not a dripping wet rag.
Once the seedling reaches 3-4 inches, you can transplant it outdoors in spring after the last frost.
Sweet chestnuts grow slowly but reward patience with towering shade trees and edible nuts. The biggest challenge? Keeping pests like squirrels from digging up young plants. A simple wire cage around the base solves that—just bury the edges an inch deep so critters can’t tunnel in.
📚 In This Guide
- What you need
- Instructions
- Tips and common mistakes
- Wrapping up and next steps
What you need
- ● Sweet chestnut seeds – 5–10 fresh, plump seeds (harvested from ripe nuts, ideally from a local source for best results).
- ● Well-draining potting mix – 5–10 gallons of a blend designed for seedlings (e.g., 60% peat moss, 30% perlite, 10% compost). Pro tip: Avoid heavy clay soil!
- ● Seedling trays or small pots – 4–6" deep containers (biodegradable pots work great for transplanting later).
- ● Grow lights or sunny windowsill – A full-spectrum LED grow light (12–16 hours/day) or a south-facing window with 6+ hours of sunlight.
- ● Misting bottle or spray nozzle – For gentle hydration without disturbing seeds.
- ● Plastic wrap or humidity dome – To retain moisture while seeds germinate.
- ○ Fertilizer (optional but helpful) – A balanced, water-soluble fertilizer (5-5-5 ratio) diluted to half-strength for young seedlings.
- ○ Gloves – Protect your hands from prickly chestnut husks (optional but recommended!).
- ● Small hand trowel – For gently planting seeds and transplanting.
- ● pH testing kit – Ensures your soil is slightly acidic (pH 5.5–6.5, ideal for chestnuts).
- ○ Thermometer (optional) – Monitor soil temperature (70–80°F is perfect for germination).
- ● Label markers – To track planting dates and seed varieties.
- ● Patience – Sweet chestnut seeds can take 4–12 weeks to germinate!
- ● Consistent moisture – Use the layered soil trick (see next steps) to keep roots hydrated.
- ● Space for growth – Chestnut seedlings need room to stretch (transplant to larger pots or outdoor beds after 3–4 months).
- ● Local climate knowledge – Sweet chestnuts thrive in USDA Zones 5–8; plan for outdoor planting in spring.
Step-by-Step instructions for growing sweet chestnut seedlings
Master this layered moisture technique and you'll break the stubborn chestnut sprout barrier.
🌱 Step 1: Prepare the Seed and Bottom Layer
Sweet chestnut seeds have thick shells that need a head start. Soak the 4 seeds in warm water for 24 hours to soften the outer husk. This trick softens the shell enough for roots to emerge without struggling. While they soak, fill your 6-inch deep pot with 2 inches of coarse sand or perlite at the bottom—this creates drainage while keeping moisture right where it needs to be.
After soaking, gently rub the seed shells with sandpaper to scratch the surface lightly. This doesn't damage the seed but helps water penetrate. Place each seed on top of the sand layer, 1 inch apart, with the pointed end facing up. Chestnut seeds often sprout unevenly, so this spacing gives roots room to spread.
💧 Step 2: Build the Layered Moisture System
Now comes the trick: cover the seeds with 1 inch of moistened peat moss. This layer stays damp longer than regular soil and protects the seeds from drying out. Spritz it lightly with water until it feels like a damp sponge—not soggy, just consistently moist. On top of that, add 2 inches of the potting mix, pressing down gently but not packing it tight.
Here's where most fail: water the top layer until it's evenly moist but not dripping. The peat moss will wick moisture up to the seeds, but if the top stays dry, the seeds suffocate. Check daily by pressing your finger into the top layer—it should feel like a wrung-out sponge. If it's dry, mist again. If it's wet, wait.
☀️ Step 3: Provide Warmth and Indirect Light
Sweet chestnuts need warmth to germinate, so place the pot in a spot with 70-75°F temperatures. A seedling heat mat works wonders here, keeping the soil consistently warm without overheating. Cover the pot loosely with plastic wrap to trap humidity, but leave a small gap for airflow—too much condensation invites mold.
Light is indirect at this stage. Place the pot near a window with filtered light or under a grow light 12 inches away. Direct sun now will dry out the top layer too quickly. You'll know it's working when the seeds split open after 4-6 weeks, revealing tiny white roots. Patience is key—rushing this step often leads to rot.
🌿 Step 4: Thin and Transition to Soil
Once the first sprouts appear, remove the plastic wrap immediately to prevent fungal growth. Thin the seedlings to 2 strongest per pot by snipping the weaker stems at the base. This gives the survivors room to develop sturdy roots. After 8-10 weeks, when the seedlings have 2-3 sets of true leaves, it's time to transition them to regular potting mix.
Gently lift the peat moss layer and mix it with the remaining 2 inches of potting mix to create a looser, airier medium. Water lightly and place the pot in bright, indirect light for another 2 weeks to harden off. You'll see the difference: seedlings that were struggling in the layered system will now grow with confidence, ready for their first outdoor adventure.
Tips & tricks for perfect sweet chestnut seedling growth
Here's what I learned after struggling with stubborn chestnut seeds—these tricks make all the difference between success and frustration.
The Soaking Secret: That 24-hour soak isn't just about softening the husk—it's about breaking the seed's natural dormancy. I used to skip this step and wonder why nothing happened. The warm water jumpstarts the germination process, so don't rush it! If you're short on time, you can soak for up to 48 hours (but no longer), but the 24-hour mark is ideal for consistent results.
Layered Moisture is Non-Negotiable: The peat moss layer in Step 2 is the game-changer. It maintains moisture right where the seeds need it without becoming waterlogged. I learned this the hard way—when I used regular potting mix, the top layer dried out too quickly and my seeds suffocated. Press your finger into the top layer daily: it should feel like a wrung-out sponge, not bone-dry or soggy. This moisture balance is what keeps those seeds happy.
Warmth and Patience Pay Off: The 70-75°F temperature range in Step 3 is crucial—chestnut seeds are sensitive to cold. I tried growing them in my cool basement (around 65°F) and nothing happened. If your home runs cooler, use a seedling heat mat underneath the pot. And remember, those 4-6 weeks until the first sprouts appear require absolute patience. I nearly gave up at week 3, but sticking with it paid off when those first white roots appeared.
Thinning Saves the Survivors: When you thin to 2 strongest seedlings in Step 4, you're not just making space—you're giving those remaining plants a fighting chance. I once kept all 4 seedlings thinking they'd all make it, but they became stunted and weak. The strongest two will grow into sturdy trees with proper root systems, while the weaker ones would've just competed for resources.
Pro Tips for Sweet Chestnut Seedling
- Here's what I learned after struggling with stubborn chestnut seeds—these tricks make all the difference between success and frustration.
- The Soaking Secret: That 24-hour soak isn't just about softening the husk—it's about breaking the seed's natural dormancy.
- Layered Moisture is Non-Negotiable: The peat moss layer in Step 2 is the game-changer.
Frequently asked questions
Got questions about growing sweet chestnut seedlings?
You’re not alone! Here are some of the most common queries—and their straightforward answers—to help you get started with confidence.
How long does it take for a sweet chestnut seedling to sprout?
A sweet chestnut seedling typically takes 4 to 8 weeks to sprout after planting, depending on soil temperature (ideal range: 60–75°F) and moisture levels. If your seedling hasn’t sprouted in 10 weeks, gently check for signs of rot or adjust your moisture trick—patience is key!
What’s the best way to keep the soil moist without overwatering?
Use the layered moisture trick: Place the seedling in a shallow tray with a thin layer of water (½ inch) and cover it with a clear plastic dome or plastic wrap. This creates a humid microclimate while preventing soggy soil. Check daily—remove the dome once sprouts appear to avoid mold.
Can I grow sweet chestnut seedlings indoors first?
Yes! Start them indoors in a warm, bright spot (like a sunny windowsill) 4–6 weeks before the last frost. Use a small pot with well-draining soil and a heat mat (optional) to speed up germination. Once sprouts are 2–3 inches tall, harden them off outdoors before transplanting.
Why is my sweet chestnut seedling turning yellow or mushy?
Yellowing or mushiness usually signals overwatering or fungal rot. Ensure your container has drainage holes and reduce watering if the top inch of soil stays damp. If mold appears, remove affected seedlings, sterilize tools, and improve airflow. A sprinkle of cinnamon around the base can help prevent fungal growth naturally.
How do I know if my sweet chestnut seedling is healthy enough to transplant?
A healthy seedling has 2–4 sturdy leaves, a firm stem (not limp), and roots peeking from the drainage holes. Wait until nighttime temps stay above 50°F and harden it off for 1–2 weeks by gradually exposing it to outdoor conditions. Transplant on a cloudy day to reduce stress!
Wrapping up and next steps
Growing a sweet chestnut seedling from scratch is a rewarding journey that blends patience with nature’s magic!
With the right layered soil moisture trick and a little care, you’ll soon watch those tiny roots transform into a thriving tree. You’ve got this—now grab those seeds and let your green thumb shine!
Ready to take the next step? Start by prepping your soil layers and planting your first seedling this weekend. Share your progress with fellow plant lovers—your chestnut sapling might just inspire the next big gardening trend! 🌱✨