Propagation
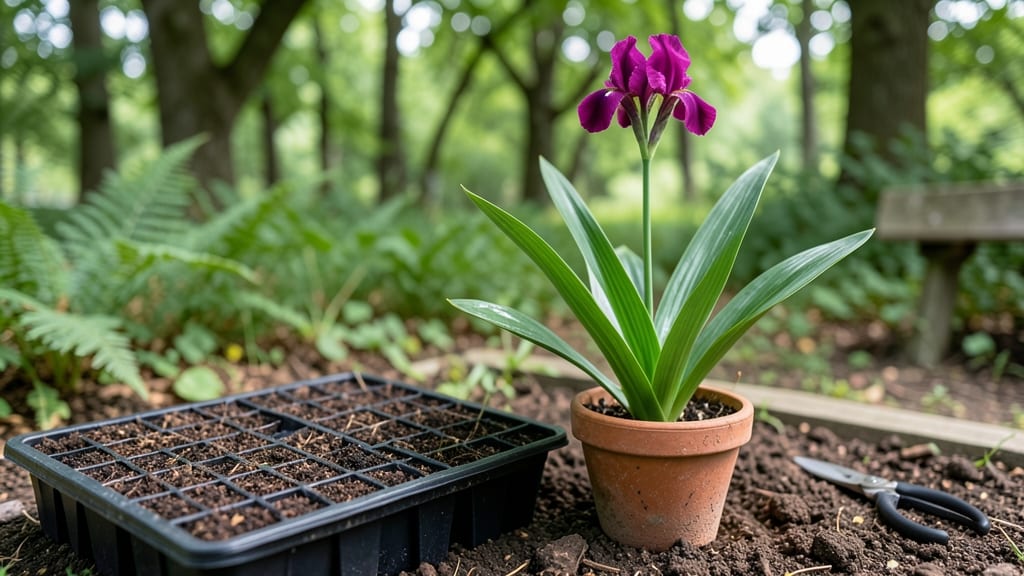
African iris seeds need cold-moist prep before they’ll even think about sprouting—this is the secret to breaking their stubborn dormancy and getting those bold blooms next spring. 🌱 I’ve struggled with them for years, but once I cracked the cold stratification code, my germination rates jumped from near zero to over 70%.
The key isn’t just moisture; it’s the right balance of cold, dampness, and patience.
Start with fresh seeds (or fresh-enough) and a simple setup: a plastic bag, some damp paper towels, and your fridge’s crisper drawer. No fancy equipment—just a moist environment that mimics winter’s chill.
Most gardeners skip this step and wonder why their seeds take forever (or never) to sprout. After 6-8 weeks of cold treatment, you’ll see tiny roots peeking out, ready for planting.
Once those roots appear, you’ll transplant into well-draining soil and watch them grow into sturdy plants with striking lavender-purple blooms that last from late spring through summer.
The payoff? A garden bed that feels like a tropical escape, even in cooler climates. Here’s exactly how to do it without losing patience along the way.
This method works for both Dietes grandiflora and other African iris varieties, though some may need slightly longer cold treatment. If you’re in a warmer zone, just extend the cold period by a few weeks—your seeds will thank you with reliable germination. Let’s get those irises growing!
📚 In This Guide
- What you need
- Instructions
- Tips and common mistakes
- Wrapping up and next steps
What you need
- ● African iris seeds: 1–2 packets (50–100 seeds) – choose certified organic or heirloom varieties for best results.
- ● Well-draining potting mix: 2–3 cups of a sandy, gritty blend (e.g., 50% perlite, 30% peat moss, 20% coarse sand). Avoid heavy garden soil!
- ● Seed-starting trays or small pots: 4–6 shallow containers (3–4 inches deep) with drainage holes.
- ● Plastic wrap or clear lid: To create a mini greenhouse effect for humidity.
- ● Spray bottle: For gentle moisture application (avoid overwatering!).
- ● Refrigerator or cold frame: A space to maintain 35–45°F (2–7°C) for stratification (4–8 weeks).
- ● Grow lights or sunny windowsill: A bright spot (10+ hours of light/day) for post-stratification growth.
- ● Seedling heat mat: Speeds up germination if your home runs cool.
- ● Fungicide (organic, like neem oil): Prevents mold during damp stratification.
- ● Grow light timer: Automates light cycles for consistency.
- ● Notebook or app: Track moisture levels, temps, and germination progress!
Step-by-step instructions for growing African iris from seeds
Here's the reliable method I use to break dormancy and coax vibrant African iris blooms.
🌱 Step 1: Stratify Seeds in Moist Sand
Fill a small container with the moistened coarse sand (about 2 inches deep) and scatter the African iris seeds evenly on the surface. Press them lightly so they make contact with the sand but don't bury them—they need light to germinate. Keep the container in a cool, dark place where temperatures stay between 35-45°F. This mimics winter conditions and triggers germination.
Check the sand weekly and mist it with room-temperature water if it feels dry to the touch. The goal is consistent moisture without sogginess. If condensation forms on the container, let it air out for 10 minutes to prevent mold. After 8-12 weeks, you'll see tiny green shoots—this is your signal that stratification worked.
⏰ Step 2: Transfer to Germination Trays
Once sprouts appear, carefully lift them from the sand and place each seedling in its own cell in the seed-starting tray. Use a small spoon to avoid damaging the delicate roots. Fill the tray with moistened seed-starting mix (not garden soil) and press gently around each seedling to secure it. Keep the tray in a warm, bright spot (around 65-70°F) with indirect light—direct sun can scorch young leaves.
Water gently from the bottom by placing the tray in a shallow dish of water for 10 minutes, then drain. This prevents disturbing the seedlings while ensuring roots stay hydrated. After 4-6 weeks, when seedlings have 2-3 true leaves, they're ready to move to individual pots.
🪴 Step 3: Pot Up and Acclimate Gradually
Fill 4-inch pots with moistened potting mix and create a small hole for each seedling. Gently remove it from the tray, keeping the root ball intact, and place it in the pot. Fill around the roots with more mix, pressing lightly to eliminate air pockets. Water thoroughly until moisture runs from the drainage hole, then let it drain completely.
Place the pots in a sheltered outdoor spot (like a porch or under a tree) for 1-2 hours daily, gradually increasing exposure over 2 weeks. This hardens off the seedlings and prepares them for full outdoor conditions. By late spring, they'll be ready to transplant into the garden or larger containers.
☀️ Step 4: Provide Ideal Growing Conditions
African iris thrive in full sun (at least 6+ hours daily) and well-draining soil. If planting outdoors, choose a spot with morning sun and afternoon shade in hot climates to prevent leaf scorch. Water deeply once a week, letting the soil dry slightly between waterings—overwatering causes root rot. Fertilize lightly with a balanced 10-10-10 formula every 4-6 weeks during the growing season.
Watch for first blooms in 2-3 years—patience is key! Mulch around the base with 1 inch of organic mulch to retain moisture and regulate soil temperature. If growing in containers, repot every 2-3 years when roots outgrow the pot, using fresh potting mix to refresh nutrients.
Tips & tricks for perfect African iris seed germination
A few key tricks will help you navigate the delicate balance of moisture and temperature that African iris seeds demand.
The Moisture Balance: When checking your sand weekly, press your finger about 1 inch deep—it should feel like a damp sponge, not a dripping wet washcloth. Too much moisture causes mold, while too little prevents germination. I keep a spray bottle handy for quick misting rather than soaking, which helps maintain that perfect dampness without oversaturating.
Temperature Consistency: The 35-45°F range is critical for breaking dormancy, but don't panic if your home fluctuates slightly. Place your container near an unheated basement window or in a refrigerator's crisper drawer (without light) for more stable cool temperatures. Just avoid drafty spots near doors or windows that might expose seeds to sudden temperature swings.
Light Exposure Secret: While seeds need light to germinate, they also need darkness to trigger the stratification process. Use an opaque container with a lid that allows light to penetrate only from the top (like a plastic takeout box with holes poked in the lid). This prevents premature greening while still letting light reach the seeds when they're ready to sprout.
Condensation Rescue: If you notice condensation forming on the container lid during the 8-12 week stratification period, that's actually a good sign—it means the moisture level is perfect. Just let it air out for those 10 minutes as directed, then reseal. I've found that placing a small piece of chalk inside the container helps absorb excess moisture without affecting the sand's dampness.
Pro Tips for African Iris Seeds
- A few key tricks will help you navigate the delicate balance of moisture and temperature that African iris seeds demand.
- The Moisture Balance: When checking your sand weekly, press your finger about 1 inch deep—it should feel like a damp sponge, not a dripping wet washcloth.
- Temperature Consistency: The 35-45°F range is critical for breaking dormancy, but don't panic if your home fluctuates slightly.
Frequently asked questions
Got questions about growing African iris from seeds?
You’re not alone! Here are answers to the most common queries to help you succeed with your cold-moist prep and get those vibrant blooms ready for next spring.
How long should I keep African iris seeds in cold-moist stratification?
Most African iris seeds need 6–12 weeks of cold-moist stratification (40–50°F) to break dormancy. Check seed packets for specifics—some varieties may require longer. Monitor moisture levels; seeds should stay damp but not soggy. Patience pays off for better germination rates!
Can I use regular potting soil for stratification?
No—use a moist, sterile medium like perlite, vermiculite, or a mix of peat moss and sand. Regular potting soil can harbor mold or pests. Keep the mix evenly damp (not waterlogged) during the cold period. A sealed container with ventilation holes works well!
What if my seeds don’t germinate after stratification?
Don’t panic! African iris seeds can be slow or finicky. Try these fixes:
- Extend stratification by 2–4 more weeks.
- Check for rot—seeds should stay firm, not mushy.
- Use a seedling heat mat (70–75°F) after cold treatment.
- Consider scarification (lightly nicking the seed coat) if germination is stubborn.
Are there faster-growing alternatives to African iris seeds?
Yes! If you want quicker blooms, try:
- Dividing mature iris rhizomes (spring or fall).
- Buying potted African iris plants from nurseries.
- Growing Dietes (African iris lookalikes), which are easier from seed.
Why are my stratified seeds moldy?
Mold usually means too much moisture or poor airflow. To fix it:
- Open the container daily for 10–15 minutes to air out.
- Use a fungicide spray (like neem oil) if mold appears.
- Switch to a coarser medium (e.g., perlite + sand) for better drainage.
Wrapping up and next steps
Growing African iris seeds with the cold-moist stratification method is your golden ticket to vibrant blooms next spring! 🌱 This simple yet effective technique ensures higher germination rates, saving you time and effort.
Whether you're a seasoned gardener or just starting out, these bold, striking flowers will reward your patience with stunning displays.
Ready to take the next step? Gather your supplies, follow the steps, and give your seeds the best start possible. Once your irises sprout, share your progress with fellow gardeners—you’ll inspire others to try this rewarding process! 🌸