Transplanting
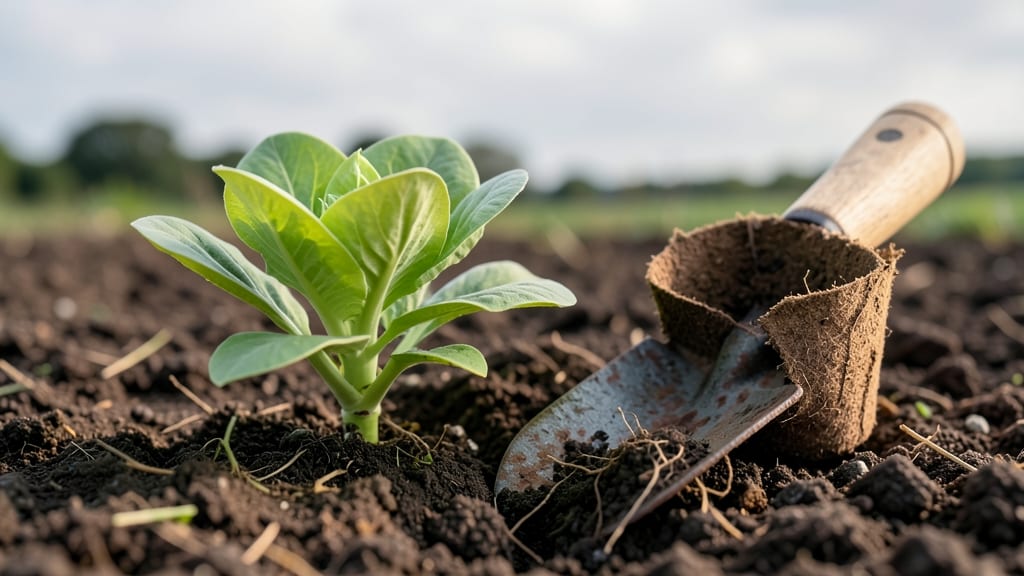
Transplanting germinated seeds at the right time means the difference between strong, thriving plants and weak, struggling 🌱 starts.
Transplanting germinated seeds too early can shock delicate seedlings, while waiting too long risks stunted growth—timing is everything for a thriving garden.
In USDA Zone 6a, the ideal window opens after your last frost date, usually in late April or May, when soil temperatures hit 60°F+ and nights stay consistently above 50°F.
Below, I’ll walk you through how to tell when your seedlings are ready, the best times of day to transplant, and how to adjust for your local climate—so you avoid the most common mistakes.


The perfect hardening off timeline before transplanting germinated seeds
Transplanting germinated seeds directly into the garden without preparation can be a recipe for failure. Delicate seedlings struggle with outdoor conditions like wind, sun intensity, and temperature fluctuations. That's why a structured hardening off process is essential—it's the bridge between cozy indoor starts and resilient outdoor plants.
Think of it as a seedling boot camp that builds strength over 7-14 days before the big move.
I've learned through trial and error that rushing this process often leads to wilting, yellowing leaves, or even death. The key is gradual exposure to outdoor elements while monitoring your seedlings' progress.
Start by placing them in a shaded, protected spot for just 1-2 hours on day one, then slowly increase their time outside. This mimics natural conditions and prevents shock.
Your seedlings are ready for transplanting when they've developed 2-4 true leaves (not the initial cotyledons) and have sturdy stems that can support themselves. At this stage, their roots should be densely packed in the starter pot, signaling they're ready to claim their own space in the garden.
But before you dig, let's break down the perfect hardening timeline tailored to your climate and plant types.
Here's a day-by-day schedule that works for most cool-season crops like lettuce, broccoli, and peas, as well as warm-season favorites such as tomatoes and peppers.
Adjust based on your last frost date and average nighttime temperatures—aim to transplant when soil is at least 50°F and nighttime temps stay above 45°F.
🌱
On day 1, I place my seedlings in a spot that gets morning sun but stays protected from afternoon heat. A porch or under a cloche works well.
If you notice any yellowing or drooping, bring them back inside immediately—they're not ready yet. The goal is to acclimate them slowly, not shock them.
By day 5, most seedlings can handle 5-6 hours of sunlight, provided temperatures stay below 75°F. I check the undersides of leaves for signs of stress—if they're pale or sticky, they're getting too much sun.
At this stage, I also start watering them outdoors to simulate real garden conditions. Use a watering can with a fine rose to avoid disturbing the soil.
By day 7, your seedlings should be ready for full-day exposure, assuming your climate allows it. If nighttime temperatures are still below 50°F, consider using row covers or bringing them inside at night.
The final test comes on day 10-14: leave them out overnight. If they survive without wilting, they're ready for transplanting.
For warm-season crops like tomatoes and peppers, you can speed up the process slightly since they thrive in heat. However, cool-season crops like kale and spinach need more time to toughen up.
Always check your seed packet for specific recommendations—some varieties are more delicate than others. And remember, overcast days are perfect for hardening off because they reduce sun stress.
One common mistake I see is skipping the hardening process entirely, especially when eager gardeners spot the first signs of spring. But seedlings that go straight from indoor trays to the garden often bolt (send up flowers too quickly) or develop blossom end rot in tomatoes.
Taking the time to harden off ensures your plants establish strong roots and focus on vegetative growth rather than flowering prematurely.
🌿
Signs your germinated seeds are ready for transplanting (and what to avoid)
Transplanting your germinated seeds at the right time ensures strong, healthy plants that thrive in your garden. But how do you know when they're truly ready?
Look for 2-3 true leaves—those are the second set of leaves after the initial cotyledons—and avoid transplanting when seedlings are still in their early stages. These leaves indicate the seedling has developed enough to handle outdoor conditions without shock.
Another key sign is root development. Gently remove your seedling from its container and check for a dense network of white, fibrous roots filling the root ball. If you see roots circling the pot or growing out the bottom, it's a clear signal that the seedling needs more space.
Roots that are crowded or tangled will struggle to establish in the garden.
⚠️
⚠️ Avoid These Transplanting Mistakes
Transplanting too early can shock seedlings and stunt growth. Never move seedlings when they're still leggy or pale, or if they have only cotyledons (the first leaves). Also, avoid transplanting when soil temperatures are below 50°F—cold soil slows root growth and increases disease risk.
🌱 Pro Tip: Harden off seedlings for 7-10 days before transplanting to acclimate them to outdoor conditions.
Pay attention to the stem strength of your seedlings. A healthy seedling should have a sturdy, dark green stem that doesn’t bend easily. If stems are thin, weak, or stretched out (a condition called etiolation), they won’t survive the transplant shock.
These seedlings need more light or support before going outdoors.
Overcrowding is another red flag. If your seedlings are touching each other in their containers, they’re competing for nutrients and light, which weakens them. Transplant them into larger pots or individual cells to give each seedling enough space to grow.
Crowded seedlings often develop yellow leaves or stunted growth, signaling they’re not ready for the garden.
Finally, check the weather forecast before transplanting. Aim for a cloudy day or early morning to reduce stress from direct sunlight. Avoid transplanting during heatwaves or frost warnings, as extreme temperatures can damage delicate seedlings.
If you must transplant in hot weather, provide shade cloth for the first few days.
When you notice these signs—true leaves, strong roots, sturdy stems, and favorable weather—your seedlings are ready to graduate to the garden. Take your time with the transplanting process, and your plants will reward you with vigorous growth and a bountiful harvest. 🌿