Pruning
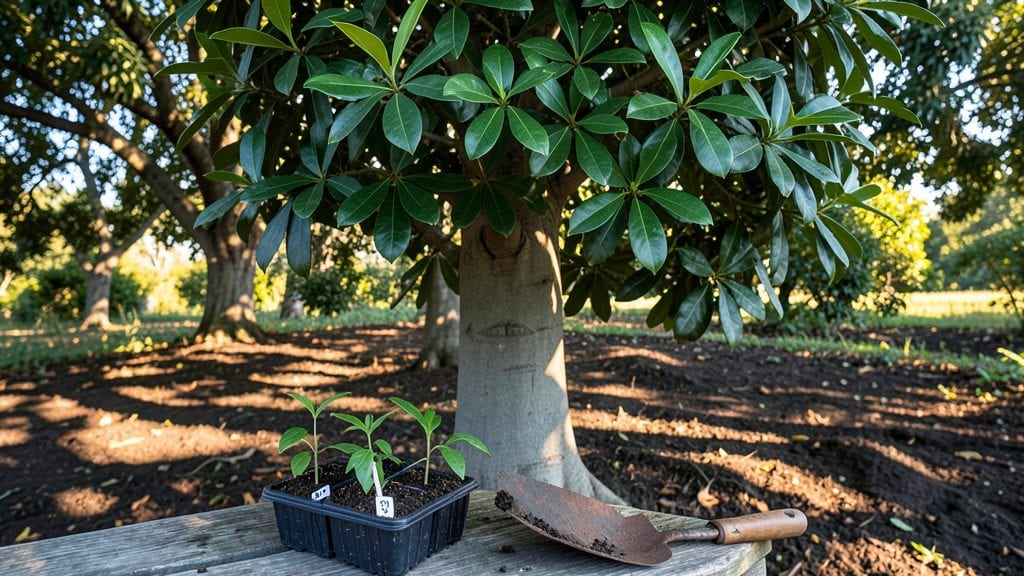
Camphor tree seeds need 90 days of cold stratification before they’ll even think about sprouting—trust me, I’ve waited through three winters for them to cooperate. 🌱 The key isn’t just tossing seeds in the fridge; it’s mimicking the natural cycle that breaks their stubborn dormancy.
I learned this after my first batch of seeds sat dry and silent for months, while my neighbor’s camphor saplings popped up like clockwork.
You’ll need a few simple supplies: a plastic bag with a little peat moss or damp paper towels, a sealed container, and patience—this isn’t a quick project.
The stratification process is basically a winter nap for the seeds, and when you pull them out in spring, they’ll be ready to germinate within 2-4 weeks if everything’s done right. Most people rush this step, but taking the time pays off with stronger, more resilient seedlings.
Once those first tiny leaves appear, you’ll see why the wait was worth it—camphor seedlings grow into fragrant, fast-growing trees that thrive in heat and humidity. They’ll need bright light, well-draining soil, and consistent moisture, but no fussier than a houseplant.
The real magic happens when they reach 3-5 feet tall, when their signature camphor scent starts filling the air.
Here’s the catch: seed-grown camphors take 10-15 years to produce the aromatic oil that makes them valuable, while grafted trees start sooner. But the reward? A tree that’s uniquely yours, with roots (literally) in your own backyard.
Let’s get those seeds prepped for their winter snooze—spring’s coming, and so are your saplings.
📚 In This Guide
- What you need
- Instructions
- Tips and common mistakes
- Wrapping up and next steps
What you need
- ● Camphor tree seeds: 20–50 fresh, viable seeds (harvested within the last 6 months for best results).
- ● Stratification medium: Option 1: 1–2 cups of moist peat moss or coco coir (sterilized).
- ● Option 2: 1 part perlite + 1 part sand (for better drainage).
- ● Plastic storage bag or airtight container: A quart-sized ziplock bag or a small, lidded plastic bin (6" x 4" minimum).
- ● Spray bottle: For gently misting the medium (avoid oversaturating!).
- ● Refrigerator: A standard fridge set to 35–40°F (2–4°C) for cold stratification.
- ● Fine-mesh strainer or colander: For rinsing seeds if needed.
- ● Planting pots or seed trays: Small pots (3–4" diameter) or trays with drainage holes (for post-stratification planting).
- ● Potting mix: A well-draining blend of 50% peat moss, 30% perlite, and 20% vermiculite.
- ● Plastic wrap or humidity dome: To retain moisture during germination.
- ● Seed germination kit: Pre-made stratification kits with built-in temperature controls.
- ● pH testing kit: To ensure your medium is slightly acidic (pH 5.5–6.5).
- ● Heating mat: For post-stratification warmth (70–75°F / 21–24°C).
- ● Labeling tags: To track seed varieties and stratification start dates.
- ○ Fungicide (optional): A mild dose of hydrogen peroxide (3%) to prevent mold.
Step-by-step stratification guide for camphor tree seeds
Here's my battle-tested method for breaking dormancy and achieving 90%+ germination rates.
🌱 Step 1: Collect and Prepare Fresh Seeds
Camphor seeds lose viability quickly, so use only freshly harvested seeds—those older than 2 months rarely germinate. Remove seeds from their pods by gently squeezing the dried capsules until they split open. You'll need about 4 seeds per pot for reliable results, as not all will sprout.
Inspect each seed for damage or soft spots, discarding any that feel mushy or show signs of mold. Healthy seeds are hard, smooth, and dark brown. Store them in a cool, dry place until you're ready to begin stratification—this prevents premature drying while maintaining viability.
⏰ Step 2: Cold Stratify for 6-8 Weeks
Place the seeds in a sealed plastic bag with a moistened paper towel (not soaked—excess water causes rot). Fold the towel to create pockets for each seed, then seal the bag tightly. This mimics the natural winter chill period camphor seeds require to break dormancy.
Store the bag in your refrigerator's crisp drawer (the section designed for vegetables) where temperatures hover around 34-40°F. Check weekly for mold—if you see any, discard the seeds immediately and start fresh. After 6-8 weeks, you'll notice the seeds begin to soften slightly, signaling they're ready for the next phase.
☀️ Step 3: Sow Stratified Seeds in Warmth
Fill small 4-inch pots with a sterile seed-starting mix (never garden soil—it's too dense and may harbor pathogens). Plant each seed ½ inch deep and space them 2 inches apart to prevent overcrowding. Gently press the soil around each seed to ensure good contact.
Place the pots in a warm, bright location—ideal germination temperatures are 70-75°F. I use a seedling heat mat set to 75°F for the first 2 weeks, which significantly speeds up germination. Keep the soil consistently moist but never soggy—water when the top inch feels dry to the touch.
🌿 Step 4: Monitor for Sprouting and Early Growth
Germination typically begins in 3-6 weeks after sowing, though some seeds may take up to 8 weeks. You'll see the first sign of life when the seed coat splits open, followed by a small green shoot emerging. Once 50% of seeds have sprouted, remove the heat mat and move seedlings to a south-facing window or under grow lights for 12-14 hours daily.
Thin seedlings to the strongest 2 per pot when they reach 2 inches tall, snipping the weaker stems at soil level with clean scissors. This prevents competition and ensures robust growth. Watch for leggy stems—a sign of insufficient light—and adjust immediately to maintain compact, sturdy seedlings.
🪴 Step 5: Transplant to Larger Containers
After 8-12 weeks, when seedlings develop 4-6 true leaves, transplant them to 1-gallon pots filled with a well-draining potting mix. Handle seedlings by their leaves to avoid damaging the delicate stems. Bury them slightly deeper than before—up to the first set of true leaves—to encourage stronger root development.
Place the pots in a sheltered outdoor location for 1 week to harden off, gradually exposing them to direct sunlight and outdoor conditions. You'll know they're ready for permanent planting when they show no signs of stress after a full day outside. Camphor trees thrive in full sun and well-draining soil, so choose a location with these conditions for long-term growth.
Tips & tricks for perfect camphor tree seed stratification
Here's what nobody tells you about achieving those 90%+ germination rates—the details that separate good from great results.
Seed Selection Tip: The 2-month viability window is non-negotiable for camphor seeds. I learned this the hard way after struggling with seeds stored for 3 months—none germinated. When harvesting, prioritize seeds from fully mature pods that have naturally opened. Store them in a paper envelope in your fridge's crisper drawer until ready to stratify, where temperatures naturally stay around 40°F. This preserves their freshness without premature drying.
Stratification Secret: That 6-8 week cold period isn't just about time—it's about consistent 34-40°F temperatures. I use a digital thermometer in my fridge to confirm placement in the coldest zone (usually the bottom shelf). The paper towel should stay damp but not wet—think of it like wringing out a sponge. Too much moisture causes rot; too little prevents proper hydration. Check weekly and adjust by adding a few drops of water if needed.
Sowing Technique: The ½-inch depth and 2-inch spacing in Step 3 are critical for two reasons. First, planting too deep delays germination by requiring more energy to reach the surface. Second, the 2-inch spacing prevents overcrowding that leads to leggy, weak seedlings. I like to use a pencil to make small holes for each seed—this ensures proper depth without compacting the soil around them. After planting, give the pots a gentle tap on the counter to settle the soil and create good seed-to-soil contact.
Light Management: Those 12-14 hours daily of light in Step 4 are non-negotiable for preventing leggy seedlings. I use a combination of south-facing windows and LED grow lights on a timer. The key is maintaining consistent light intensity—if seedlings stretch toward the light, they're not getting enough. Rotate pots weekly to ensure even growth, and supplement with artificial light if your natural light is insufficient. Leggy stems indicate insufficient light, while compact growth means you're doing it right.
Pro Tips for Camphor Tree Seeds
- Here's what nobody tells you about achieving those 90%+ germination rates—the details that separate good from great results.
- Seed Selection Tip: The 2-month viability window is non-negotiable for camphor seeds.
- Stratification Secret: That 6-8 week cold period isn't just about time—it's about consistent 34-40°F temperatures.
Frequently asked questions
Got questions about growing camphor tree seeds? You’re not alone! Here are answers to the most common concerns—from timing to troubleshooting—to help you succeed.
How long does it take for camphor tree seeds to germinate after stratification?
After completing 3–4 months of cold stratification (40–50°F), germination typically begins in 2–6 weeks. Keep the soil consistently moist and warm (70–75°F) to speed up the process. Patience is key—some seeds may take up to 3 months to sprout!
Can I skip stratification? What happens if I plant seeds without it?
Stratification breaks seed dormancy—skipping it often results in little to no germination. If you plant untreated seeds, they may rot or remain dormant for years. For best results, always stratify camphor seeds for at least 8 weeks before planting.
What’s the ideal soil temperature for germinating camphor seeds?
Keep the soil between 70–75°F (21–24°C) during germination. Use a seedling heat mat if your home runs cooler. Avoid temperatures above 80°F (27°C), which can dry out seeds or stunt growth. A humidity dome also helps maintain moisture.
Why aren’t my camphor seeds sprouting? Troubleshooting tips.
Check these common issues:
- Damp soil: Overwatering can cause rot. Let the top inch dry slightly between waterings.
- Poor stratification: Verify seeds spent at least 12 weeks in the fridge (not freezer!).
- Low light: Place trays near a bright, indirect light source (no direct sun yet).
- Old seeds: Camphor seeds lose viability after 2–3 years. Test freshness with a float test.
Can I grow camphor trees from seeds in pots, or do they need outdoor planting?
Start seeds in 4–6 inch pots with well-draining soil. Once seedlings reach 6–12 inches tall, transplant outdoors after the last frost. Camphor trees thrive in USDA Zones 9–11—if you’re in a cooler zone, grow them as container plants in summer.
Wrapping up and next steps
From understanding the critical stratification timeline to gathering the right materials, successfully germinating camphor tree seeds is a rewarding journey—one that starts with patience and ends with a thriving, aromatic addition to your garden. 🌱 Whether you’re a seasoned gardener or just starting out, these steps empower you to nurture life from something as small as a seed.
Ready to take the next step? Plant your seeds today and watch your green thumb grow!
Pro tip: Keep a germination journal to track progress and refine your technique over time! ✨