Pruning
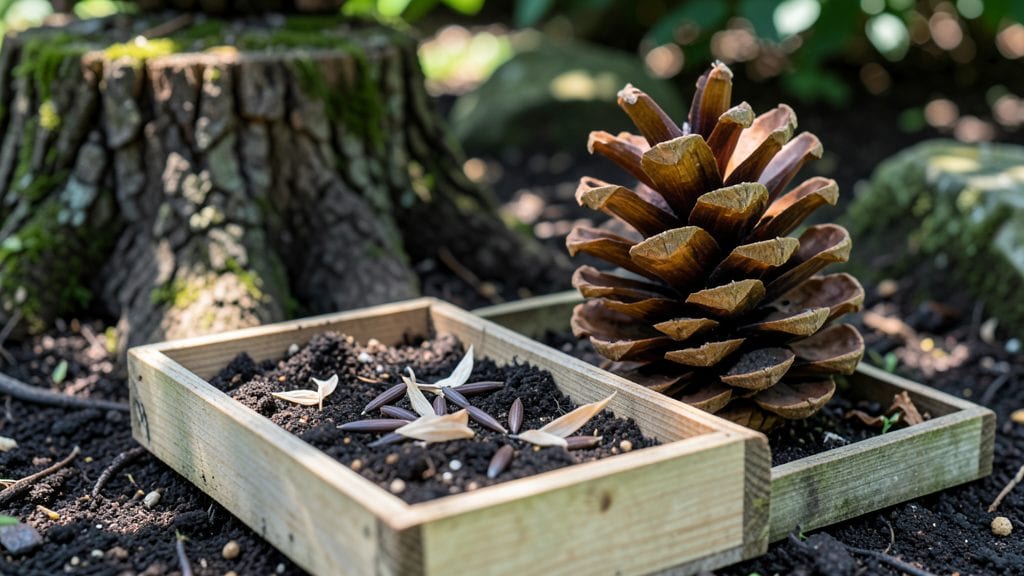
Growing evergreen trees from seeds is a long game that pays off with a backyard forest. 🌲 I’ve struggled with finicky germination for years—until I learned the cold-soak trick that finally worked for my pine and spruce seeds. The key isn’t just patience; it’s mimicking nature’s timing to break dormancy.
You’ll need fresh seeds (or stored properly), a mix of peat and perlite, and a way to chill them for weeks. Most evergreens need 60-90 days of cold stratification before planting, but some, like Douglas fir, can sprout in just 4-6 weeks with the right conditions.
The soil stays damp but never soggy—think of a wrung-out sponge.
By next spring, you’ll watch tiny needles unfurl, signaling success. These seedlings grow slow at first (sometimes less than an inch per year), but with proper sunlight and occasional feeding, they’ll mature into sturdy trees. The reward? A living legacy that outlasts annuals.
Works for pines, spruces, and firs—just adjust the cold treatment time by species. Here’s how to avoid the most common pitfalls and keep your seeds from giving up on you.
📚 In This Guide
- What you need
- Instructions
- Tips and common mistakes
- Wrapping up and next steps
What you need
- ● Evergreen tree seeds: 10–20 seeds (varies by species; check seed packet for specifics). Popular choices include Pinus (pine), Juniperus (juniper), or Thuja (arborvitae).
- ● Seed-starting mix: 2–3 cups of sterile, well-draining potting soil (avoid garden soil—it can harbor pests or diseases). Look for a mix labeled for seedlings or conifers.
- ● Seed trays or small pots: 4–6 biodegradable or plastic cell trays (2–3 inch cells) or 4–6 small pots (3–4 inches in diameter) with drainage holes.
- ● Spray bottle: 1 with a fine mist nozzle (for gentle watering).
- ● Plastic wrap or humidity dome: 1 sheet or lid to cover trays and retain moisture.
- ● Grow lights or sunny windowsill: A full-spectrum LED grow light (12–16 hours/day) or a south-facing window with indirect light.
- ○ Thermometer: 1 (optional but helpful) to monitor soil temperature (ideal range: 65–75°F for most evergreens).
- ● Heat mat: 1 small (for faster germination if seeds need warmth).
- ● Fungicide: 1 bottle of mild, seed-safe fungicide (to prevent mold).
- ● Labeling tags: 10–20 (to track seed types and planting dates).
- ● Fertilizer: 1 small bag of balanced, water-soluble fertilizer (diluted to half-strength for seedlings).
- ● Transplanting tools: 1 small trowel or spoon (for moving seedlings later).
Step-by-step instructions for germinating evergreen tree seeds
Here's my battle-tested method for breaking evergreen dormancy and getting those stubborn seeds to sprout reliably.
🌱 Step 1: Stratify Seeds to Mimic Winter Conditions
Evergreen seeds need cold stratification to break dormancy—this tricks them into thinking winter has passed. Place seeds in a moistened paper towel and fold it so they're snug but not crushed. Put the towel in a sealed plastic bag and refrigerate for 6-12 weeks at 34-40°F.
Check weekly to ensure the towel stays damp but not soggy—condensation inside the bag is normal. You'll know stratification worked when tiny white roots (radicles) appear. This cold treatment is critical; without it, most evergreen seeds will simply refuse to germinate.
💧 Step 2: Prepare Germination Trays with Warmth
Once stratified, fill 4-inch seedling trays with sterile seed-starting mix (never garden soil—it's too dense). Moisten the mix until it holds together when squeezed but doesn't drip. I like to press it down lightly so the surface is firm but not compacted.
Make small holes ¼ inch deep with a pencil or dibber, spacing them 1 inch apart. Plant one seed per hole and cover lightly with additional mix. Place the tray on a seedling heat mat set to 70-75°F—evergreens germinate best with bottom heat.
☀️ Step 3: Provide Humidity and Indirect Light
Cover the tray with a clear plastic dome or plastic wrap to maintain 90% humidity. Evergreen seedlings are delicate and dry out quickly. Place the tray under grow lights set to 12-14 hours daily, keeping them 6 inches away from the light source.
You'll see the first signs of germination in 4-12 weeks, depending on the species. Look for tiny green cotyledons pushing through the soil—this is your signal that the seed has broken dormancy. Remove the dome immediately once you spot the first sprouts to prevent fungal issues.
✂️ Step 4: Thin and Harden Off Seedlings
When seedlings reach 2 inches tall and have 3-4 true leaves, thin them so each has 3 inches of space. Use small scissors to snip unwanted seedlings at soil level—never pull them, which disturbs roots. This step is crucial; crowded seedlings compete for nutrients and grow weak.
Start hardening off by placing seedlings outside in a shaded, sheltered spot for 1 hour daily. Gradually increase exposure over 2 weeks, moving them to morning sun first before full sun. You'll know they're ready for transplant when they show no signs of stress after a full day outdoors.
🪴 Step 5: Transplant to Permanent Locations
Choose a site with well-draining soil and partial shade for young evergreens. Dig holes twice as wide as the root ball and 1 inch deeper than the container. Gently remove seedlings, keeping the root ball intact, and place them in the holes.
Backfill with soil, firming it lightly around the base, and water deeply. Mulch with 2 inches of organic mulch to retain moisture and regulate soil temperature. Evergreens are slow growers, so be patient—you won't see significant growth for 1-2 years, but the foundation you've built ensures long-term success.
Tips & tricks for germinating evergreen tree seeds
Evergreen seeds demand patience and precision—here's how to turn those stubborn seeds into thriving saplings.
Stratification Precision: The 6-12 week cold treatment at 34-40°F is non-negotiable for breaking dormancy. I place my seeds in a sealed bag with a damp paper towel and store them on the refrigerator's crisper drawer shelf—this maintains consistent humidity without risking freezer burns. Check weekly by gently squeezing the towel; it should feel like a wrung-out sponge, not a dripping washcloth. This moisture balance is what triggers those critical radicles to appear, signaling your seeds are ready for planting.
Heat Mat Hack: That 70-75°F heat mat requirement isn't just about warmth—it's about simulating spring conditions. I use a simple DIY solution: place a ceramic tile on top of the heat mat before adding trays. The tile creates a more stable temperature zone while preventing heat loss through the plastic tray bottoms. Position the trays so they're centered on the mat's warmest area, which is typically where the heating element is most concentrated.
Humidity Management: The 90% humidity dome creates a greenhouse effect, but condensation on the plastic is normal—just don't let it drip onto seedlings. I poke tiny air holes in the dome using a sterilized needle if I notice excessive condensation after 3-4 days. This prevents fungal issues while maintaining that critical humidity. Remove the dome immediately when you see those first cotyledons—this prevents "damping off," where seedlings rot at the soil line.
Light Source Strategy: Those 12-14 hours of grow light aren't just about duration—the distance matters too. I keep my lights 6 inches away by using a simple wooden dowel as a height marker. If your seedlings start leaning toward the light (a condition called etiolation), you're either too close or need to rotate the trays daily. Evergreen seedlings are particularly sensitive to light stress, so I use full-spectrum LED grow lights which mimic natural sunlight more effectively than basic fluorescent bulbs.
Pro Tips for Evergreen Tree Seeds
- Evergreen seeds demand patience and precision—here's how to turn those stubborn seeds into thriving saplings.
- Stratification Precision: The 6-12 week cold treatment at 34-40°F is non-negotiable for breaking dormancy.
- Heat Mat Hack: That 70-75°F heat mat requirement isn't just about warmth—it's about simulating spring conditions.
Frequently asked questions
Got questions about growing evergreen tree seeds?
You’re not alone! Here are answers to the most common concerns—from timing to troubleshooting—so you can boost your germination success.
When is the best time to plant evergreen tree seeds?
Most evergreen seeds (like pine, spruce, or fir) should be sown in early spring or late fall. Spring planting gives seeds warmth to germinate, while fall sowing mimics natural cycles. If starting indoors, begin 8–12 weeks before the last frost for transplanting. Pro tip: Cold stratification (chilling seeds for 30–90 days) mimics winter and can improve germination rates for many evergreens!
How long does it take for evergreen seeds to germinate?
Germination times vary widely—some seeds (like arborvitae) sprout in 2–4 weeks, while others (like pine) may take 3–6 months or even longer. Patience is key! Keep soil consistently moist and warm (60–75°F) to encourage sprouting. If nothing emerges after 6 months, the seeds may need stratification or could be non-viable.
Can I grow evergreen trees from seeds, or should I buy seedlings?
Yes, you can grow evergreens from seeds, but it’s slower and less reliable than buying seedlings. Seeds take years to mature into sturdy trees, and germination rates can be unpredictable. Seedlings (especially 1–2 years old) offer faster, more predictable growth. Start with seeds if you’re patient or experimenting with rare varieties; otherwise, seedlings are the smarter choice for quick results.
Why aren’t my evergreen seeds sprouting? Troubleshooting tips.
If your seeds refuse to germinate, check these common issues:
- Dormancy: Many evergreen seeds need cold stratification (e.g., refrigerating moist seeds for 1–3 months).
- Depth: Plant seeds ¼–½ inch deep—too shallow or deep can block germination.
- Moisture: Keep soil consistently damp (not soggy) to avoid rot or drying out.
- Viability: Test seeds by filling a glass with water—floating seeds are likely dead; sinkers may still sprout.
- Light: Some seeds (like yew) need light to germinate—press them lightly into soil rather than burying.
Still stuck? Try a seed germination test kit or consult a local nursery for species-specific advice.
What’s the easiest evergreen tree to grow from seed?
If you’re a beginner, start with eastern red cedar or arborvitae—they’re fast-growing, hardy, and relatively easy to germinate. For a challenge, try pine seeds (like Ponderosa or Scotch pine), but expect slower progress. Avoid tropical evergreens (like podocarpus) unless you live in a warm climate—most need specific conditions to thrive.
Wrapping up and next steps
Growing evergreen trees from seeds is a rewarding journey that combines patience with the joy of nurturing life. By following these proven germination tricks—like proper stratification, ideal moisture levels, and consistent warmth—you’ll set the stage for thriving next-year blooms.
Whether you’re a seasoned gardener or just starting, your efforts will pay off in lush, resilient greenery!
Ready to take the next step? Start small—pick one seed variety and experiment with the techniques above. Keep a germination journal to track progress, and don’t hesitate to share your wins (and lessons!) with fellow green thumbs. Happy planting! 🌱