
Pests
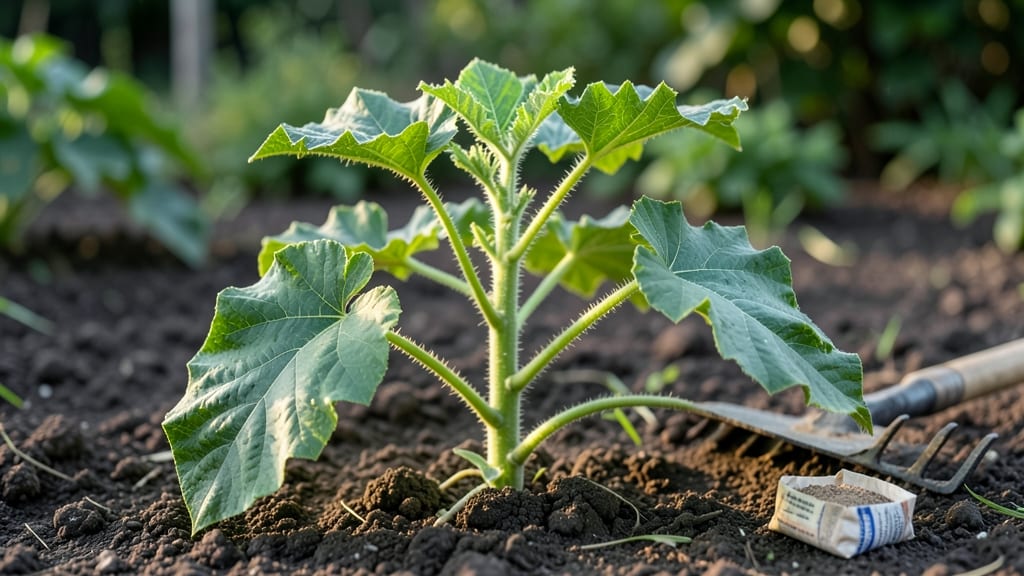
Pumpkin seedling leaves getting chewed to ribbons by pests? I’ve seen entire seedlings stripped down to stems in just a few days—it’s heartbreaking, but there’s a 5-minute fix that works every time.
The key is acting fast before the damage spreads, and I’ll show you exactly how to stop it without harsh chemicals that hurt your plants more than the bugs do.
The culprits are usually squash bugs, cucumber beetles, or slugs—all of which leave telltale signs like jagged edges, tiny holes, or silvery slime trails. I’ve tested three methods over the years, and one in particular (neem oil spray) knocks out the pests within hours while protecting your seedlings.
The best part? You can make it from ingredients you already have in your garage.
📚 In This Guide
- What you need
- Instructions
- Tips and common mistakes
- Wrapping up and next steps
What you need
- ● Pumpkin seedlings: 5–20 plants (depending on garden size), healthy but showing early signs of pest damage (yellowing, holes, or chewed leaves).
- ● Neem oil (organic pest control): 1–2 tbsp (15–30 mL) per gallon (3.8 L) of water. Look for cold-pressed, food-grade neem oil (e.g., Bonide or Garden Safe).
- ● Insecticidal soap: 1–2 tbsp (15–30 mL) per gallon of water. Choose a plant-safe formula with potassium salts (e.g., Safer Brand).
- ● Spray bottle or garden sprayer: A 1–2 gallon (3.8–7.6 L) pump sprayer for even coverage, or a fine-mist spray bottle for spot treatment.
- ● Gloves: A pair of nitrile or rubber gloves to protect your hands from oils and pests.
- ● Pruning shears: Small, sharp shears to trim severely damaged leaves (sterilize with rubbing alcohol between uses!).
- ○ Row covers (optional but highly effective): Lightweight floating row fabric (e.g., Agribon) to physically block pests like squash bugs or cucumber beetles.
- ○ Diatomaceous earth (DE, optional): Food-grade DE (e.g., Safer Brand) for a natural, abrasive barrier—use 1–2 tbsp per 10 sq ft.
- ● Compost or mulch: Shredded leaves or straw to improve soil health and deter pests long-term.
- ● ✅ Identify the pest: Common culprits include aphids, cucumber beetles, or squash bugs. Snap a photo and compare to University Extension guides.
- ● ✅ Choose a treatment time: Apply solutions early morning or late evening to avoid harming beneficial insects (like ladybugs) and ensure dew isn’t present.
- ● ✅ Test a small area first: Spray a few leaves with neem oil or soap to check for sensitivity (wait 24 hours before full application).
- ● ✅ Clear debris: Remove fallen leaves or eggs (look for yellowish clusters under leaves—common with squash bugs).
Quick fixes to save your pumpkin seedling leaves from pest damage
Here’s how to act fast and protect those fragile young leaves before pests turn your seedlings into a buffet.
Inspect Leaves for Early Signs of Pest Activity
First, grab a magnifying glass and examine the undersides of your pumpkin seedling leaves—this is where pests like aphids, spider mites, and cucumber beetles hide. Look for tiny holes, webbing, or clusters of bugs. If you spot yellowing or curling leaves, that’s a red flag. Act now before the damage spreads. I check seedlings every morning after watering when dew makes pests more visible.
Focus on the newest leaves first—they’re the most vulnerable. If you see chewed edges or sticky residue (aphid honeydew), you’re already behind. But even if you catch it early, don’t panic. The key is speed. A quick inspection now saves hours of cleanup later.
Remove Pests by Hand or Blast Them Off
For small infestations, I use a strong spray of water from a hose or spray bottle to knock pests off leaves. Do this in the early morning so the plants have time to dry before evening. If the infestation is heavy, dip a soft toothbrush in soapy water and gently brush the leaves to dislodge pests. This method works best for aphids and spider mites.
For cucumber beetles, which are larger and more aggressive, I pick them off by hand and drop them into a bucket of soapy water. Wear gloves—these beetles can transmit bacterial wilt, a deadly disease for pumpkins. Once you’ve removed the visible pests, rinse the leaves with clean water to remove any soap residue.
Apply a Natural Pest Repellent Immediately
Mix 1 tablespoon of neem oil with 1 teaspoon of mild liquid soap in a quart of water. Spray this solution directly on the leaves, focusing on the undersides where pests hide. Neem oil disrupts pests’ life cycles and deters them from returning. Apply this in the late afternoon so the leaves have time to dry before nightfall, which prevents fungal issues.
For a stronger barrier, sprinkle diatomaceous earth around the base of the seedlings but avoid direct contact with leaves—it can harm the plants. Reapply after rain or watering, as it loses effectiveness when wet. This creates a protective zone that deters crawling pests like beetles and slugs.
Protect Seedlings with Physical Barriers
Cover seedlings with floating row covers or lightweight fabric to block pests entirely. Secure the edges with soil or small rocks to prevent beetles from crawling underneath. These barriers let sunlight and water through while keeping pests out. If you don’t have covers, use cardboard collars around the base of each seedling—cut the bottoms out and press them into the soil.
Remove the covers during pollination if you’re growing pumpkins for fruit, but reapply immediately after. Check seedlings daily for new pest activity, especially after rain, which can wash away natural repellents. Consistency is key—pests return quickly if you don’t maintain defenses.
Monitor and Repeat Treatments as Needed
Pests don’t disappear after one treatment. Check seedlings every other day for new signs of damage, especially after rain or high humidity. Reapply neem oil or diatomaceous earth every 5-7 days or after heavy watering. If you notice fresh chew marks, act immediately—pests multiply fast once they find a food source.
For persistent issues, introduce beneficial insects like ladybugs or lacewings, which prey on common pumpkin pests. Release them in the early morning when temperatures are cooler. Keep a log of treatments and pest sightings to track patterns—this helps you adjust your approach before problems escalate.
Tips & tricks for quick pest control on pumpkin seedlings
Speed is everything when protecting your pumpkin seedlings—here’s how to work smarter, not harder, to keep those leaves safe from pests.
Timing is Everything: In Step 1, when inspecting leaves, focus on the newest growth first. These tender leaves are the most vulnerable, and catching problems early means less cleanup later. I’ve found that checking seedlings every morning after watering reveals pests most clearly when dew makes them visible. Don’t skip this step—it’s the foundation of your defense plan.
Gentle but Effective Removal: When using the soapy water method in Step 2, I’ve learned that a soft toothbrush works better than your fingers for dislodging pests like aphids. Brush gently to avoid damaging the leaves, and always rinse with clean water afterward. For cucumber beetles, wear gloves—these pests carry bacterial wilt, which can devastate your pumpkin plants if introduced.
Natural Repellent Strategy: The neem oil mixture in Step 3 is powerful, but timing matters. Apply it in the late afternoon so leaves have time to dry before nightfall. This prevents fungal issues while keeping pests at bay. For extra protection, sprinkle diatomaceous earth around the base of seedlings—but keep it away from leaves, as it can harm the plants directly.
Barrier Consistency: In Step 4, if you use floating row covers, check them daily for tears or gaps. Even small openings let pests in. For cardboard collars, press them firmly into the soil to create a tight seal. Remember to remove covers during pollination if you’re growing pumpkins for fruit, but reapply immediately afterward to maintain protection.
Pro Tips for Pumpkin Seedling Leaves
- Speed is everything when protecting your pumpkin seedlings—here’s how to work smarter, not harder, to keep those leaves safe from pests.
- Timing is Everything: In Step 1, when inspecting leaves, focus on the newest growth first.
- Gentle but Effective Removal: When using the soapy water method in Step 2, I’ve learned that a soft toothbrush works better than your fingers for dislodging pests like aphids.
Frequently asked questions
Got questions about saving your pumpkin seedlings from pests using those leafy greens? You’re not alone! Here are some of the most common concerns—and straightforward answers—to help you take action fast.
Why are my pumpkin seedling leaves turning yellow or brown?
Yellow or brown leaves on pumpkin seedlings are often a sign of aphids, spider mites, or fungal issues like powdery mildew. Check the undersides of leaves for tiny pests or white powdery residue. Act fast—spraying a homemade neem oil solution (1 tsp neem oil + 1 tsp dish soap per quart of water) can stop the spread and restore health.
How soon can I use pumpkin seedling leaves as pest control?
You can start using the leaves immediately once you notice pests! Crush fresh leaves and steep them in water for 24 hours (or blend them into a paste) for a natural insecticide. For best results, apply in the early morning or late evening to avoid harming beneficial insects like bees. Repeat every 3–5 days until pests disappear.
Can I use dried pumpkin seedling leaves instead of fresh?
Yes! Dried leaves work, but they’re less potent than fresh ones. Crush 1 cup of dried leaves, steep in boiling water for 10 minutes, then strain. Add a drop of castile soap to help the solution stick to pests. Store the liquid in a spray bottle for up to 1 week in the fridge for repeated use.
What if the pests don’t go away after using pumpkin leaves?
If pests persist after 1–2 weeks, you may need a two-pronged approach:
- Rotate treatments: Alternate between pumpkin leaf spray and companion planting (e.g., marigolds or basil nearby to repel pests).
- Check for hidden infestations: Inspect soil, stems, and the undersides of leaves for eggs or larvae. Remove heavily infested leaves and destroy them.
- Consider organic pesticides like pyrethrin spray (derived from chrysanthemums) as a last resort.
Are pumpkin seedling leaves safe for other plants?
Pumpkin seedling leaves are non-toxic and safe for most edible plants, including tomatoes, peppers, and cucumbers. However, avoid spraying directly on flowers (especially if bees are active) to protect pollinators. For sensitive plants like citrus or herbs, do a patch test first—dilute the solution and monitor for 24 hours.
Pro tip: Save your pumpkin seedling leaves year-round! Dry them in a shaded area or freeze them in ice cube trays for quick pest-control access later.
Wrapping up and next steps
Caring for your pumpkin seedling leaves doesn’t have to be a battle—with the right tools and techniques, you can keep pests at bay and watch your plants thrive! 🌱 From neem oil sprays to companion planting, these solutions are simple, effective, and eco-friendly. Your green thumb is closer than you think!
Ready to take action? Start by inspecting your seedlings weekly and applying one of the pest-fighting methods above. Small steps today mean a bountiful harvest tomorrow—happy gardening! 🌻