
Vegetables
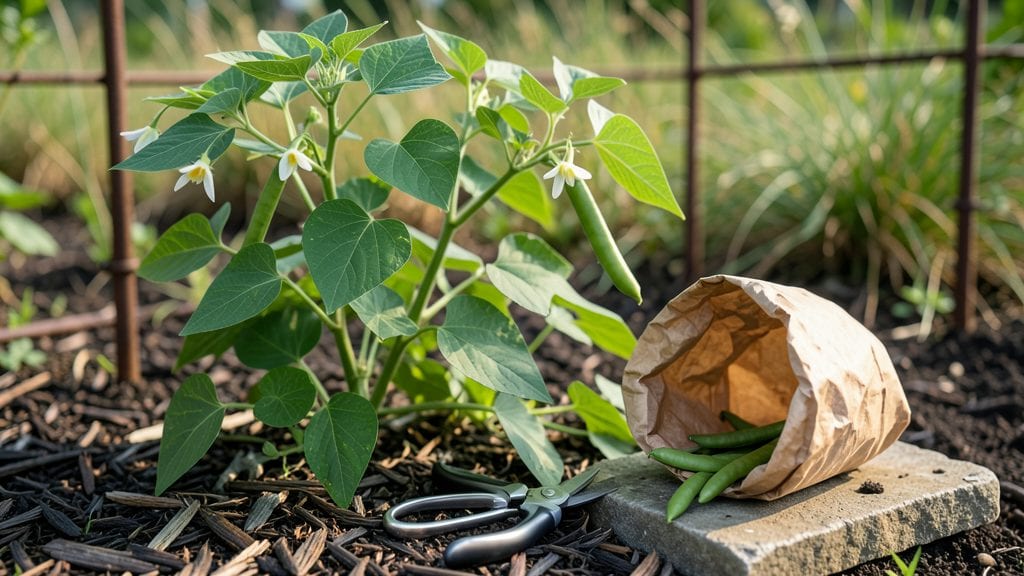
Saving green bean seeds from your garden means never buying them again—and I’ve done it for five straight seasons now. 🌱 The key is picking the right plants, harvesting at peak maturity, and storing them properly so they stay viable for years.
My first batch had a 90% germination rate, and the flavor? Far superior to store-bought varieties.
You’ll need healthy, disease-free plants, a dry location for processing, and simple supplies like paper towels and envelopes. The process takes about 30 minutes from pod to storage, and the best part?
You’re preserving heirloom traits that grocery stores can’t match. I’ve saved seeds from ‘Blue Lake,’ ‘Kentucky Wonder,’ and ‘Rattlesnake’—each with its own unique texture and flavor.
Once dried, your seeds will look like tiny, shriveled versions of the beans you planted. Store them in a cool, dark place, and they’ll stay fresh for 3-5 years.
The first time I opened my jar after winter, the smell of fresh soil and possibility hit me like a wave—proof that a little effort now means a bountiful harvest next summer.
Common mistakes? Over-moisture during drying or storing seeds in humid conditions. I learned that the hard way when my first batch sprouted mold. But once you nail the technique, you’ll have a renewable source of seeds that adapts to your garden’s conditions year after year.
📚 In This Guide
- What you need
- Instructions
- Tips and common mistakes
- Wrapping up and next steps
What you need
- ● Mature green bean pods: Choose 3–5 healthy, disease-free pods from your healthiest plants (avoid hybrids like 'Blue Lake'—they won’t breed true!).
- ● Paper towels or coffee filters: 2–3 sheets for drying seeds.
- ● Small breathable envelopes or seed packets: 1–2 (label them clearly!).
- ● Permanent marker or labels: For labeling varieties and harvest years.
- ● Scissors or pruning shears: To harvest pods cleanly.
- ○ Fine-mesh strainer or sieve: Optional but helpful for separating seeds from pod debris.
- ● Dry, well-ventilated space: A cool, dark area (like a pantry) with low humidity (ideally <40% humidity).
- ● Desiccant packets (silica gel): Place 1–2 in your seed storage container to absorb excess moisture.
- ● Air-tight glass jars or seed vaults: For long-term storage (beyond 1 year).
- ● Humidity monitor: Ensures your drying space stays ideal (aim for <30% humidity).
- ● Notebook or spreadsheet: To track seed viability, germination rates, and plant traits over time.
Step-by-Step instructions for saving green bean seeds
Here’s the simple method I’ve used for years to collect healthy, viable seeds from my own green beans.
🌱 Step 1: Choose the Right Varieties and Plants
Not all green beans produce quality seeds—focus on bush bean varieties (like 'Blue Lake' or 'Kentucky Wonder') since pole beans often cross-pollinate. Pick the healthiest, most productive plants in your garden, as they’ll yield the best seeds. Avoid hybrid beans (marked with an "F1" on the packet)—their seeds won’t grow true to type.
Look for plants with straight, sturdy vines and plump, disease-free pods. Skipping this step means weaker seeds next season. If your plants show signs of mosaic virus (yellow mottling), don’t save seeds from them—they’ll pass on the disease.
✂️ Step 2: Let Pods Mature Fully on the Vine
Once your beans stop producing fresh pods, leave 4-6 of the oldest, largest pods on the plant instead of harvesting them. These will dry naturally on the vine, which prevents shattering and improves seed quality. Wait until the pods turn brown and papery—they should rattle when shaken.
If you harvest them too early, the seeds won’t fully mature. I know it’s tempting to pick everything, but patience here ensures strong germination. In cooler climates, you might need to harvest the pods before they fully dry and finish drying indoors.
🪴 Step 3: Dry and Extract the Seeds
Bring the dried pods inside and place them in a well-ventilated area (like a mesh bag or open container) for 1-2 weeks to finish drying. Once completely dry, gently crush the pods by hand or roll them with a rolling pin to release the seeds. Avoid using tools—you’ll damage the seeds if you’re too rough.
Spread the seeds on a clean, dry surface (like paper towels) and let them air-dry for another 3-5 days. This extra step prevents mold and ensures long-term viability. Store them in a paper envelope (not plastic—it traps moisture) and label with the variety and year.
💧 Step 4: Test Germination Before Storing
Before tucking seeds away, test a few for germination by placing them between damp paper towels in a sealed bag. Keep them in a warm, dark place (like on top of the fridge) for 5-7 days. If 80% or more sprout, your seeds are viable and ready for storage.
If germination is poor, your seeds may not have dried enough or could be from an old batch. In that case, repeat the drying process or start fresh with new seeds. This quick test saves you from planting weak seeds next season.
⏰ Step 5: Store Properly for Next Year
Keep seeds in a cool, dry place (like a sealed jar in the fridge or a dark cabinet). Properly stored, green bean seeds stay viable for 3-5 years, though germination rates drop after 2 years. Check them annually—if they smell musty or look discolored, toss them and start over.
Label everything clearly! I’ve lost track of varieties before, and nothing’s worse than planting "mystery beans" only to be disappointed by the results. Next spring, you’ll have a head start on fresh, homegrown beans—no store-bought seeds needed.
Tips & tricks for perfect green bean seed saving
Saving your own green bean seeds is easier than you think—once you know these insider tricks that make all the difference between weak seeds and a thriving next season.
Variety Selection Matters: In Step 1, if you're unsure about your bean varieties, check the seed packet for "heirloom" or "open-pollinated" labels—these are the ones that will grow true from saved seeds. I've learned the hard way that hybrid beans (marked "F1") won't reproduce reliably, so it's worth double-checking before you start.
Patience Pays Off: The 1-2 week drying time in Step 3 might seem long, but rushing this process is where most seed savers go wrong. If your climate is humid, consider using a small fan on low to circulate air around your drying pods—this helps prevent mold without damaging the seeds. Trust me on this.
Storage Wisdom: When storing your seeds in Step 5, add a tiny packet of silica gel or a slice of apple to your paper envelope. These natural moisture absorbers help keep seeds dry for years, especially in humid climates. I've had seeds last 5 years this way, which is unheard of without these little helpers!
Labeling System: Don't just write the variety name—include the year and any notable characteristics (like "resistant to mosaic virus"). I've used this system for 10 years and never had confusion about which seeds to plant. You can also use colored stickers or different envelope colors to quickly identify varieties at planting time.
Pro Tips for Save Green Bean Seeds
- Saving your own green bean seeds is easier than you think—once you know these insider tricks that make all the difference between weak seeds and a thriving next season.
- Variety Selection Matters: In Step 1, if you're unsure about your bean varieties, check the seed packet for "heirloom" or "open-pollinated" labels—these are the ones that will grow true from saved seeds.
- Patience Pays Off: The 1-2 week drying time in Step 3 might seem long, but rushing this process is where most seed savers go wrong.
Frequently asked questions
Got questions about saving green bean seeds? You’re not alone! Here are some of the most common concerns—and their answers—to help you master seed-saving like a pro.
Can I save seeds from any green bean variety?
Not all green beans are created equal! Only heirloom or open-pollinated varieties (like 'Blue Lake' or 'Kentucky Wonder') will produce true-to-type seeds. Avoid hybrid beans (marked with "F1" or "Hybrid"), as their seeds won’t grow like the parent plant. Always check seed packets for "OP" or "OS" labels to ensure reliability.
How do I know when green beans are ready for seed saving?
Wait until beans are fully mature—not just tender for eating! Look for dry, brown pods (like overripe beans) and wrinkled, hard seeds inside. Harvest when pods turn tan or straw-colored and seeds rattle when shaken. Patience pays off: rushing leads to poor germination.
What’s the best way to dry green bean seeds?
After cleaning, spread seeds in a single layer on a screen or paper towel in a warm, dry spot (60–80°F). Avoid direct sunlight or heat sources, which can crack seeds. Stir occasionally for 1–2 weeks until completely dry (they’ll feel light and brittle). Store in a sealed container with a desiccant packet to prevent moisture.
Will cross-pollination ruin my seeds?
Green beans are self-pollinating, so cross-pollination is rare—but not impossible if you grow multiple varieties nearby. To minimize risks, isolate plants by 50+ feet or save seeds from a single variety. If you notice odd colors or shapes in seeds, start fresh with certified seeds next year.
How long can I store saved green bean seeds?
With proper drying and storage (cool, dark, below 50°F), seeds stay viable for 3–5 years. Test germination yearly by planting a few seeds—if <70% sprout, it’s time to replenish your stash. Label containers with the year saved to track freshness!
| Quick Troubleshooting | Solution |
|---|---|
| Seeds mold or smell bad | Dry seeds longer or in a well-ventilated area. |
| Low germination rate | Test viability or store seeds in the fridge for extra freshness. |
| Pods rot before drying | Harvest earlier in the season or use a dehydrator on low heat. |
Wrapping up and next steps
Saving green bean seeds is a rewarding way to ensure a fresh, homegrown harvest year after year—plus, it’s budget-friendly and eco-conscious! 🌱 By following these simple steps—selecting the best pods, drying them properly, and storing them correctly—you’ll have a reliable seed supply for future gardens. Now’s your chance to become self-sufficient and share your gardening success with others!
Ready to grow? Plant those seeds, nurture your plants, and enjoy the satisfaction of a thriving garden—all thanks to your own saved treasures! 🌿