Lawn
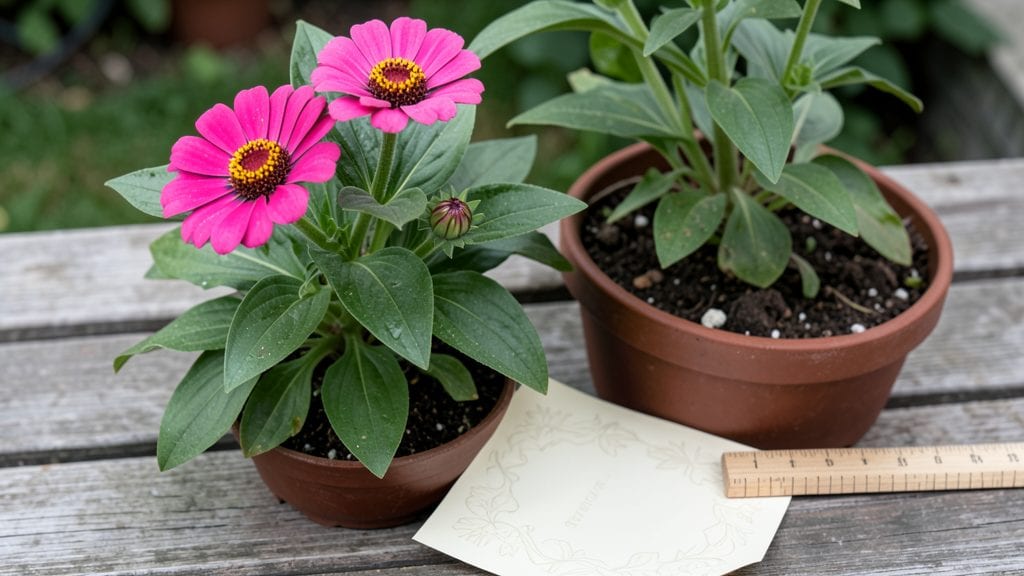
My seed envelope template game-changer transformed my chaotic seed collection into a system that actually works. 🌱 I used to lose packets or mix up varieties, but now every seed type has its own labeled home with all the details I need.
The best part? You can customize it to fit your garden’s needs—whether you’re saving seeds from heirlooms or tracking store-bought varieties. Grab a printer, some cardstock, and a pen, and in under an hour, you’ll have professional-looking labels ready for your collection. No fancy software required.
With these templates, you’ll never forget what’s what again. Planting becomes stress-free because you know exactly what you’re sowing, when it was saved, and how to care for it. Plus, your garden’s organization will make seed-sharing with fellow gardeners effortless.
Works for small seed stashes or large collections, and you can adapt it for digital storage too. Let’s get those seeds labeled and ready for next season’s planting!
📚 In This Guide
- What you need
- Instructions
- Tips and common mistakes
- Wrapping up and next steps
What you need
- ● Blank seed envelopes: 3" x 5" or 4" x 6" (standard sizes work best). Quantity: 10–50+ (depends on your collection).
- ○ Printer: Laser or inkjet (for crisp text). Optional: Use a label maker for reusable templates.
- ● Printable template: Download a free or custom seed envelope template (Word, Canva, or PDF format). Tip: Adjust margins to 0.25" for full coverage!
- ● Paper: Cardstock (65–80 lb) for durability. Color: White or pastel (avoid dark hues for printing).
- ● Ink/toner: High-quality for smudge-free labels.
- ● Design tools: Canva, Adobe Illustrator, or Microsoft Word (for custom graphics).
- ● Laminator: To seal envelopes for moisture resistance.
- ● Washi tape or stickers: For handwritten notes or decorative flair.
- ● Pencil & eraser: For manually filling in details before printing.
- ● Velcro dots or binder clips: To organize envelopes in a 3-ring binder.
Step-by-Step instructions for creating your own seed envelope template
Here's how to design a simple, functional template that keeps your seed collection organized and ready for planting.
📝 Step 1: Gather Your Materials and Plan the Layout
Start with a blank sheet of standard-sized paper—8.5 x 11 inches is ideal. I like to use cardstock for durability, but regular printer paper works too. Grab a pencil, ruler, and scissors for precision cuts. Sketch a basic outline first: a 3-inch wide horizontal strip at the top for seed variety names, and a 2-inch wide vertical section on the right for planting details.
Leave a ½-inch margin around all edges to prevent ink bleed and ensure clean folds. This template will fit neatly into standard envelopes, so keep proportions proportional. If you're using a computer, open a word processing program and set up a document with these same dimensions before designing.
✂️ Step 2: Design the Label Sections
Divide the top 3-inch strip into three equal sections: one for the seed variety name, one for the quantity, and one for the year collected. Use bold, clear fonts like Arial or Times New Roman in 12-14 point size for easy reading. I always add a thin border around each section to keep the labels neat and organized.
On the right side, create a 2-inch vertical strip with smaller sections for planting date, location, and notes (like sunlight needs or special care instructions). Leave space for a small icon or color code—I use a green dot for fast germinators and a blue dot for slower ones. This visual cue saves time when sorting seeds later.
🖨️ Step 3: Print and Test Your Template
Print a test copy on plain paper first to check alignment and readability. Hold it up to the light to ensure the text isn’t too faint. If you're happy with the design, print your template on cardstock or seed paper for durability. For extra strength, consider laminating the labels or using a waterproof inkjet printer.
Cut along the lines carefully—uneven edges make it harder to read the labels later. Fold the template in half to mimic an envelope shape and test how it fits into your seed storage containers. If it feels bulky, adjust the margins or reduce the font size slightly.
📦 Step 4: Assemble and Store Your Seed Envelopes
Place your printed template into a standard 4 x 9-inch envelope and write the seed details directly on the label with a fine-tip marker. If you're using a computer, print the labels directly onto adhesive paper and stick them to the envelopes for a polished look. I like to store my seeds in small ziplock bags inside the envelopes to protect them from moisture.
Organize your envelopes by plant family or alphabetically in a seed catalog or storage box. Add a small index card at the front of each section to quickly locate varieties. This system keeps your collection tidy and makes it easy to find exactly what you need when planting season arrives.
🔄 Step 5: Customize and Refine Over Time
After a season of using your templates, note what worked and what didn’t. Did you run out of space for notes? Need a section for germination time? Adjust your template accordingly. I added a small QR code section last year to link to online growing guides—it’s saved me time researching care tips.
Share your template with fellow gardeners or print extra copies for different seasons. The key is to keep it simple and functional. Over time, you’ll develop a system that fits your unique gardening style and needs perfectly.
Tips & tricks for perfect seed envelope organization
A few simple tricks will help you create a seed envelope system that lasts seasons—and saves you from the annual springtime scramble.
The Precision Factor: When sketching your layout in Step 1, use a ruler to create those ½-inch margins and 3-inch/2-inch sections—this ensures everything fits neatly in standard envelopes. I learned this the hard way after wasting three sheets with uneven margins! Draw faint guidelines first, then darken them once you're happy with the placement. This makes cutting and printing much cleaner.
Font Selection Tip: In Step 2, stick to 12-14 point fonts for readability, but consider using a slightly bolder font weight (like Arial Bold) for the section headers. This creates visual hierarchy without sacrificing legibility. I also recommend leaving ¼-inch space between sections—it prevents ink bleed when writing and makes the labels look more professional.
Color Coding Strategy: For those color-coded icons in Step 2, use a fine-tip permanent marker (like Sharpie) to draw your green/blue dots. These visual cues become invaluable when sorting through dozens of envelopes at planting time. I've even added a third color (yellow) for biennial plants that need special overwintering care—it's saved me from planting the wrong seeds twice!
Durability Upgrade: In Step 3, if you're printing on cardstock, consider using a waterproof inkjet printer or laminating your templates for extra protection. I've found that standard printer ink can smudge when wet, especially if you're storing seeds in humid environments. For maximum durability, you can even print on seed paper designed specifically for planting—just be sure to leave the planting instructions blank!
Pro Tips for Seed Envelope Template
- A few simple tricks will help you create a seed envelope system that lasts seasons—and saves you from the annual springtime scramble.
- The Precision Factor: When sketching your layout in Step 1, use a ruler to create those ½-inch margins and 3-inch/2-inch sections—this ensures everything fits neatly in standard envelopes.
- Font Selection Tip: In Step 2, stick to 12-14 point fonts for readability, but consider using a slightly bolder font weight (like Arial Bold) for the section headers.
Frequently asked questions
Got questions about seed envelope templates? You’re not alone! Here are answers to the most common queries to help you get started with your organized garden collection.
What information should I include on my seed envelope template?
Your seed envelope should include the seed name, variety, planting date, harvest date, and germination instructions. Add a quick note about sunlight or soil preferences if space allows. Pro tip: Use abbreviations (like "FT" for full sun) to save room!
How long do seed envelopes last before they degrade?
Most seed envelopes last 1–2 years if stored in a cool, dry place (like a sealed container). For long-term storage, consider laminating or using acid-free paper. If envelopes become brittle or discolored, it’s time to replace them—just transfer your notes to new ones!
Can I print seed envelope templates at home or do I need a professional?
Absolutely print at home! Use a laser or high-quality inkjet printer on cardstock or laminating sheets for durability. For bulk printing, check out free templates on Etsy or Canva, or design your own in Microsoft Word. Just avoid glossy finishes—they can stick together!
What’s the best way to organize seed envelopes for quick access?
Sort by plant type (veggies, herbs, flowers), season, or alphabetical order. Use binder clips, mason jars, or a label maker for larger collections. Add a color-coded system (e.g., green for veggies, purple for flowers) to speed up searches during planting season!
What if my seed envelope gets damaged or lost?
Don’t panic! Keep a digital backup (photo or spreadsheet) of your seed collection. If an envelope is lost, recreate it by checking the seed packet or cross-referencing with your garden journal. For extra protection, store duplicates in a sealed plastic bag with silica packets to prevent moisture damage.
Wrapping up and next steps
Ready to transform your gardening game with a seed envelope template? 🌱 Whether you're a seasoned green thumb or just starting, these customizable labels will keep your garden organized, stress-free, and full of potential.
Start small—print a few templates today, and watch your collection grow into a well-structured, dreamy garden oasis!
Your next step? Grab a printer, pick your favorite design, and begin labeling! Happy planting! 🌿