Lawn
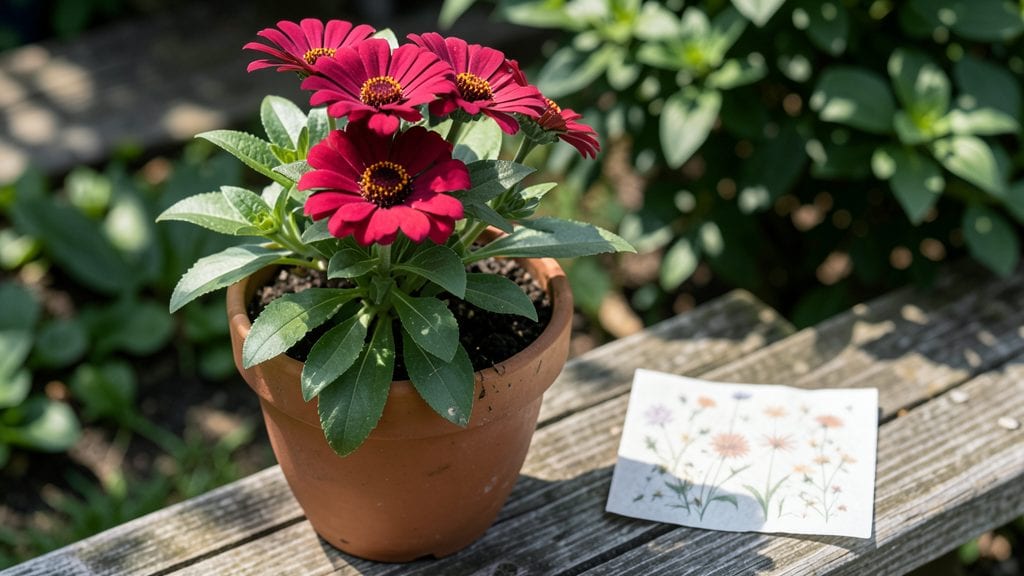
With these seed paper instructions, you’ll transform wildflower seeds into biodegradable paper that blooms into vibrant flowers—perfect for cards, gifts, or decor! steps.
The magic starts with just a few supplies: wildflower seeds, water, a blender, and paper pulp (or even old newspaper). You’ll mix everything into a slurry, spread it thinly on a tray, and let it dry completely. The result? Paper that doubles as a living gift when planted in soil.
Once planted, these seeds germinate faster than store-bought packets because they’re embedded in moisture-retaining paper. Within 10-14 days, you’ll see tiny sprouts pushing through, and by summer, you’ll have a burst of color where you planted them. Perfect for gardeners who love eco-friendly projects with a creative twist.
Whether you’re making seed paper for sentimental gifts or just experimenting with a fun gardening project, the key is patience—both in drying and in waiting for those first green shoots. Here’s how to nail every step without the guesswork.
📚 In This Guide
- What you need
- Instructions
- Tips and common mistakes
- Wrapping up and next steps
What you need
- ● Wildflower or herb seeds: 1–2 teaspoons (adjust based on paper size; e.g., sunflower, basil, or clover seeds).
- ● Unbleached paper pulp: 1 cup (store-bought or homemade from recycled paper).
- ● Water: 1–2 cups (room temperature).
- ● Blender: High-powered (for smooth pulp consistency).
- ● Fine mesh strainer or cheesecloth: To remove lumps.
- ○ Cookie cutters or molds: For shaping (optional but fun—think hearts, leaves, or stars!).
- ● Cardstock or parchment paper: For drying (1–2 sheets).
- ● Mixing bowl: Large enough for pulp.
- ● Rubber gloves: To keep hands clean.
- ● Rolling pin or smooth surface: For flattening paper.
- ● Spray bottle with water: To keep pulp moist while working.
- ○ Decorative elements (optional): Dried flowers or glitter (for aesthetic touch).
- ● Essential oils (e.g., lavender) for scent.
- ● Dedicated workspace (easy to clean!).
- ● Patience—drying takes 24–48 hours in a warm, dry place.
- ● Outdoor planting spot with partial sun (check seed packet for specifics!).
Step-by-Step instructions for crafting and planting seed paper
Transforming seeds into beautiful, biodegradable paper is simpler than you think—here’s my foolproof method.
Prepare Your Materials and Mix the Pulp
Begin by soaking the 1 cup of cotton or abaca fiber in 4 cups of warm water for at least 4 hours—or overnight for best results. This softens the fibers, making them easier to blend. Drain the water and transfer the soaked fiber to a blender with 2 cups of fresh water. Blend on high until you achieve a smooth, paste-like consistency, similar to thick paint. If the mixture is too thick, add 1 tablespoon of water at a time until it flows freely but still clings to a spoon.
Here’s the thing—you want the pulp thick enough to hold the seeds but thin enough to spread evenly. If it’s too runny, the paper will tear when wet; too thick, and it won’t dry flat. Test by spreading a small amount on a flat surface: it should hold its shape without dripping. I like to work in batches, blending just enough pulp for one sheet at a time to avoid drying issues.
Incorporate Seeds and Spread the Mixture
While the pulp is still warm, stir in the 1 teaspoon of wildflower or herb seeds (or your chosen variety) until evenly distributed. The key is gentle mixing—you don’t want to crush the seeds, but you do want them fully embedded. Lay your 12x15-inch screen or mesh mold on a flat, non-stick surface (like a baking sheet or plastic tray) and pour the seed-infused pulp evenly across it. Use a spatula or smooth wooden stick to spread the mixture into an even layer, about 1/8-inch thick. Tap the mold gently on the table to eliminate air bubbles and ensure an even surface.
Don’t press too hard—you’re not making paper for a museum exhibit, just a functional seed carrier. The goal is a uniform layer that will dry without warping. If you see dry edges forming, quickly mist them with a spray bottle to keep everything cohesive. This is where patience pays off: rushing leads to uneven drying and weak spots.
Press and Dry the Seed Paper
Place a clean, absorbent towel over the pulp-covered mold and press down firmly with another flat surface, like a heavy book or rolling pin. Apply even pressure for 2-3 minutes to squeeze out excess water and create a smooth sheet. Lift the mold carefully—your seed paper should release cleanly if pressed properly. If it sticks, gently peel it away from the edges first. Lay the sheet flat on a clean towel or parchment paper in a warm, dry place, away from direct sunlight. Avoid using a hairdryer or heat source, as uneven drying can crack the paper.
Drying time varies based on humidity, but count on 12-24 hours for complete dryness. You’ll know it’s ready when the edges lift slightly when touched and the center feels firm to the touch. Flip the paper halfway through drying to prevent curling. Once dry, store it in a cool, dry place until you’re ready to plant—seed paper keeps well for 6-12 months if stored properly.
Plant the Seed Paper Directly in Soil
When you’re ready to plant, simply place the dried seed paper on the surface of moistened garden soil or a potting mix in your chosen location. Press it lightly into the soil so it makes contact with the earth—this ensures direct moisture access for germination. Water gently but thoroughly, keeping the soil consistently moist (not soggy) for the first 7-14 days. The paper will break down naturally as it absorbs moisture, releasing the seeds into the soil. You don’t need to cover it with additional soil; the seeds are already at the ideal depth.
Here’s where it gets fun—watch for the first signs of growth within 1-3 weeks, depending on the seed type. Wildflowers and herbs often sprout quickly, while some varieties may take longer. If the paper dries out before germination, lightly mist it to revive it. Once seedlings emerge, you can carefully tuck them into the soil if needed, but most will anchor themselves as they grow. This method eliminates the need for transplanting, giving your plants a head start.
Tips & tricks for perfect seed paper crafting
Creating seed paper that works beautifully every time takes a few strategic approaches—here's what I've learned from making dozens of batches.
Pulp Consistency is Everything: In Step 1, when blending your 1 cup of cotton or abaca fiber with 2 cups of fresh water, aim for a texture that looks like thick, smooth paint. The perfect consistency should cling to your spoon but flow freely when tilted. If you're unsure, do a quick test: spread a small amount on parchment paper. It should hold its shape without dripping or cracking when you run your finger through it. Too runny? Add 1 tablespoon of fiber at a time. Too thick? Add water in the same increments.
Seed Distribution Technique: When incorporating your 1 teaspoon of seeds in Step 2, think of it like making a smoothie—you want complete, even distribution without crushing. Use a small rubber spatula to gently fold the seeds into the warm pulp. For larger seeds like sunflower, you might want to press them slightly into the paper during spreading to ensure they make contact with the soil later. I find that working in small batches of pulp prevents seeds from settling unevenly at the bottom.
Drying Strategy for Humidity Variations: The 12-24 hour drying time in Step 3 can feel like an eternity, especially in humid climates. To speed things up without risking cracks, place your seed paper in a well-ventilated area with a small fan circulating air at low speed. For extra insurance against curling, place a second clean towel underneath the parchment paper. In very dry conditions, you might need to lightly mist the edges every few hours to prevent them from becoming brittle before the center dries.
Planting Preparation Tip: Before planting your finished seed paper in Step 4, give it a quick "conditioning" by placing it in a sealed plastic bag with a damp paper towel for 30 minutes. This pre-moistening helps the paper break down faster once in soil, giving your seeds an immediate hydration boost. Just be sure to plant it within 24 hours of this treatment to prevent mold growth.
Pro Tips for Seed Paper Instructions
- Creating seed paper that works beautifully every time takes a few strategic approaches—here's what I've learned from making dozens of batches.
- Pulp Consistency is Everything: In Step 1, when blending your 1 cup of cotton or abaca fiber with 2 cups of fresh water, aim for a texture that looks like thick, smooth paint.
- Seed Distribution Technique: When incorporating your 1 teaspoon of seeds in Step 2, think of it like making a smoothie—you want complete, even distribution without crushing.
Frequently asked questions
Got questions about seed paper? You’re not alone! Here are the most common queries—and easy answers—to help you grow with confidence.
How long does it take for seeds to sprout in seed paper?
Germination time varies by plant type, but most seed paper sprouts within 7–21 days under ideal conditions (warmth, moisture, and indirect light). Check the specific seed blend instructions—some herbs (like basil) may sprout faster, while flowers or wildflowers could take longer. Patience is key!
Do I need to soak seed paper before planting?
Yes! Soaking seed paper for 10–15 minutes in room-temperature water activates the seeds and ensures even moisture distribution. After soaking, gently squeeze out excess water (don’t wring it dry) and plant immediately. Think of it like giving your seeds a cozy, hydrated head start.
Can I plant seed paper in pots or just outdoors?
Seed paper works in pots, hanging planters, or directly in the ground. For containers, use well-draining soil and ensure pots have drainage holes. Outdoors, plant in a spot with 6+ hours of sunlight daily (check your seed blend’s light needs). Urban gardeners love it for balconies and windowsills too!
What if my seed paper doesn’t sprout? Troubleshooting tips.
No sprouts? Don’t panic! Common fixes:
- Check moisture: Keep soil consistently damp (not soggy) but avoid overwatering.
- Light matters: Some seeds need bright, indirect light to germinate.
- Temperature: Most seed paper thrives in 60–75°F; avoid cold drafts.
- Patience: Some seeds take 3+ weeks—track your planting date!
Are there eco-friendly alternatives to seed paper?
Yes! If seed paper isn’t your style, try:
- Biodegradable seed tape (similar concept, easier to handle).
- Homemade seed bombs (clay + soil + seeds—great for wildflower meadows!).
- Traditional seed packets with compostable paper (check labels!).
Wrapping up and next steps
Creating your own seed paper is a rewarding way to combine creativity with sustainability! 🌱 With just a few simple steps, you’ve unlocked an eco-friendly planting method that’s perfect for gardens, classrooms, or even as a thoughtful gift.
Whether you’re a gardening pro or a beginner, this project is a fun way to give back to the planet.
Now that you’re armed with seed paper instructions, why not take the next step? Try experimenting with different flower seeds, colors, or even custom designs. Share your creations with friends or use them to brighten up your space—your green thumb (or curiosity!) will thank you! 🌸