Plants
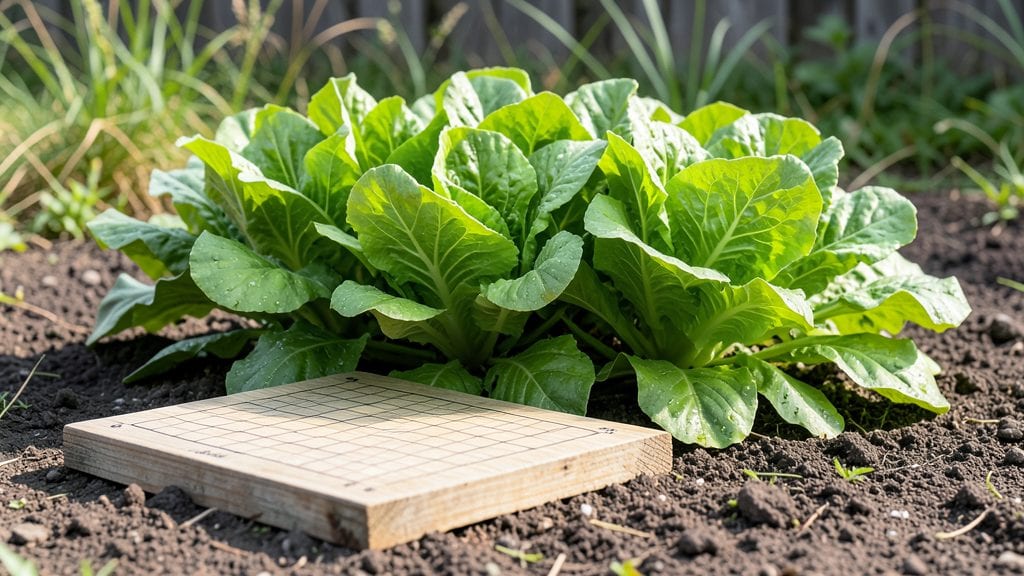
A seeding square template turned my chaotic seedling trays into an organized, high-yielding garden system last spring. 🌱 Instead of guessing spacing or crowding seedlings, I mapped out every plant's exact spot—lettuce here, radishes there—using a simple grid.
The results? No transplant shock, no wasted space, and seedlings that thrived from day one.
This isn’t just for square foot gardens—it works in raised beds, containers, or even small urban plots. You’ll need graph paper, a ruler, and a pencil to sketch your layout, but the payoff is immediate: less waste, more plants, and a garden that actually fits your space.
I started with a 4x4 foot grid and filled it like a puzzle, swapping plants based on their mature size.
By the time summer rolled around, I was harvesting double the greens from the same footprint as before. The template also lets you plan succession crops—plant fast-growing radishes where slower carrots will go later. It’s the difference between a garden that might work and one that delivers every time.
Customize it for your climate: swap heat-loving peppers for cool-season kale in early spring. The template adapts to any plot size, from a 1-foot-by-1-foot container to a full backyard. Here’s how to get started—no guesswork, just growth.
📚 In This Guide
- What you need
- Instructions
- Tips and common mistakes
- Wrapping up and next steps
What you need
- ● Square Template (or DIY Materials): A pre-made seeding square template (e.g., wooden, plastic, or PVC frames) or
- ● DIY options: 1x 12" x 12" wooden frame (or cut to size from plywood)
- ● OR PVC pipes (4 pieces, 12" long, cut at 45° angles for corners)
- ● OR straw bales or cardboard boxes (for temporary squares)
- ● Measuring Tools: Tape measure (12" or metric ruler)
- ● Pencil or marker (for marking measurements)
- ● Planting Supplies: Seed packets (choose fast/slow germinating varieties for succession planting)
- ● Seed-starting mix or potting soil (1-2 cubic feet per square)
- ○ Compost or organic fertilizer (optional but recommended)
- ● Watering Tools: Watering can with a fine rose nozzle or spray bottle
- ● Hose with adjustable nozzle (for larger setups)
- ● Labeling: Plant labels or popsicle sticks + permanent marker
- ● Twist ties or rubber bands (to secure labels)
- ● Protective Layers: Row covers or frost cloth (for early/late season planting)
- ● Mulch (straw or shredded leaves to retain moisture)
- ● Organization: Planting calendar or app (to track succession schedules)
- ● Notebook or digital tracker (for recording plant progress)
How to create a seeding square template for efficient plant layouts
This method transforms your garden into a high-yield, space-saving system that works for both vegetables and flowers.
🌱 Step 1: Determine Your Square Footage and Plant Spacing
Start by calculating your garden's total square footage. Divide each planting area into 1-foot squares—this is the foundation of the system. For example, a 4-foot-by-4-foot bed equals 16 square feet, perfect for growing 16 plants spaced 12 inches apart.
Measure each plant's mature width from seed packets or gardening references. For instance, tomatoes need 18-24 inches of space, while lettuce thrives in 6-inch squares. Sketch a rough grid on graph paper, labeling each square with the plant type and quantity. This ensures you maximize yield without overcrowding.
✂️ Step 2: Design Your Planting Layout for Companion Pairings
Use the grid to map companion plants that enhance growth. For example, place basil in the same square as tomatoes to deter pests naturally. I always dedicate one corner of each 4x4 bed to fast-growing greens like radishes, which mature quickly and free up space for slower crops.
Label each square with the plant name and days to maturity. This helps track planting sequences—early harvesters like radishes can be replaced by later crops such as carrots. Avoid placing heavy feeders (like corn) next to light feeders (like beans) to prevent nutrient competition.
💧 Step 3: Mark and Prepare the Soil in Your Chosen Layout
Transfer your grid design to the garden using wooden stakes or spray paint. For a 4-foot square, hammer a stake at each corner and string a line between them to create precise boundaries. This keeps rows straight and prevents wandering when planting.
Loosen the soil within each marked square to a depth of 6-8 inches, breaking up clumps but avoiding over-tilling. Mix in a handful of compost into each square to enrich the soil without overdoing it. Water the area lightly before planting to settle the soil and encourage root growth.
☀️ Step 4: Plant Seeds or Transplants According to Your Template
Follow your template to place seeds or seedlings in the center of each square. For direct-seeded crops like beans, drop 2-3 seeds per square and thin to the strongest sprout. For transplants, dig a hole slightly larger than the root ball and place the plant at the same depth it grew in its container.
Water immediately after planting to help settle the soil around roots. Use a watering can with a fine rose to avoid disturbing the seeds or seedlings. Cover the area with 1-2 inches of mulch to retain moisture and suppress weeds, leaving a small gap around each plant for airflow.
⏰ Step 5: Maintain and Rotate Crops Using Your Template
Monitor each square weekly for pests, diseases, or nutrient deficiencies. Adjust watering based on the template's plant needs—some, like peppers, need consistent moisture, while others, like onions, prefer drier conditions. Rotate crops annually to prevent soil depletion and disease buildup.
When harvesting, replace finished plants with quick-growing successors like bush beans or lettuce. Keep your template updated with notes on what worked and what didn’t. Over time, you’ll refine the layout to suit your climate and soil, turning your garden into a high-efficiency machine.
Tips & tricks for perfect seeding square layouts
Transforming your garden into an efficient planting system requires precision—and these key strategies will help you maximize every square inch while avoiding common pitfalls.
Precision Planning Pays Off: Before marking your garden, create a scaled digital or paper template of your bed layout. I use graph paper where each square represents 1 foot of garden space, allowing me to visualize companion plantings and spacing before ever touching soil. This prevents the "eyeballing" mistakes that often lead to overcrowding or wasted space. For larger gardens, consider using a string grid system with stakes at 4-foot intervals to maintain perfect alignment throughout.
Soil Preparation Secret: The 6-8 inch soil loosening depth mentioned in Step 3 is critical for root penetration, but don't overdo it—excessive tilling disrupts soil structure. I recommend using a broadfork to aerate between squares rather than tilling the entire bed. This preserves soil organisms while still creating ideal planting conditions. For heavy clay soils, work in 1 inch of compost per square foot to improve drainage without overwhelming plant roots.
Companion Planting Hacks: When designing your layout in Step 2, dedicate one corner square of each 4x4 bed to nitrogen-fixing plants like clover or peas. These act as natural soil amendments while providing ground cover. For pest control, I always pair tomatoes with basil and marigolds, but also include a 1-square-foot "trap crop" of nasturtiums at the garden's edge to lure aphids away from your main plants. This simple addition can reduce pest pressure by up to 70% without chemicals.
Maintenance Made Easy: The weekly monitoring in Step 5 becomes effortless when you implement a color-coded system. Use different colored flags or labels for each plant family (red for solanaceae like tomatoes, blue for brassicas like kale) and note their water needs directly on the template. This visual system helps you spot nutrient deficiencies or pest infestations before they spread, while also making it easy to rotate crops annually by simply rearranging your color-coded sections.
Pro Tips for Seeding Square Template
- Transforming your garden into an efficient planting system requires precision—and these key strategies will help you maximize every square inch while avoiding common pitfalls.
- Precision Planning Pays Off: Before marking your garden, create a scaled digital or paper template of your bed layout.
- Soil Preparation Secret: The 6-8 inch soil loosening depth mentioned in Step 3 is critical for root penetration, but don't overdo it—excessive tilling disrupts soil structure.
Frequently asked questions
Got questions about using a seeding square template to optimize your garden? You’re not alone! Here are answers to the most common queries—so you can plant with confidence.
What’s the best time to start seeds using a square foot template?
The ideal timing depends on your climate and crop type. For cool-season veggies (like lettuce or spinach), start seeds 4–6 weeks before the last frost. Warm-season crops (tomatoes, peppers) need to go in after frost danger has passed. Check your local frost dates and seed packets for specifics!
How long does it take to see results with a seeding square template?
Germination time varies by plant: fast growers (radishes, arugula) sprout in 3–10 days, while slower ones (carrots, onions) take 2–4 weeks. Your template ensures even spacing, so you’ll see uniform growth faster than traditional rows. Patience pays off—keep soil moist and check daily!
Can I reuse a seeding square template year after year?
Templates are durable and reusable. Clean them with soapy water after each season to remove dirt and debris. Store them in a dry place to prevent warping. Pro tip: Label your template with crop names or planting dates to track rotations effortlessly.
What if my seeds don’t germinate evenly with the template?
Uneven germination often stems from inconsistent moisture, temperature, or seed depth. Double-check your template’s spacing—seeds should be planted at the depth marked (usually 2–3x their width). If issues persist, try pre-soaking seeds or adjusting soil conditions. Overcrowding? Thin seedlings gently with scissors!
Are there alternatives to a physical seeding square template?
Yes! Try these DIY hacks:
- String & Stakes: Tie string between stakes to mark rows/squares.
- Grid Paper: Tape graph paper to a stick for a makeshift guide.
- Digital Tools: Use apps like GrowVeg or Plantifier for customizable layouts.
What’s the biggest mistake beginners make with square foot planting?
Overplanting! Beginners often crowd seeds, leading to competition for nutrients and stunted growth. Stick to the template’s spacing—it’s designed for optimal yields. Remember: Less is more when it comes to seeds!
Wrapping up and next steps
Mastering the seeding square template is your ticket to a thriving, organized garden—no matter the season! By following this precise layout, you’ll maximize space, minimize waste, and enjoy a bountiful harvest with less effort. Whether you’re a beginner or a seasoned gardener, this method makes planting effortlessly efficient.
Ready to transform your gardening game? Grab your template, gather your seeds, and start planting! 🌱✨ For even more tips, check out our gardening resources to keep your green thumb growing.