
Advice
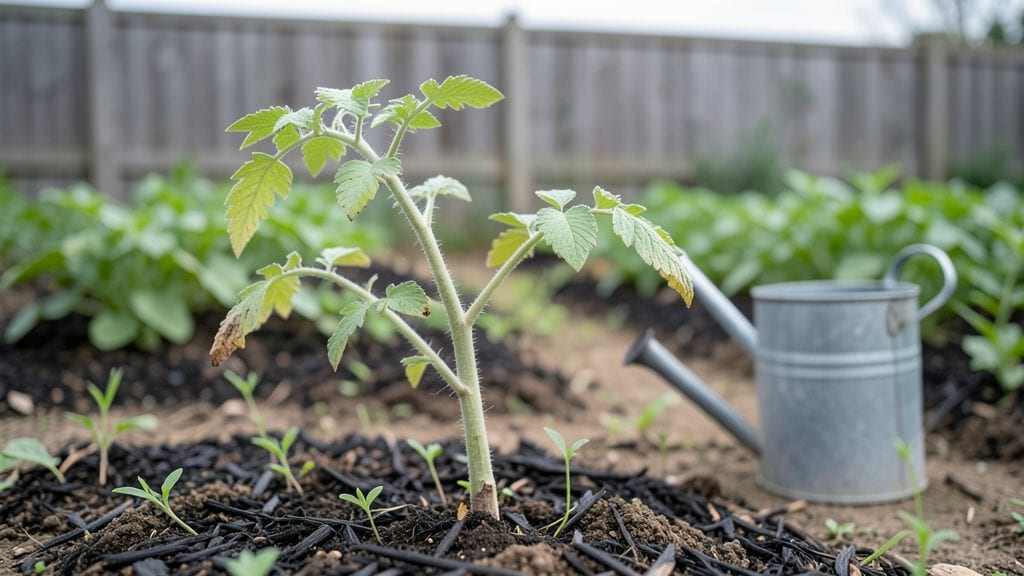
Slow seedling growth can turn your green thumb into a nervous wreck, but cold stratification is the secret weapon I wish I’d known years ago. 🌱 That little trick where you mimic winter’s chill before planting—it’s what transforms stubborn seeds into vigorous seedlings that finally break through the soil like they mean business.
The problem isn’t always your skills—it’s often the seeds themselves. Many perennials and wildflowers need a taste of cold to wake up their growth genes. Without it, they sit there like sleepy cats, stretching weak and leggy instead of popping up strong.
The fix? A simple fridge trick (yes, really) that takes just a few weeks and works for everything from peonies to poppies.
By the time you plant, those seeds will be ready to race toward the light, giving you stocky, dark-green seedlings that outpace anything from the nursery. No more waiting months for pathetic sprouts—just reliable, robust starts that turn into the blooms you’ve been dreaming of.
Here’s exactly how to do it without the guesswork.
Works for both spring and fall planting, whether you’re tackling heirlooms or native wildflowers. Let’s get those seeds ready to grow like they’ve been waiting their whole lives for you to give them the right wake-up call.
📚 In This Guide
- What you need
- Instructions
- Tips and common mistakes
- Wrapping up and next steps
What you need
- ● Seeds: Choose cold-stratification-friendly varieties (e.g., Echinacea, Aquilegia, or Delphinium). Aim for 10–20 seeds per test to account for variability.
- ● Growing medium: 1 part peat moss or coco coir + 1 part perlite (sterilized). Total: 2–3 lbs for small batches.
- ● Containers: Primary: 4–6" deep plastic or biodegradable pots (1–2 per seed type).
- ● Secondary (for stratification): Ziploc bags or resealable containers with breathable mesh (e.g., seed-starting trays with lids).
- ● Cold stratification setup: Refrigerator: Set to 35–40°F (2–4°C) (use a crisper drawer for humidity).
- ○ Optional: Cold frame or outdoor cold stratification box (if temps drop naturally).
- ● Spray bottle (for gentle watering—avoid oversaturating!).
- ● Fine-mist setting on a hose (for larger batches).
- ● Labeling supplies: Waterproof markers or toothpicks + permanent ink to track seed types/dates.
- ○ Humidity tray: Shallow tray + gravel (optional, for extra moisture control).
- ● Grow lights: LED or fluorescent (12–16 hrs/day) once seedlings emerge (12–18" above plants).
- ● Thermometer/hygrometer: To monitor temp (35–40°F) and humidity (70–80%) during stratification.
- ● Time: 4–12 weeks of cold treatment (varies by seed type—check seed packets!).
- ● Patience: Seedlings may take 2–4 weeks to sprout post-stratification.
- ● Research: Verify if your seeds require stratification (some prefer it but don’t need it).
How to revitalize slow seedling growth with cold stratification
This method jumpstarts stubborn seeds and guarantees stronger, faster growth—no guesswork.
🌱 Step 1: Select the Right Seeds for Cold Treatment
Cold stratification works best on seeds that need a winter chill to break dormancy, like peony, columbine, or trillium. Check your seed packet—if it says "requires stratification," this is your solution. I always test a few seeds first to confirm they're truly slow starters before committing to the full process.
Keep seeds dry in a cool, dark place until you're ready to start. Moisture triggers germination too early, and you want full control over the timing. Store them in a sealed container with a silica gel packet to absorb any accidental dampness. If your seeds feel soft or shriveled, they may already be compromised—discard those immediately.
⏰ Step 2: Prepare the Stratification Setup
Fill a quart-sized resealable plastic bag with 2 inches of moistened perlite or sand—never use soil, as it can harbor mold. The medium should feel damp like a wrung-out sponge, not soggy. Sprinkle the seeds evenly over the surface, then seal the bag tightly.
Place the bag in a refrigerator set to 35-40°F, where it stays consistently cold. I label the bag with the seed type and date—after a few weeks, you'll forget which batch is which. Check weekly for condensation; if the bag fogs up, open it for 10 minutes to air out and prevent rot.
☀️ Step 3: Monitor and Move to Warmth at the Right Time
After 4-12 weeks (depending on the seed type), remove the bag and inspect the seeds. You'll see slight swelling or tiny root hairs—this means stratification is working. Plant them immediately in moistened seed-starting mix at the recommended depth, usually twice the seed diameter.
Place the pots in a warm spot (65-75°F) with indirect light until sprouts appear. Avoid direct sun or heat sources like radiators, which can dry out the mix too quickly. I cover the pots with plastic wrap to retain moisture, but remove it as soon as the first sprouts break through—condensation encourages fungal growth.
💧 Step 4: Care for Germinated Seedlings
Once seedlings emerge, move them to a bright, sunny window or under grow lights for 12-14 hours daily. Water gently from the bottom of the pot to avoid disturbing the delicate roots. You'll know they're thriving when the first true leaves (not the initial seed leaves) appear—this usually takes 2-4 weeks after planting.
Thin seedlings if they're crowded, keeping the strongest one per pot. If growth slows again, check the soil—it might be too dry or too cold. A heat mat set to 70°F can give them a second boost if your home runs chilly. Avoid fertilizing until you see 3-4 true leaves; young roots are sensitive to salts.
✂️ Step 5: Harden Off Before Transplanting
Two weeks before your last frost date, start hardening off the seedlings by placing them outside in a sheltered spot for 1-2 hours the first day. Gradually increase their outdoor time over 10-14 days, watching for wilting or yellowing leaves—these are signs they're not ready yet.
Transplant on a cool, overcast day to reduce shock. Bury seedlings deeper than they were in pots, as this encourages stronger root growth. Mulch lightly with 1 inch of compost to retain moisture and regulate soil temperature. With cold stratification, your seedlings will bloom 2-4 weeks earlier than untreated seeds—worth the wait!
Tips & tricks for perfect cold stratification
These simple strategies will help you avoid common pitfalls and maximize your seedling success with cold stratification.
Seed Selection Wisdom: Not all seeds need stratification—only those requiring winter chill to break dormancy, like peony, columbine, or trillium. I learned this the hard way after trying to stratify fast-germinating seeds like marigolds. Always check your seed packet first! For extra insurance, test a few seeds in a separate bag before committing to the full process.
Temperature Matters: Keep your refrigerator set to 35-40°F consistently—this is critical for mimicking natural winter conditions. If your fridge runs warmer (like many modern models), place the bag on the bottom shelf where it's coolest. I also recommend using a small thermometer inside the bag to monitor temps—some fridges have hot spots that can ruin your stratification.
Moisture Management: The 2 inches of moistened perlite or sand should feel like a wrung-out sponge—never soggy. Too much moisture causes mold, while too little prevents proper hydration. I like to mist the perlite lightly every 10 minutes during the first week to ensure even moisture distribution. This is especially important for tiny seeds that need consistent hydration.
Timing Secret: The 4-12 week stratification period varies by seed type, but I've found that checking weekly for condensation is key. If you see fogging inside the bag, open it for 10 minutes to air out—this prevents rot while maintaining proper humidity. For seeds on the shorter end (like columbine at 4 weeks), set a reminder so you don't miss the planting window.
Pro Tips for Slow Seedling Growth
- These simple strategies will help you avoid common pitfalls and maximize your seedling success with cold stratification.
- Seed Selection Wisdom: Not all seeds need stratification—only those requiring winter chill to break dormancy, like peony, columbine, or trillium.
- Temperature Matters: Keep your refrigerator set to 35-40°F consistently—this is critical for mimicking natural winter conditions.
Frequently asked questions
Got questions about slow seedling growth? You’re not alone—even experienced gardeners hit snags! Below, we tackle the most common concerns to help you troubleshoot and boost those tiny sprouts.
Why is my seedling growing so slowly after cold stratification?
Cold stratification mimics winter conditions, breaking seed dormancy—but it can also slow early growth. This is normal! Seeds focus energy on root development first. Expect slower top growth for 2–4 weeks post-stratification before shoots surge. Patience pays off!
How long should I wait before worrying about a seedling’s growth?
Most cold-stratified seeds need 4–8 weeks to germinate, depending on the species. If no sprouts appear after 10–12 weeks (or double the seed packet’s max time), the seed may be non-viable. Test a few seeds in fresh soil to confirm.
Can I speed up slow seedling growth without harming them?
Yes! Once sprouted, move seedlings to a warm, bright spot (65–75°F) with 12–16 hours of light daily. Avoid overwatering—keep soil moist but not soggy. A gentle fish emulsion spray (diluted) can provide a nutrient boost without shocking tender roots.
What if my seedlings are etiolated (leggy and weak) after stratification?
Etiolation happens when seedlings stretch toward light. Prevent it by placing trays under grow lights 2–3 inches above seedlings. If it’s already happened, bury stems deeper (up to the first leaves) to encourage root growth. Avoid transplant shock by hardening off gradually before outdoor moves.
Should I use cold stratification for all slow-germinating seeds?
Not always! Cold stratification works best for native perennials, trees, and some wildflowers (e.g., peonies, trilliums). For vegetables or annuals (like tomatoes or marigolds), skip stratification—they thrive with warm soil and consistent moisture. Always check seed packet instructions!
Still stumped? Drop your seed type below—we’re happy to help diagnose!
Wrapping up and next steps
Slow seedling growth can feel frustrating, but with cold stratification and patience, you’re already on the right path to stronger, healthier blooms! 🌱 Understanding the science behind dormancy breaks and proper moisture levels empowers you to nurture seeds with confidence.
Don’t let setbacks discourage you—small adjustments can lead to big rewards.
Ready to take the next step? Experiment with your stratification setup—track moisture, temperature, and timing to refine your technique. Soon, you’ll be rewarded with vibrant, thriving seedlings that make every effort worthwhile!