Trees
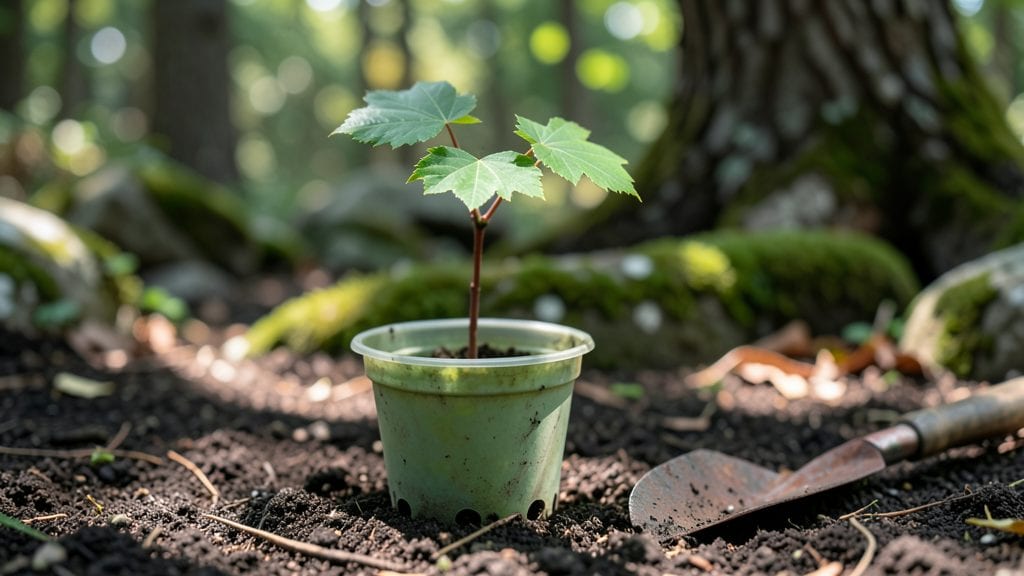
The secret to growing a sugar maple seedling that thrives from day one lies in mimicking nature’s winter chill. I’ve learned that skipping this step means weak, leggy seedlings that struggle to take root—until I discovered how a few weeks in the fridge transforms flimsy sprouts into sturdy, resilient plants.
The process is simpler than it sounds, and once you’ve done it once, you’ll never go back to buying nursery trees again.
All you need is a small plastic bag, some damp paper towels, and your patience. Place the seeds between the towels, seal the bag loosely, and tuck it in the fridge’s crisper drawer for about 6-8 weeks.
This cold stratification tricks the seed into thinking winter’s passed, so it’s ready to burst into growth when spring arrives. No fancy equipment, just science you can do in your kitchen.
By the time you plant in early spring, your seedlings will be 2-3 inches tall with strong roots, giving them a head start over store-bought saplings.
The leaves stay vibrant even in partial shade, and with proper care, your maple will grow into a shade-providing giant in just a few decades. The best part? You’ll watch it thrive in your own backyard instead of paying top dollar for a tiny nursery specimen.
This method works best for zones 4-7, but even in warmer climates, you can simulate the cold period with a DIY cold frame. Whether you’re starting with seeds or rescuing a struggling seedling, this trick ensures your sugar maple gets off to the right start—no guesswork involved.
📚 In This Guide
- What you need
- Instructions
- Tips and common mistakes
- Wrapping up and next steps
What you need
- ● Sugar maple seeds (Acer saccharum): 5–10 fresh, viable seeds (harvested in fall or purchased from a reputable supplier).
- ● Cold stratification supplies: Ziploc bag or airtight container
- ● Moistened paper towels or peat moss (enough to lightly cover seeds)
- ● Potting mix: 1–2 gallons of well-draining, sterile potting soil (e.g., a mix of peat moss, perlite, and compost).
- ● Small pots or seed trays: 2–4 (4-inch diameter minimum) with drainage holes.
- ● Grow lights or sunny windowsill: Access to indirect light (6+ hours/day) or a full-spectrum LED grow light.
- ● Spray bottle: For gentle watering (avoid over-saturating seeds).
- ○ Humidity dome or plastic wrap: To retain moisture during germination (optional but helpful).
- ● Seedling heat mat: To maintain soil temps between 60–70°F (15–21°C) during germination.
- ● pH test kit: Ensure soil pH is between 5.0–6.5 (ideal for maple seedlings).
- ● Fertilizer: A balanced, water-soluble fertilizer (e.g., 10-10-10) for post-germination growth (dilute to half-strength).
- ● Labeling tags: To track planting dates and stratification progress.
- ● Garden journal: For logging growth milestones and conditions!
Step-by-step instructions for cold stratifying sugar maple seeds
Here's how I guarantee reliable germination for sugar maple seedlings using cold stratification.
Collect and Prepare the Seeds
Harvest sugar maple seeds in late summer or early fall when the samaras (winged fruit) are brown and dry. Remove the seeds from the wings and place them in a paper towel-lined container. This prevents moisture buildup, which can cause rot during stratification.
Keep the seeds in a cool, dry place at room temperature for about 2 weeks before starting stratification. This mimics the natural drying period seeds experience before winter. If you're working with store-bought seeds, skip this step and proceed directly to stratification.
Moisten and Stratify the Seeds
Mix the seeds with equal parts moistened peat moss or coconut coir in a sealed plastic bag or container. The medium should feel damp like a wrung-out sponge—never soggy. Add just enough water to moisten the mix thoroughly, then seal the container tightly.
Place the sealed container in the refrigerator for 90-120 days. This cold stratification mimics winter conditions, breaking the seed's dormancy. Check the container every 2 weeks to ensure the mix remains moist. If it dries out, sprinkle a little water and reseal.
Plant Stratified Seeds in Containers
Fill 4-inch diameter pots with a well-draining seed-starting mix. Plant the stratified seeds ½ inch deep, spacing them about 1 inch apart in each pot. This depth ensures they have enough energy to push through the soil without exhausting their reserves.
Water the pots gently until moisture seeps from the drainage holes, then place them in a shade cloth or under a grow light for 4-6 weeks. Avoid direct sunlight at first—young seedlings are sensitive to intense light and may scorch. Keep the soil consistently moist but not waterlogged.
Transition to Outdoor Conditions
Once seedlings develop 2-3 sets of true leaves, gradually introduce them to outdoor conditions. Start by placing pots in a sheltered, partially shaded spot for 2-3 hours daily, increasing exposure over 10-14 days. This process, called hardening off, prepares seedlings for full sunlight and temperature fluctuations.
After 2 weeks of outdoor acclimation, transplant seedlings to their permanent location in partial shade to full sun. Sugar maples thrive in well-draining soil with pH 5.0-7.0. Water deeply after transplanting to help roots establish in the new environment.
Maintain Seedlings Through First Year
Keep the soil evenly moist but not soggy during the first growing season. Mulch around the base with 2-3 inches of organic mulch to retain moisture and regulate soil temperature. Avoid fertilizing in the first year—young seedlings need time to establish roots before benefiting from extra nutrients.
Watch for signs of stress, such as yellowing leaves or stunted growth. These often indicate overwatering or poor drainage. If you notice wilting, water deeply and ensure pots or beds have adequate drainage. By fall, your seedlings should be 12-18 inches tall, ready for another season of growth.
Tips & tricks for perfect sugar maple seedling growth
Cold stratification might seem mysterious, but these key strategies will help you maximize your sugar maple seedling success.
Seed Selection: When harvesting seeds from samaras, look for fully brown, dry wings—they indicate mature seeds ready for stratification. If you're working with store-bought seeds, skip the initial 2-week drying period mentioned in Step 1. Freshly harvested seeds benefit from this drying time to prevent moisture-related rot during the long cold period.
Moisture Management: During the 90-120 day stratification period, maintaining proper moisture is crucial. I like to use a spray bottle to check moisture levels every 2 weeks—if the peat moss or coconut coir feels dry at the top, it's time to add a light mist. The mix should always feel like a wrung-out sponge, never soggy. Too much moisture can cause mold, while too little prevents proper dormancy breaking.
Temperature Consistency: While the refrigerator provides stable cold conditions, I've found that the back of the fridge—where temperatures are most consistent—works best for stratification. Avoid the door area where temperatures fluctuate with opening and closing. If you don't have fridge space, a cool basement or unheated garage can work, though you'll need to monitor temperatures more carefully to stay within the optimal range.
Lighting Strategy: For the 4-6 week indoor growing period, I recommend using a full-spectrum grow light rather than natural shade cloth alone. Place lights about 2-3 inches above the seedlings and keep them on for 12-14 hours daily. This mimics spring sunlight and prevents the leggy growth that often occurs with insufficient light. The seedlings will tell you when they need more light—they'll lean toward the light source if they're not getting enough.
Pro Tips for Sugar Maple Seedling
- Cold stratification might seem mysterious, but these key strategies will help you maximize your sugar maple seedling success.
- Seed Selection: When harvesting seeds from samaras, look for fully brown, dry wings—they indicate mature seeds ready for stratification.
- Moisture Management: During the 90-120 day stratification period, maintaining proper moisture is crucial.
Frequently asked questions
Got questions about growing sugar maple seedlings with cold stratification? You’re not alone! Here are some of the most common queries—and their answers—to help you get started confidently.
What is cold stratification, and why do sugar maple seedlings need it?
Cold stratification mimics winter conditions, breaking seed dormancy so your sugar maple seedlings can sprout reliably in spring. Without it, many seeds may never germinate—or take years to do so! Think of it as a "wake-up call" for nature’s timing.
How long should I cold stratify sugar maple seeds?
For best results, stratify sugar maple seeds for 60–90 days in a moist, chilled environment (like a fridge or outdoor cold frame). If using a DIY setup, check moisture weekly—seeds should stay damp but not soggy. Patience pays off for stronger seedlings!
Can I cold stratify sugar maple seeds outdoors instead of indoors?
Bury seeds in a shallow trench (6–8 inches deep) in a protected garden spot (e.g., under mulch or snow) in fall. They’ll naturally stratify over winter. Just mark the spot to avoid disturbing them in spring. Pro tip: Use a mesh bag for easy retrieval!
What if my sugar maple seeds don’t germinate after stratification?
Don’t panic! Try these fixes:
- Check moisture: Seeds need consistent dampness (not waterlogged).
- Test viability: Soak a few seeds in water—if they sink, they’re likely viable.
- Extend stratification: Add 30 more days if your climate is mild.
- Consider fresh seeds: Older seeds (over 1 year) may lose viability.
How do I transplant sugar maple seedlings after germination?
Once seedlings sprout (usually 2–4 weeks post-stratification), harden them off for 1–2 weeks before transplanting. Choose a partially shaded, well-draining spot with rich soil. Space them 10–15 feet apart for mature growth. Water deeply after planting to reduce shock.
Wrapping up and next steps
Growing a sugar maple seedling from scratch is a rewarding journey that blends patience with nature’s magic! 🌱 By mastering the cold stratification trick, you’ve unlocked the secret to stronger, healthier seedlings ready to thrive in spring.
Whether you’re a seasoned gardener or a curious beginner, your efforts will soon pay off with a flourishing tree that could one day yield sweet sap—or even stunning fall foliage.
Now that you’re armed with the know-how, take the next step! Start your seedlings indoors this winter, and by spring, you’ll be transplanting them into your yard with confidence. Happy planting! 🌿