
Pests
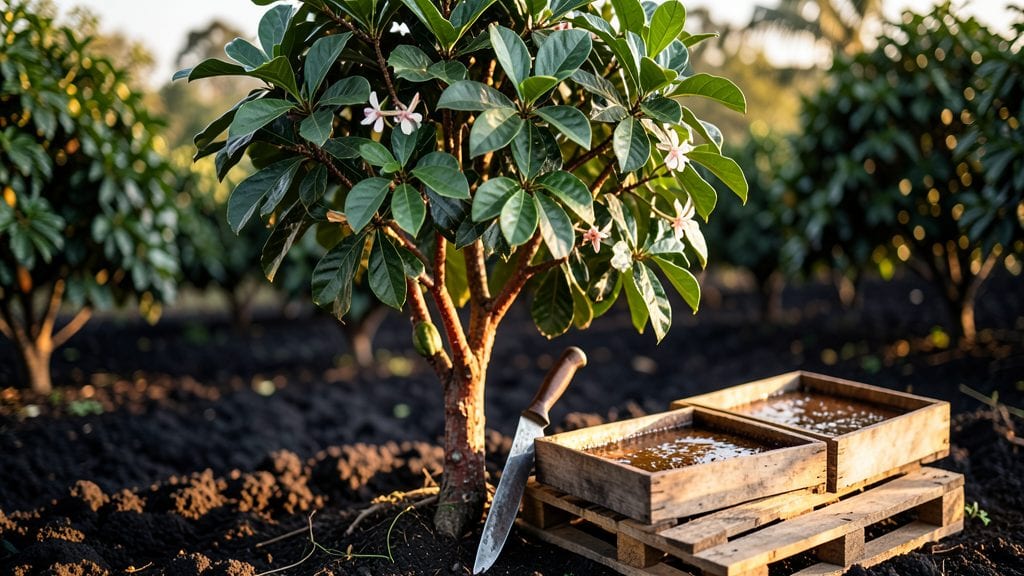
Getting cocoa seeds starts with knowing where to look—and the first place isn’t your local nursery. 🌱 Most garden centers won’t carry them, but specialty tropical plant suppliers, online seed banks, or even fair-trade chocolate makers often sell them.
I’ve sourced mine from ethical suppliers who guarantee viable seeds, and the process is simpler than you’d think.
You’ll need just three things: a source for seeds (online or from a mature pod if you have access), a warm spot (70–80°F), and patience—germination can take 3–6 weeks. If you’re harvesting from pods, let the beans ferment for 5–7 days first to break down the bitter compounds.
Store unused seeds in a cool, dry place until ready to plant.
The payoff? A chocolate tree that thrives in zones 10–12, with glossy leaves and fragrant white flowers before the pods appear. Even if you don’t live in a tropical climate, container growing lets you enjoy the process indoors.
Just be ready for the wait—it takes 5+ years for a seedling to produce pods.
Fair warning: Not all seeds will sprout, and some suppliers sell dried beans meant for eating, not planting. Always check reviews or ask about germination rates before ordering. Here’s how to pick the best seeds for your first try.
📚 In This Guide
- What you need
- Instructions
- Tips and common mistakes
- Wrapping up and next steps
What you need
- ● Fresh cocoa pods: 3–5 mature, ripe pods (harvested from a healthy cocoa tree, Theobroma cacao)
- ● Sharp knife or pod opener: A sturdy, clean knife (or pod-specific tool) to slice open the pods
- ○ Gloves (optional but recommended): To protect your hands from the sticky, slightly acidic pulp
- ● Colander or fine mesh strainer: For rinsing seeds and removing excess pulp
- ● Clean water: For rinsing seeds thoroughly
- ● Paper towels or cloth: To pat seeds dry after rinsing
- ● Small containers or seed trays: For germination (6–8 inches deep, with drainage holes)
- ● Potting mix: Well-draining, slightly acidic soil (pH 5.5–6.5) mixed with perlite or coconut coir (1:1 ratio)
- ● Plastic wrap or humidity dome: To maintain moisture during germination
- ● Spray bottle: For gentle watering
- ○ Thermometer (optional): To monitor soil temperature (ideal: 75–85°F (24–29°C))
- ● Legal access to cocoa pods: Ensure you’re sourcing seeds legally (e.g., from a trusted supplier or your own tree if in a suitable climate)
- ● Patience: Cocoa seeds take 2–4 weeks to germinate and require consistent care
- ● Warm, humid environment: Mimic tropical conditions (e.g., a greenhouse or sunny windowsill)
- ● Pest control: Keep an eye out for mold, fungus gnats, or rot (especially in damp conditions)
Step-by-Step guide to extracting cocoa seeds from chocolate bars
Here's how to safely harvest cocoa seeds from store-bought chocolate for home growing.
🌱 Step 1: Select and Prepare the Chocolate Bar
Choose a high-quality, 70% or higher cocoa content chocolate bar—dark chocolate works best. Avoid milk chocolate or bars with added ingredients like nuts or caramel, as these can interfere with germination. Break the bar into 4 equal pieces (about 1 ounce each) using a sharp knife or chocolate chipper.
Place each piece on a clean, parchment-lined tray. The goal is to create a thin layer so the chocolate melts evenly. If using a microwave, heat in 10-second bursts on low power until fully melted but not scorched. For stovetop melting, use a double boiler with warm water (never boiling) to prevent burning.
💧 Step 2: Separate the Seeds from Chocolate
Once melted, pour the chocolate onto a silicone baking mat or parchment paper. Let it cool slightly until it firms up but remains soft to the touch. Using a butter knife or offset spatula, gently scrape through the chocolate to break it into small, crumbly pieces.
Cocoa seeds (also called nibs) will be visible as small, hard, tan-colored bits mixed with the chocolate. Sift the mixture through a fine-mesh strainer (like a tea strainer) to separate the seeds. Discard the fine chocolate particles—only the seeds are needed for growing. You should yield about 4-6 seeds per ounce of chocolate, depending on the bar's cocoa percentage.
☀️ Step 3: Clean and Dry the Seeds
Rinse the seeds under lukewarm water to remove any residual chocolate. Use your fingers to gently rub away any clinging bits—this ensures the seeds aren’t coated in sugar or additives that could inhibit germination. Pat them dry with a paper towel or let them air-dry on a clean cloth for 1-2 hours in a warm, dry spot (around 70-75°F).
Seeds are ready when they feel slightly rough to the touch and no longer leave a damp residue. Avoid direct sunlight or heat sources, as excessive drying can crack the seed coat. Store the cleaned seeds in a paper envelope in a cool, dark place until you’re ready to plant them—this prevents mold and keeps them viable for up to 2 weeks.
⏰ Step 4: Germinate the Seeds (Optional but Recommended)
Cocoa seeds have a hard outer shell, so pre-germination improves success rates. Place the seeds between two damp paper towels in a ziplock bag. Seal the bag loosely (leave a small gap for airflow) and place it in a warm spot (around 80-85°F). Check daily—within 5-7 days, you’ll see a small white root emerge from one end of the seed.
Once the root reaches about ½ inch long, the seed is ready to plant. If multiple seeds sprout in the bag, separate them carefully to avoid damaging the delicate roots. This step ensures stronger seedlings and faster growth once planted in soil.
🌿 Step 5: Plant the Germinated Seeds
Fill a small pot (4-6 inches deep) with well-draining potting mix (avoid garden soil—it’s too dense). Plant the germinated seed ½ inch deep, with the root pointing downward. Gently press the soil around it to secure it without compacting. Place the pot in a warm, humid environment (like a greenhouse or under a plastic dome) with bright, indirect light.
Keep the soil evenly moist (not soggy) by misting lightly every 2-3 days. Within 2-4 weeks, you should see the first true leaves emerge—a sign your cocoa plant is thriving. Once the seedling reaches 6 inches tall, it’s ready for transplanting into a larger container or garden bed.
Tips & tricks for perfect cocoa seed extraction
Here's what I learned after experimenting with different chocolate bars and germination techniques.
Quality Matters: In Step 1, don't compromise on the chocolate bar's cocoa percentage. The higher the cocoa content (70% or more), the more seeds you'll yield. I've tried 60% bars and ended up with only half the expected seeds—2-3 instead of 4-6 per ounce. Look for chocolate with minimal additives listed on the ingredients panel.
Melting Technique: When melting your chocolate in Step 1, pay close attention to the texture. It should be smooth but not liquid—think "paint-like" consistency. For microwave users, those 10-second bursts are crucial: too long and you'll burn it, too short and it won't melt evenly. I learned this the hard way after ruining three bars trying to rush the process.
Seed Identification: In Step 2, cocoa seeds look like tiny, hard tan beans about the size of a sesame seed. They'll feel denser than the surrounding chocolate. If you're struggling to see them, try placing the mixture on white parchment paper under bright light—the contrast helps. I've accidentally discarded seeds thinking they were chocolate bits, so take your time with this step.
Germination Environment: For Step 4, maintaining that 80-85°F range is key for successful germination. If your home runs cooler, consider using a seedling heat mat or placing the bag near a warm spot like on top of your fridge. I've seen germination rates drop dramatically when seeds sit in cooler environments—some seeds just won't sprout at all. Check daily to monitor progress without disturbing the seeds.
Pro Tips for Get Cocoa Seeds
- Here's what I learned after experimenting with different chocolate bars and germination techniques.
- Quality Matters: In Step 1, don't compromise on the chocolate bar's cocoa percentage.
- Melting Technique: When melting your chocolate in Step 1, pay close attention to the texture.
Frequently asked questions
How long does it take for cocoa seeds to germinate?
Cocoa seeds typically take 2–4 weeks to germinate, depending on conditions like warmth (70–85°F) and moisture. Keep them in a humid, shaded spot—patience is key! If they don’t sprout in 6 weeks, they may not be viable. Pro tip: Soak seeds overnight before planting to kickstart germination.
Can I use store-bought chocolate bars to get cocoa seeds?
Yes, but with a catch! Only raw, organic cocoa nibs or beans (not processed chocolate) contain viable seeds. Avoid milk chocolate or bars with additives—they’re often roasted or treated, killing germination potential. Look for "cacao beans" or "raw cocoa" online or at specialty stores.
What should I do if my cocoa seeds develop mold or rot?
Mold or rot usually means too much moisture or poor airflow. Act fast: Remove affected seeds, rinse healthy ones in a hydrogen peroxide solution (1:10 ratio), and replant in fresh, sterile soil. Boost airflow with a small fan and reduce watering. If the problem persists, try new seeds—some batches may be compromised.
Are there alternatives if I can’t find cocoa seeds?
Try these easy-to-find substitutes for growing experiments:
- Acerola cherries or citrus seeds (fast-growing, tropical)
- Avocado pits (great for beginners, sprouts in ~2 weeks)
- Mango or papaya seeds (exotic but rewarding)
What pests should I watch for when growing cocoa seedlings?
Common pests include aphids, mealybugs, and spider mites, which thrive in humid conditions. Inspect leaves weekly for sticky residue or tiny webs. Combat them with:
- Neem oil spray (natural, effective)
- Insecticidal soap (gentle for seedlings)
- Yellow sticky traps to catch flying pests
Wrapping up and next steps
You’ve now got everything you need to embark on your cocoa-growing journey! 🌱 Whether you’re harvesting seeds from a store-bought bar, sourcing them from a farmer, or even sprouting them from a chocolate treat, the key is patience and care.
With the right conditions—warmth, humidity, and a little green thumb—you’re well on your way to nurturing your own cocoa plants.
Ready to take the next step? Start by planting your seeds and monitoring their growth closely. Soon, you’ll be enjoying the satisfaction of homegrown cocoa—and maybe even crafting your own chocolate! 🍫✨