
How To
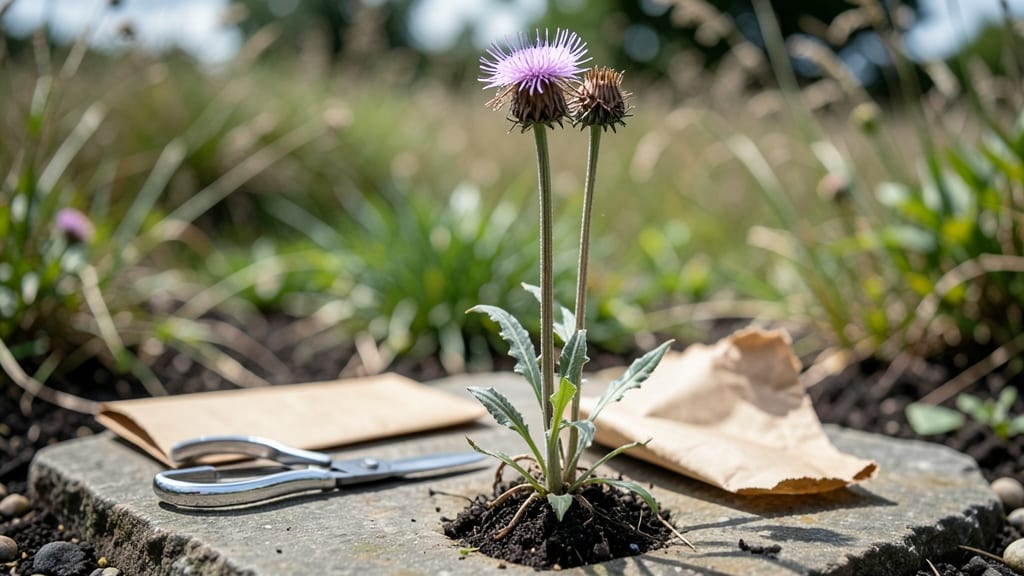
To harvest bachelor button seeds 🌸, wait until the flower heads turn fully brown and dry—usually between July and September—when the pods rattle with mature seeds inside.
Skipping this step means missing out on next year’s vibrant blooms, or worse, watching your seeds scatter before you can collect them. I’ve seen entire batches of bachelor button seeds blow away in a single windy afternoon, so timing is everything.
Once you spot those dry, papery heads, you’ll need just a few simple tools and a patient hand to gather seeds without damaging them. The right technique ensures high germination rates, so even beginners can save seeds like a pro.
Below, I’ll walk you through the exact steps—from picking the perfect moment to storing seeds for planting—so you can turn this year’s blooms into next year’s garden staples.
When to harvest bachelor button seeds for maximum viability
Timing is everything when harvesting bachelor button seeds (Centaurea cyanus). The difference between viable seeds and wasted effort often comes down to recognizing the right maturity stage. If you harvest too early, seeds won’t germinate; too late, and they’ll scatter or lose viability.
I’ve learned the hard way—skipping this step means next year’s garden might miss the vibrant blue blooms you love.
Start by watching the flower heads as they transition from bud to seed pod. Initially, they’ll bloom with their signature blue petals, but the real magic happens after flowering. The seed pods form and begin drying out, signaling it’s almost time to harvest.
This stage typically occurs 75-90 days after planting, but environmental factors like temperature and humidity can shift this window.
Here’s the critical visual cue I rely on: the seed pods turn from green to brown, and the petals wither away. At this point, the pods become brittle and papery, almost like dried paper.
If you gently squeeze a pod, you’ll hear a faint rattle—that’s the seeds inside ready to be collected. This usually happens in late summer to early fall, depending on your USDA zone.
Regional variations matter. In cooler climates (Zones 3-5), harvest may stretch into September or October, while warmer zones (6-9) often see readiness as early as July or August. I’ve noticed that in humid climates, pods dry slower, so I monitor them more closely.
Conversely, in dry regions, they mature faster, and I act quickly to avoid seed loss.
Watch for these 3 key signs of readiness:
- Brown, dry seed pods (no green left)
- Split pods or easy crushability (seeds rattle when shaken)
- Dark, firm seeds inside (not soft or moist) If you see any of these, it’s time to harvest.
Ignore these cues, and you risk scattered seeds or moldy storage.
One mistake I made early on was harvesting when pods were partially brown but still green. The seeds inside were underdeveloped and failed to germinate. Always wait until the entire pod is uniformly brown.
Another tip: avoid harvesting on rainy days, as moisture can ruin your seeds. Choose a dry, sunny morning for the best results.
Environmental factors like temperature and humidity also play a role. In hot, dry weather, pods dry out faster, so I harvest sooner. In cool, damp conditions, I give them extra time to mature fully.
Pay attention to your local weather forecasts—a sudden rainstorm can turn a perfect harvest day into a disaster.
Here’s how I handle regional timing:
- Northern climates (Zones 3-5): Harvest in late August to September
- Midwest (Zones 6-7): Aim for mid-August to early September
- Southern climates (Zones 8-9): Collect seeds by late July to August
Adjust based on your specific last frost date—you don’t want seeds to sprout before you store them!
Once pods are fully brown, act quickly. The longer they stay on the plant, the higher the chance of seed dispersal or animal interference. I like to harvest in the morning when dew has evaporated but temperatures are still mild.
Use a clean pair of pruning shears or simply twist the pods off by hand. Place them in a paper bag (not plastic!) to allow airflow and prevent mold.
Pro tip: If you miss the window and pods split open naturally, don’t panic. Collect any scattered seeds from the ground—they’re still viable! Just ensure they’re completely dry before storing. With the right timing, you’ll have a bountiful seed stash ready for next year’s garden.
🌱