
Pests
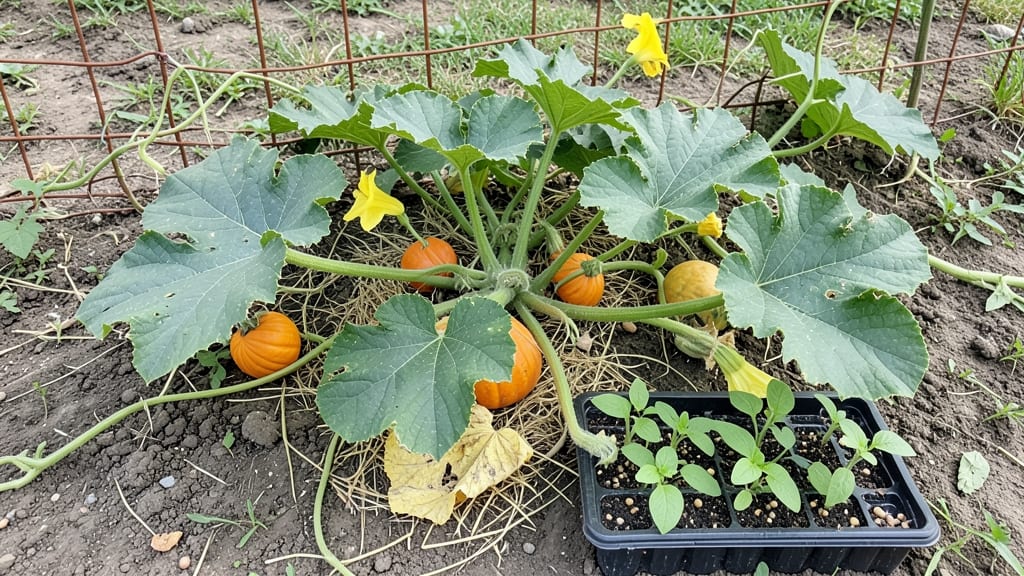
Sprouting pumpkin seeds for eating turns kitchen scraps into crunchy, nutty snacks packed with protein and flavor—no fancy equipment needed. 🌱 I’ve sprouted seeds from Halloween pumpkins and store-bought varieties, and the results are always shockingly delicious.
The process takes just 7 days if you keep conditions right, and you’ll end up with a snack that’s healthier than store-bought nuts.
You only need three things: pumpkin seeds (any variety works), a jar with a mesh lid, and a sunny windowsill. Rinse the seeds twice daily, and within 3-4 days, you’ll see tiny white sprouts pushing through.
The key is keeping them moist but not soggy—too much water leads to mold, and too little slows germination. I’ve ruined batches both ways, so I’ll show you the foolproof method.
By day 7, your seeds will have 1-inch sprouts with a crisp texture and rich, earthy taste. Eat them raw as a snack, toss them into salads, or blend them into smoothies for a protein boost.
The flavor is somewhere between sunflower seeds and almonds, but with a unique pumpkin twist. You’ll never throw out seeds again.
Works with any pumpkin—carving pumpkins, sugar pumpkins, or even the seeds from your grocery store butternut squash. If you’ve ever wondered what to do with those leftover seeds, this is your answer. Let’s get sprouting!
📚 In This Guide
- What you need
- Instructions
- Tips and common mistakes
- Wrapping up and next steps
What you need
- ● Pumpkin seeds: 1–2 cups of raw, organic, unsalted pumpkin seeds (from a fresh pumpkin or store-bought—just skip the roasted or flavored ones!)
- ● Pro tip: 💡 Choose seeds with a thick shell and plump appearance for better sprouting.
- ● Water: Enough to fully cover the seeds by 1–2 inches in a container (filtered or tap water is fine).
- ○ Optional: 🌡️ Add a pinch of apple cider vinegar (1 tsp per quart) to prevent mold (especially if using tap water).
- ● Sprouting container: A wide-mouth jar (16–32 oz) with a lid or a mesh sprouting lid (or a clean kitchen towel + rubber band).
- ● Alternative: A colander with a lid or a small bowl with a fine-mesh strainer.
- ● Clean kitchen towel or paper towels: 1–2 unbleached, organic towels (or paper towels) for draining.
- ● Colander or strainer: A fine-mesh strainer (for rinsing) or a colander with small holes.
- ● Timer or phone alarm: To remind you to rinse seeds 2–3 times daily (every 8–12 hours).
- ● A small bowl or plate for soaking seeds overnight (if you prefer not to soak in the jar).
- ● A food dehydrator or baking sheet for drying sprouted seeds (if you want to store them longer).
- ● Sea salt or spices (like cinnamon or cayenne) for flavoring after sprouting.
- ● A notebook to track sprouting progress (fun for first-timers!).
Step-by-step instructions for sprouting pumpkin seeds
Here's the simple method I use to turn store-bought pumpkin seeds into crispy, protein-packed snacks.
🌱 Step 1: Clean and Soak the Seeds
Start with 1 cup raw pumpkin seeds—the ones you'd normally roast. Rinse them thoroughly under cool water to remove any debris or pumpkin pulp clinging to the shells. This step is crucial because leftover pulp can attract mold during sprouting.
Place the cleaned seeds in a clean bowl and cover them with 2 cups lukewarm water. Let them soak for 8-12 hours at room temperature. You'll know they're ready when the water turns slightly cloudy and the seeds feel plump to the touch. Drain the water completely before moving to the next step.
💧 Step 2: Prepare the Sprouting Jar
Use a wide-mouth quart mason jar with a lid that has small holes (or a mesh screen). Line the lid with a piece of cheesecloth or a clean kitchen towel to create a breathable cover. This setup keeps seeds contained while allowing airflow—critical for preventing mold.
Transfer the drained seeds to the jar and give them a gentle shake to distribute evenly. Place the lid with the cheesecloth on top and set the jar at a slight angle (about 15 degrees) on a countertop. This angle helps water drain away from the seeds, preventing soggy conditions that lead to rot.
⏰ Step 3: Rinse and Drain Twice Daily
Every 12 hours, remove the lid and rinse the seeds under cool running water for 30-60 seconds. Use your fingers to gently rub away any seed coats that have softened. This ensures they don't become slimy as they sprout. After rinsing, return them to the jar and drain thoroughly.
You'll see the first signs of sprouting after 24-48 hours—tiny white tails will emerge from the seeds. Keep the jar in a warm spot (70-75°F) away from direct sunlight. If your kitchen runs cooler, sprouting may take 3-4 days instead. The goal is crispy sprouts, not mushy ones.
☀️ Step 4: Dry and Store for Maximum Crunch
Once the sprouts reach ½ inch in length (usually 5-7 days), they're ready to dry. Spread them in a single layer on a clean baking sheet lined with parchment paper. Place the tray in a well-ventilated area out of direct sunlight for 12-24 hours.
You'll know they're properly dried when they feel crisp to the touch. Store the dried sprouts in an airtight container in the refrigerator for up to 2 weeks. For longer storage, transfer them to the freezer—they'll keep their crunch for 3 months this way.
🌿 Step 5: Enjoy Your Nutty Snack
Eat the sprouts straight from the jar or sprinkle them over salads, yogurt, or soups for a peppery crunch. They're packed with protein, fiber, and magnesium—way more nutritious than roasted pumpkin seeds. I like to toast mine lightly in a dry skillet for 1-2 minutes to enhance their flavor without losing crispness.
Here's the thing—don't skip the rinsing step. Even a slight delay in draining can turn your crispy snack into a slimy mess. If you notice any seeds developing a white, fuzzy coating, discard them immediately and rinse the remaining seeds more thoroughly next time.
Tips & tricks for perfect pumpkin seed sprouting
Between us, these small tweaks make all the difference between crispy sprouts and a slimy mess—trust me on this.
Soaking Secret: That 8-12 hour soak isn't just about hydration—it's about breaking down the seed's natural defenses. I use lukewarm water (not hot) because extreme temperatures can shock the seeds. After soaking, drain them completely—any leftover water creates the perfect environment for mold. Pro tip: Give the seeds a final shake in the colander to remove excess moisture before transferring to the jar.
Rinsing Technique: Those 12-hour rinses are non-negotiable for crispy results. I set a phone alarm to remind me—skipping rinses is how you end up with slimy seeds. When you rub away softened seed coats in Step 3, be gentle but thorough. The goal is to remove just enough to prevent stickiness without damaging the sprouts. A fine-mesh strainer makes this step easier than using your hands.
Temperature Control: That 70-75°F range is ideal, but most kitchens don't stay perfectly consistent. If your home runs cooler, place the jar on top of your refrigerator (not inside) for gentle warmth. In warmer climates, move it to a cooler spot like a pantry. The key is consistency—sprouts grow fastest when conditions are stable. Watch for condensation on the jar's sides as a sign your temperature is just right.
Drying Strategy: When you're ready to dry your ½-inch sprouts, don't rush the 12-24 hour process. I spread them on a wire rack instead of parchment paper for better airflow—this cuts drying time by about 30%. Test for doneness by picking up a few sprouts; they should feel crisp and make a slight crinkling sound. If they feel damp at all, give them another hour.
Pro Tips for Sprout Pumpkin Seeds For Eating
- Between us, these small tweaks make all the difference between crispy sprouts and a slimy mess—trust me on this.
- Soaking Secret: That 8-12 hour soak isn't just about hydration—it's about breaking down the seed's natural defenses.
- Rinsing Technique: Those 12-hour rinses are non-negotiable for crispy results.
Frequently asked questions
How long do pumpkin seeds take to sprout?
Most pumpkin seeds sprout in 3–7 days when kept in warm, moist conditions (around 70°F/21°C). You’ll see tiny white sprouts (radicles) emerge first—once they’re ½-inch long, they’re ready to eat! Patience is key, but don’t worry if they take a few extra days—they’ll still be delicious.
Can I eat pumpkin seeds straight from the pumpkin?
Nope! Raw, dried pumpkin seeds from store-bought or fresh pumpkins are safe to eat, but sprouted seeds are a different (and more nutritious) snack. Sprouting boosts enzymes, reduces anti-nutrients, and makes them easier to digest. If you’re unsure, soak or sprout them for 24–48 hours before eating for better nutrition.
What if my pumpkin seeds aren’t sprouting?
Don’t panic! Try these fixes:
- Check moisture: Seeds need to stay damp (not soggy). Rinse every 8–12 hours if they dry out.
- Warmth matters: Place them near a sunny window or use a seedling heat mat if your home is chilly.
- Test viability: Soak a few seeds in water overnight—if they sink, they’re likely good. Floaters may be old or damaged.
How do I store sprouted pumpkin seeds for later?
Sprouted seeds are best eaten fresh, but you can store them for 3–5 days in the fridge. Place them in a paper towel-lined container with a lid, and rinse them once daily to keep them crisp. For longer storage (up to 2 weeks), dry them at 115°F (46°C) for 2–3 hours, then store in an airtight container.
Can I sprout pumpkin seeds without a jar?
Try these alternatives:
- Mesh bag: Place seeds in a damp cloth or mesh bag, secure it, and hang it over a bowl to drain.
- Plate method: Spread seeds on a damp paper towel on a plate, cover with another towel, and flip daily.
- Sprouting lid: Use a dedicated sprouting lid (like a Mason jar lid with a screen) for easy rinsing.
Wrapping up and next steps
Sprouting pumpkin seeds is a simple, rewarding way to enjoy a nutritious, crunchy snack with minimal effort—no green thumb required! 🌱 With just a few supplies and a week of patience, you’ll unlock a flavorful, protein-packed treat that’s far healthier than store-bought alternatives.
Whether you’re a gardening newbie or a seasoned sprouter, this method proves that great things grow from small seeds.
Ready to take the next step? Try experimenting with flavors—add a pinch of salt, cinnamon, or even a drizzle of honey for a sweet-and-savory twist. Or, if you’re hooked, explore other easy-to-sprout seeds like sunflower or chia for even more snacking adventures!