Size
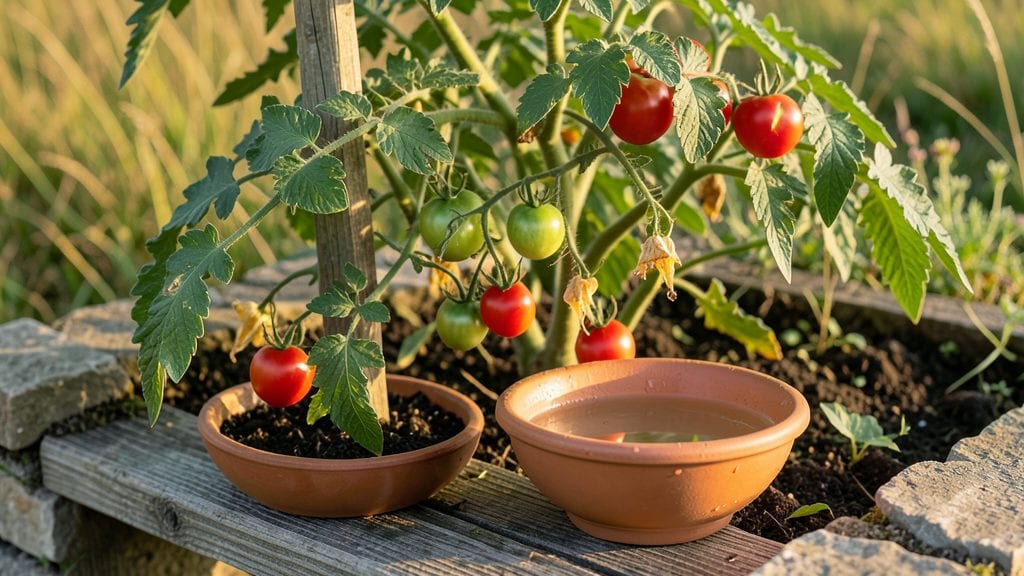
Taking seeds from tomatoes and growing your own plants is one of those gardening magic tricks that turns grocery store produce into next summer's harvest. 🌱 I've saved seeds from every tomato I've grown for years, and the process is simpler than most people think—no fancy equipment needed, just ripe tomatoes, a little patience, and a jar.
The real secret lies in the fermentation step, where mold and debris naturally separate from clean seeds. Most beginners skip this, but it's what guarantees strong germination rates.
You'll end up with seeds that sprout within 7 days when planted properly, giving you a head start on the growing season compared to store-bought seedlings.
What you'll get is a collection of heirloom tomato varieties tailored to your garden's conditions—disease-resistant plants that thrive in your specific climate. The first flush of seedlings will have that unmistakable tomato scent, and you'll know you're growing something truly your own.
Works for any ripe tomato variety, from beefsteaks to cherry tomatoes, and the seeds keep viable for years if stored properly. Here's exactly how to do it without losing a single seed to mold or poor germination.
📚 In This Guide
- What you need
- Instructions
- Tips and common mistakes
- Wrapping up and next steps
What you need
- ● Ripe tomatoes: 2–3 medium-sized, fully ripe (but not overripe) tomatoes—heirloom or hybrid varieties work best!
- ● Small bowl or container: A shallow dish (e.g., a ramekin or small ceramic bowl) to hold tomato pulp and seeds.
- ● Spoon or fork: For scooping out the tomato insides—clean and dry.
- ● Water: Room-temperature, filtered water (about ½ cup per tomato).
- ● Fine-mesh strainer or cheesecloth: To separate seeds from pulp (a coffee filter in a pinch!).
- ● Paper towels or coffee filters: For drying seeds (2–3 sheets).
- ● Small plate or tray: To lay out seeds for drying (non-porous surface preferred).
- ○ Pencil or chopstick: For gently stirring seed mixtures (optional but helpful!).
- ● Labeling tags: Tiny slips of paper or masking tape to mark seed varieties (if saving multiple types).
- ● Small plastic bag or envelope: For storing dried seeds (resealable with a tiny hole for airflow).
- ○ Hydrogen peroxide (3% solution): 1 tsp per bowl of water to disinfect seeds (optional but reduces mold risk).
- ● Planting trays or pots: Small containers (2–3 inches deep) with drainage holes for germination (if starting indoors).
- ● Seed-starting mix: Lightweight, sterile potting soil (or coconut coir for eco-friendly growing).
- ● Misting bottle: To keep soil moist during germination (or a spray bottle).
Step-by-step instructions for growing tomato seeds from scratch
Here's the simple method I use to turn store-bought tomatoes into thriving plants every year.
🌱 Step 1: Extract and Clean the Seeds
Cut open a ripe tomato and scoop out the jelly-like seeds into a small bowl. Add 1 cup of water and stir gently—this helps separate the seeds from the pulp. Let the mixture sit for 2-3 days until a moldy scum forms on top. This is normal and actually helps remove harmful bacteria.
After 2-3 days, pour off the moldy water and rinse the seeds gently with fresh water. You'll see the clean seeds sink to the bottom while any remaining pulp floats. Scoop out the seeds and spread them on a paper towel to dry for 1-2 days in a warm, dry place. They're ready when they feel slightly stiff to the touch.
💧 Step 2: Prepare the Germination Setup
Fill a small container with 2-3 inches of moist potting mix—just damp enough that water drips out when squeezed but doesn't pool. Press the soil down lightly so it's firm but not compacted. You want a surface that holds seeds in place without letting them sink too deep.
Make small indentations in the soil, about ¼ inch deep, using your finger or a pencil. Place 2-3 seeds in each indentation, spacing them about 1 inch apart. Cover them lightly with a thin layer of soil—just enough to hide them but not bury them deeply. This ensures they won't struggle to reach the surface.
☀️ Step 3: Create Ideal Germination Conditions
Place the container in a warm spot, ideally where the soil temperature stays between 70-80°F. A sunny windowsill or a seedling heat mat works perfectly. Cover the container with a clear plastic bag or humidity dome to trap moisture—this creates the humid environment seeds love to sprout in.
Check the setup daily. The soil should stay consistently moist but not soggy. If you see condensation on the plastic, that's good—it means the humidity is right. In 5-7 days, you'll see tiny sprouts pushing through the soil. Once they appear, remove the plastic immediately to prevent mold from forming on the delicate seedlings.
🌿 Step 4: Care for New Seedlings
Move the container to a bright spot where seedlings get 12-14 hours of light daily. A south-facing window or a grow light works best. Keep the soil moist but never waterlogged—you'll know it's right when the top inch feels slightly dry to the touch. Water gently from the bottom to avoid disturbing the roots.
When seedlings reach about 2 inches tall and have their first true leaves (the second set after the initial seed leaves), it's time to thin them. Use small scissors to snip the weaker seedlings at soil level, leaving the strongest one in each spot. This might seem harsh, but it gives your remaining plants plenty of room to grow strong.
⏰ Step 5: Transplant When Ready
After 4-6 weeks, when seedlings are sturdy with 4-6 true leaves, they're ready to move to individual pots. Fill 4-inch pots with fresh potting mix and transplant each seedling carefully, burying it up to its first set of true leaves. This encourages stronger root growth.
Place the pots in a bright, warm spot and keep the soil consistently moist. In another 2-3 weeks, your seedlings will be ready to harden off and eventually move outdoors after the last frost. Watch them grow from tiny sprouts to thriving tomato plants—it's incredibly rewarding!
Tips & tricks for perfect tomato seed germination
A few key tricks will help you avoid common pitfalls and maximize your success with tomato seed germination.
Timing Secret: The 2-3 days of fermenting your seeds in water is crucial—don't rush this step! This process removes harmful bacteria that could prevent germination. If you're impatient, you can speed it up slightly by using a small amount of hydrogen peroxide (1 teaspoon per cup of water) instead of plain water, which helps break down the gel and kill bacteria faster. Just be sure to rinse thoroughly afterward.
The Heat Factor: Maintaining that 70-80°F soil temperature is critical for quick germination. If your home stays cooler, place your seedling container on top of a refrigerator or use a seedling heat mat. I've had the best success with a simple DIY setup—a small insulated box with a heat lamp inside, keeping the soil consistently warm. Too cold, and your seeds will take weeks to sprout instead of the promised 5-7 days.
Visual Cues for Success: After planting, gently press the soil down to create good seed-to-soil contact. Look for tiny cracks in the soil surface within 5-7 days—this is your first sign of sprouting! If you see mold instead of sprouts, remove the plastic cover immediately and let the soil dry out slightly before covering again. The key is balance: moist but not soggy soil prevents mold while still encouraging germination.
Thinning Strategy: When thinning seedlings at the 2-inch mark, use small scissors to avoid pulling—this prevents disturbing the roots of your remaining plants. I like to thin gradually if possible: first remove the weakest seedlings, then wait a week before removing any remaining stragglers. This gives your strongest plants more time to establish themselves before competing for space and nutrients.
Pro Tips for Take Seeds From Tomatoes To Grow
- A few key tricks will help you avoid common pitfalls and maximize your success with tomato seed germination.
- Timing Secret: The 2-3 days of fermenting your seeds in water is crucial—don't rush this step!
- The Heat Factor: Maintaining that 70-80°F soil temperature is critical for quick germination.
Frequently asked questions
Got questions about saving tomato seeds or growing them like a pro? Here’s what you need to know—no green thumb required!
Can I save seeds from any tomato, or do they need to be heirloom?
While you can save seeds from hybrid tomatoes, they might not grow true to the parent plant (expect surprises!). For consistent results, stick to heirloom varieties—they’re bred to reproduce reliably. Pro tip: Check seed packets for "open-pollinated" labels if you’re unsure!
How long does it take for tomato seeds to germinate?
With the right conditions (warmth, moisture, and darkness), seeds typically sprout in 7–14 days. If your seeds take longer, check for consistent warmth (70–85°F) and avoid overwatering. Patience pays off—some stubborn seeds may need up to 3 weeks!
What if my seeds mold or smell bad during fermentation?
Mold or a funky odor means fermentation went too far—rinse seeds immediately with cool water to stop the process. If seeds are slimy or discolored, toss them and try again. Tip: Ferment for just 2–3 days (not weeks) to avoid this!
Can I grow tomato seeds without starting indoors?
Yes! For warm climates, direct-sow seeds outdoors after the last frost, planting ¼-inch deep in well-drained soil. Just keep them moist and protect seedlings from pests. Cold climates? Start indoors 6–8 weeks before the last frost for a head start.
Why aren’t my tomato seedlings growing straight?
Leggy seedlings often mean too little light or overcrowding. Move them to a sunny windowsill or grow lights ASAP. Thin seedlings to 2 inches apart, and avoid bottom watering (keeps soil too wet). A little crowding is normal—just don’t let them touch!
Wrapping up and next steps
Saving and growing your own tomato seeds is a rewarding journey that connects you to the roots of your food—literally! 🌱 By following these simple steps, you’ll unlock a sustainable way to grow heirloom varieties year after year.
Start small, experiment with different techniques, and soon you’ll be harvesting fresh, homegrown tomatoes with pride.
Ready to take the next step? Plant those seeds in soil or a seed-starting mix and watch your green thumb grow stronger. Happy gardening! 🌿