
Lawn
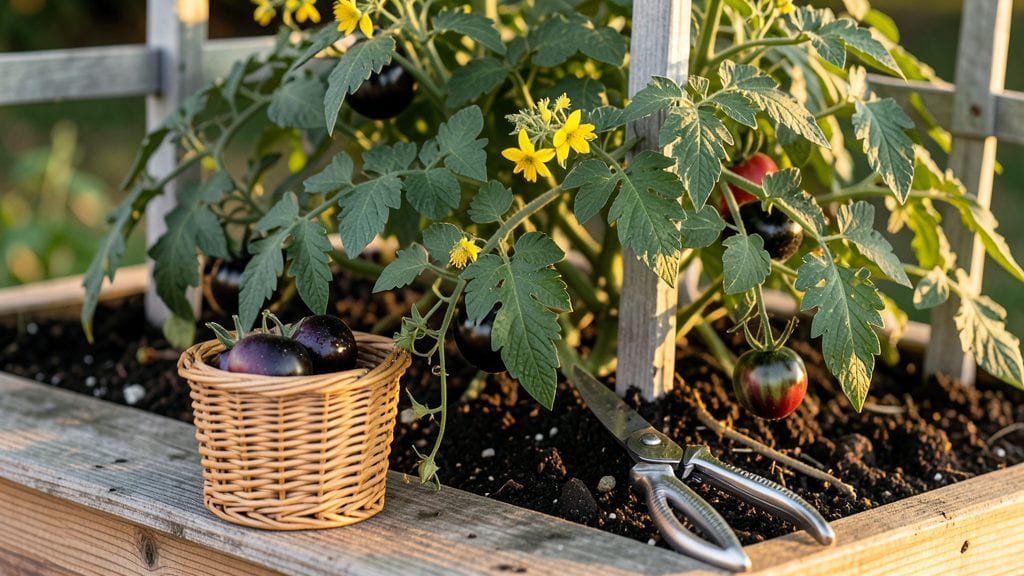
The seed savers know that preserving seeds isn’t just about saving money—it’s about keeping alive the heirloom varieties grocery stores can’t sell. 🌱 I’ve been saving seeds for years, and the first time I watched a tomato plant grow from my own saved seeds was like unlocking a secret garden legacy.
The process is simpler than most gardeners think, starting with selecting the best plants in your harvest. You’ll need basic supplies like paper envelopes, a dry place to store them, and a little patience—no fancy equipment required.
Even beginners can master this, and the payoff is seeds that stay true to the plants you love year after year.
What you’ll end up with is a collection of seeds that carry your garden’s unique history, ready to grow into plants just like their parents. The flavor, color, and vigor stay consistent because you control the genetics. Plus, you’ll join a movement of gardeners keeping heirlooms alive for future generations.
Whether you’re saving seeds from tomatoes, beans, or lettuce, the same principles apply. This guide covers everything from harvesting to storage, so you can start building your own seed library—one plant at a time. Let’s get those seeds preserved!
📚 In This Guide
- What you need
- Instructions
- Tips and common mistakes
- Wrapping up and next steps
What you need
- ● Heirloom Seeds: Start with open-pollinated or non-GMO heirloom seeds (e.g., tomatoes, beans, lettuce, or flowers). Pro tip: Buy from reputable seed savers or seed libraries!
- ● Growing Space: Outdoor garden plot (minimum 10 sq. ft. for beginners)
- ● OR containers (5+ gallon pots for compact varieties like peppers or herbs)
- ● Soil & Fertilizer: High-quality potting mix or compost-enriched garden soil
- ● Balanced organic fertilizer (e.g., 5-5-5 or compost tea)
- ● Watering Supplies: Watering can or hose with adjustable nozzle
- ○ Drip irrigation kit (optional but helpful for consistency)
- ● Harvesting Tools: Pruning shears or sharp scissors
- ● Garden gloves (for protection)
- ● Drying & Storage: Paper envelopes or glass jars (with airtight lids)
- ○ Silica gel packets (optional, for long-term seed viability)
- ● Labeling Supplies: Waterproof labels or masking tape + permanent marker
- ● Notebook or spreadsheet for tracking varieties, harvest dates, and traits
- ● Pollination Control (for pure varieties): Beeswax or paper bags (for hand-pollination)
- ● Caging (e.g., mesh netting) to prevent cross-pollination
- ● Seed catalogs or digital databases (e.g., Seed Savers Exchange)
- ● Grow lights or a greenhouse (for extending seasons)
- ● Journal or app for documenting plant traits and yields
- ● Local seed-saver community or workshop access
Step-by-step guide to saving seeds from your heirloom plants
Here's how to preserve those prized varieties and keep your garden's legacy alive.
🌱 Step 1: Select the Right Plants for Seed Saving
Choose healthy, disease-free plants that display all the traits you love. The best candidates are open-pollinated heirlooms, not hybrids. Look for plants that thrive in your climate—if they struggle, their seeds won't either. I always save seeds from my most productive tomatoes, beans, and peppers, as they adapt beautifully to my garden's conditions.
Harvest seeds from the strongest plants in your garden. Avoid any that show signs of pests or disease, as those traits can carry over to the next generation. For vegetables like tomatoes and peppers, pick the ripest, most flavorful fruits—they'll produce the best seeds. This ensures your saved seeds will grow into plants just like their parents.
🌿 Step 2: Harvest and Dry the Seeds Properly
Once your chosen plants have fully matured, harvest the seeds at their peak ripeness. For tomatoes, let them stay on the vine until they're completely soft and mushy. For beans and peas, wait until the pods turn dry and crispy. I use a small knife to carefully slice open the pods or fruits, then scoop out the seeds and any surrounding pulp.
Spread the seeds and pulp on a clean, dry paper towel or mesh screen in a single layer. Place them in a warm, dry spot with good airflow—like a sunny windowsill or a well-ventilated shelf. Avoid direct sunlight, which can overheat and damage the seeds. Turn the seeds gently every few days to ensure even drying. They're ready when completely dry and brittle to the touch, usually in about 1-2 weeks.
💧 Step 3: Clean and Store the Seeds for Long-Term Viability
Once the seeds are fully dry, separate them from any remaining pulp or plant debris. For seeds still attached to pulp, like tomatoes, I ferment them in a jar of water for 2-3 days. The good seeds will sink to the bottom, while bad seeds and debris float to the top. Drain and rinse the seeds, then spread them out again to dry completely.
Store your cleaned seeds in airtight containers, like small glass jars or envelopes, labeled with the plant variety and the year saved. Keep them in a cool, dark place—like a refrigerator or a seed storage box—to maintain their viability. Properly stored seeds can last 5-10 years, though some, like onions, may only keep for 1-2 years. Check them occasionally to ensure they remain dry and free of pests.
⏰ Step 4: Test Your Seeds Before Next Season
Before planting your saved seeds, test a few to ensure they're still viable. Place 10 seeds between damp paper towels in a sealed plastic bag. Keep them in a warm spot, like on top of the refrigerator, and check daily. Healthy seeds should sprout within 3-10 days, depending on the plant. If fewer than 50% sprout, consider saving more seeds next year or sourcing fresh ones.
If your seeds pass the viability test, you're ready to plant them just like store-bought seeds. I always plant a few extra to account for any variability in germination rates. This way, you'll have a strong, healthy garden ready to go when spring arrives. Saving seeds is a rewarding way to connect with your garden's history and ensure its future.
Tips & tricks for perfect heirloom seed preservation
Preserving heirloom seeds is an art that connects you to generations of gardeners—here's how to master it.
Selection Matters: Focus on plants that show all the traits you love, like disease resistance or flavor. I always prioritize the healthiest, most productive plants in my garden. For tomatoes, choose the ripest, most flavorful fruits—they'll produce the best seeds. Avoid any plants showing signs of pests or disease, as those traits can carry over to the next generation. Confession: I skipped this step for years and wondered why my saved seeds didn't perform well!
Drying Secrets: The 1-2 week drying period is crucial for seed viability. I've found that placing seeds on a mesh screen in a warm, dry spot with good airflow works best. Turn them gently every few days to prevent uneven drying. If you live in a humid climate, consider using a small fan on low to speed up the process while preventing mold.
Fermentation Trick: For seeds still attached to pulp, like tomatoes, the 2-3 day fermentation step is your secret weapon. The good seeds will sink while bad seeds and debris float. Don't skip this step—it dramatically improves seed quality. I learned this the hard way after struggling with poor germination rates from unfermented seeds!
Storage Wisdom: Proper storage is key to long-term viability. I use small glass jars with airtight lids and keep them in the refrigerator. Label each container with the plant variety and year saved—trust me on this, it saves headaches when you're ready to plant next season. Some seeds, like onions, only keep for 1-2 years, while others can last a decade with proper care.
Pro Tips for The Seed Savers
- Preserving heirloom seeds is an art that connects you to generations of gardeners—here's how to master it.
- Selection Matters: Focus on plants that show all the traits you love, like disease resistance or flavor.
- Drying Secrets: The 1-2 week drying period is crucial for seed viability.
Frequently asked questions
Got questions about saving seeds like a pro?
Here are answers to the most common queries from gardeners just like you—whether you're a beginner or looking to refine your technique.
What’s the easiest seed to save for beginners?
Start with heirloom tomatoes, beans, or peas—they’re self-pollinating, meaning you won’t need fancy tools. Just let them fully ripen on the vine, dry them, and store! Avoid hybrids (like many commercial tomatoes) unless labeled "open-pollinated."
How long do saved seeds stay viable?
Most seeds last 2–5 years if stored properly (cool, dry, dark place in airtight containers). Check seed packets for specifics—some, like onions or leeks, may drop in viability faster. Test germination by planting a few to confirm!
Can I save seeds from store-bought vegetables?
Maybe! Only save seeds from open-pollinated or heirloom varieties (check labels or seed savers’ databases). Hybrid seeds (like most grocery-store tomatoes) may not grow true to type. For hybrids, try organic or farmers’ market sources instead.
What if my seeds get moldy or damp during storage?
Toss them—mold means moisture + spores, and damp seeds won’t sprout. Prevent this by using silica gel packets or rice in your containers, and store seeds in glass jars with tight lids. Never refrigerate without protection!
How does seed saving help the environment?
By saving seeds, you reduce reliance on industrial agriculture, preserve biodiversity, and cut carbon footprints from shipping. Heirloom varieties often need less water/pesticides than hybrids. Plus, it’s a zero-waste way to keep gardening sustainable!
Wrapping up and next steps
Saving seeds isn’t just a skill—it’s a gift to future generations. By preserving heirloom varieties, you’re protecting biodiversity, reducing waste, and keeping gardening traditions alive. 🌱 Start small, experiment with a few varieties, and watch your efforts bloom into a legacy.
Your next step? Share your harvest with fellow seed savers or join a local exchange group. The more we connect, the stronger our gardens—and our community—become!