Pruning
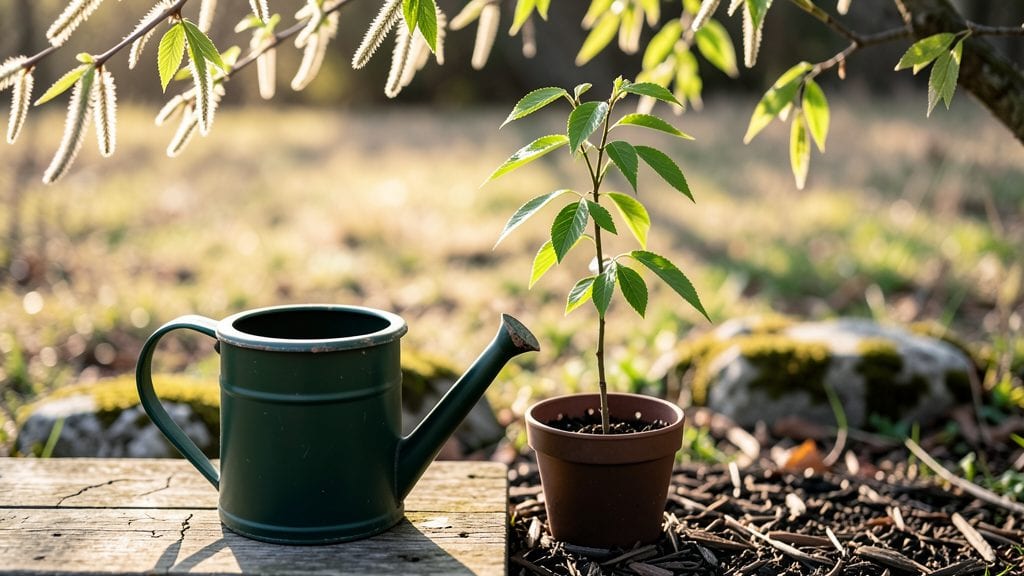
Growing willow tree seedlings from cuttings is where patience meets magic—those flexible branches you'd normally toss actually root with surprising ease. 🌱 I've propagated willows from roadside cuttings, and the secret lies in their natural ability to root even in water, but layering in soil gives you stronger, faster growth.
The first time I saw roots sprout from a buried branch, I knew this was the method to master.
You'll need sharp pruners, moist potting mix, and a sunny spot—no fancy equipment required. Willow cuttings root best in spring or early summer when the tree is actively growing. Take 6-inch stems, strip the lower leaves, and bury them halfway in damp soil.
Keep it moist but not soggy, and within weeks, you'll spot new shoots emerging from the buried section.
What starts as a few inches of green becomes a thriving young tree in just a few months. The seedlings develop long, arching branches that create natural shade, and their bright green foliage adds instant texture to any landscape.
With proper care, you'll have a willow ready to transplant within a year—just give it space to spread its roots.
This method works for weeping willows, pussy willows, and even those wild willows growing by the creek. Whether you're reviving an old cutting or starting fresh, willow seedlings reward your effort with dramatic growth and minimal fuss. Ready to turn those branches into trees?
📚 In This Guide
- What you need
- Instructions
- Tips and common mistakes
- Wrapping up and next steps
What you need
- ● Healthy willow tree seedling: Choose a 1-2 year old, flexible branch (about ¼ to ½ inch thick) with no signs of disease.
- ● Sharp pruning shears or bypass pruners: Sterilized to prevent contamination (1 pair).
- ○ Rooting hormone (optional but recommended): A powder or gel formulation (e.g., Clonex or Dip ‘N Grow).
- ● Plastic or metal plant label: For tracking your new cutting (1-2 labels).
- ● Moistened sphagnum moss or perlite: For creating a humid environment (1 small bag or container).
- ● Plastic wrap or clear plastic bag: To maintain humidity (1-2 sheets or bags).
- ● Small pot or container: For the rooted cutting (4-6 inch diameter).
- ● Well-draining potting mix: A blend of peat moss, perlite, and sand (1 bag).
- ● Watering can or spray bottle: For gentle hydration (1).
- ● Horticultural tape or rubber bands: To secure the layered section.
- ● Clear plastic tube (e.g., a cut soda bottle): For a mini greenhouse effect.
- ● Fertilizer (low-nitrogen): For post-rooting care (e.g., fish emulsion or balanced 10-10-10).
- ● Garden twine: To support the cutting during growth.
Step-by-Step instructions for propagating willow tree seedlings
This method produces strong, root-bound willow seedlings in just a few weeks using simple layering tricks.
🌱 Step 1: Select and Prepare a Healthy Willow Branch
Choose a flexible, 1/4-inch thick branch from a mature willow tree—look for green, supple growth that bends without snapping. The best candidates are new shoots from this spring or last year's growth. Use clean pruning shears to cut a 6-12 inch section, making the cut just below a leaf node where roots will form.
Remove all but the top 2-3 leaves to reduce moisture loss. Strip the lower 3-4 inches of leaves and any side branches—this section will stay buried in soil and develop roots. Store the cuttings in a bucket of water until ready to plant, changing the water every 2-3 days to prevent bacterial growth.
🪴 Step 2: Create a Moist Growing Medium
Fill a 6-inch deep container with moistened potting mix—willow roots thrive in loose, well-draining soil. Mix in 1 part perlite to the 3 parts potting mix to improve aeration. Water the mix until it feels evenly damp (like a wrung-out sponge), but not soggy. Press the soil down lightly to remove air pockets.
Make a 1-inch deep horizontal slit in the soil using your finger or a small stick. This groove will guide the buried branch section and encourage root formation. Keep the container in a shaded spot for now—willow cuttings root best in indirect light at first.
💧 Step 3: Bury the Branch and Maintain Moisture
Insert the prepared branch into the slit at a 45-degree angle, burying the stripped lower section completely. Secure the top with a small stake or toothpick to keep it from popping out. Water gently until the soil surface looks slightly damp—willows need consistent moisture but hate waterlogged roots.
Cover the container with a clear plastic bag to create a humidity dome. Tie it loosely to allow airflow. Place the setup in bright, indirect light (like a north-facing window) and keep the soil evenly moist—check daily and mist as needed. Roots typically form in 4-6 weeks, but be patient if your climate stays cool.
✂️ Step 4: Encourage Root Growth and Transplant
After 4-6 weeks, gently tug on the branch—if you feel light resistance, roots are forming. At this point, remove the plastic bag and increase light exposure gradually. Willow seedlings grow fast, so water deeply once a week and fertilize lightly with a balanced liquid fertilizer (diluted to half strength) every 4 weeks.
When the new growth reaches 6-8 inches and roots fill the container, transplant into individual 1-gallon pots with fresh potting mix. Keep the seedlings in partial shade for a week to reduce transplant shock. Once established, they’ll tolerate full sun and grow 2-3 feet per year with proper care.
Tips & tricks for propagating willow tree seedlings
These simple tricks will help you maximize your success rate when growing willow seedlings from cuttings—trust me, I've learned the hard way what works and what doesn't!
Branch Selection: In Step 1, don't just grab any branch! Look for ones that bend almost double without snapping—that flexibility means the branch has stored energy for root growth. I've found that branches from the current season's growth (this year's shoots) root fastest, but last year's growth still works well. Avoid branches with any signs of disease or damage, as these flaws can spread to your new seedlings.
Root Formation: When creating the 1-inch slit in Step 2, make it just deep enough to accommodate the stripped section of your branch. The key is to keep this buried section completely covered with soil—this is where all the root action happens. I've noticed that willow cuttings root best when the buried section stays consistently moist but never soggy. Think of it like a sponge that's always damp but never dripping wet.
Humidity Dome: The clear plastic bag in Step 3 is your secret weapon for success. It creates the perfect humid environment that willow cuttings crave. Make sure to tie it loosely—you want airflow to prevent mold growth. I've had the best results when the bag stays slightly foggy inside, indicating high humidity. If you notice condensation dripping, that's actually a good sign!
Transplanting: In Step 4, don't rush the transplanting! When your seedlings reach 6-8 inches tall, they're ready for their new home. The partial shade requirement for the first week is crucial—it gives them time to adjust without getting sunburned. I've seen seedlings that were transplanted too soon struggle, while those given this adjustment period thrive. Once established, willows are surprisingly resilient in full sun.
Pro Tips for Willow Tree Seedling
- These simple tricks will help you maximize your success rate when growing willow seedlings from cuttings—trust me, I've learned the hard way what works and what doesn't!
- Branch Selection: In Step 1, don't just grab any branch!
- Root Formation: When creating the 1-inch slit in Step 2, make it just deep enough to accommodate the stripped section of your branch.
Frequently asked questions
Got questions about growing willow tree seedlings? You’re not alone! Here are some of the most common queries—and their straightforward answers—to help you nurture a thriving young tree.
How long does it take for a willow tree seedling to root from layering?
A willow seedling typically roots in 4–8 weeks when using the layering method, depending on moisture, soil warmth, and humidity. Check for roots by gently tugging the layered stem—if it resists, roots are forming! Patience is key, but willows are fast growers once established.
Why isn’t my willow seedling sprouting leaves after layering?
If your seedling isn’t leafing out, it might be stressed from transplant shock, poor drainage, or insufficient sunlight. Ensure it’s in partial shade (not deep shade) and keep the soil consistently moist but not soggy. A light fertilizer (like a balanced 10-10-10) can also give it a growth boost.
Can I grow a willow tree from a seed instead of a seedling?
Yes, but it’s slower and less reliable than layering or buying a seedling. Willow seeds need stratification (cold treatment) to germinate—soak them in water for 24 hours, then refrigerate in a damp paper towel for 2–4 weeks. Plant them shallowly in moist soil; germination can take 2–6 weeks.
How often should I water a willow tree seedling?
Willow seedlings love water but hate waterlogged roots. Water deeply 2–3 times per week (more in extreme heat) to keep the top 2 inches of soil damp. Mulch around the base to retain moisture, but avoid piling mulch against the trunk to prevent rot.
What’s the best time of year to layer a willow tree?
The ideal window is late winter to early spring (just before new growth starts) or late summer. Avoid layering in freezing temps or peak summer drought. Spring layering gives roots time to establish before the first frost, while summer layering works well in humid climates.
Wrapping up and next steps
Growing a willow tree seedling using layering is a rewarding way to propagate this fast-growing beauty—and you’ve got all the tools to succeed! 🌱 Whether you’re a beginner or a seasoned gardener, patience and these simple tricks will help you nurture strong, independent willow saplings.
Now that you’re armed with knowledge, why not take the next step? Grab that willow branch, follow your newfound layering technique, and watch your garden flourish with lush, vibrant greenery! 🌿