
Propagation
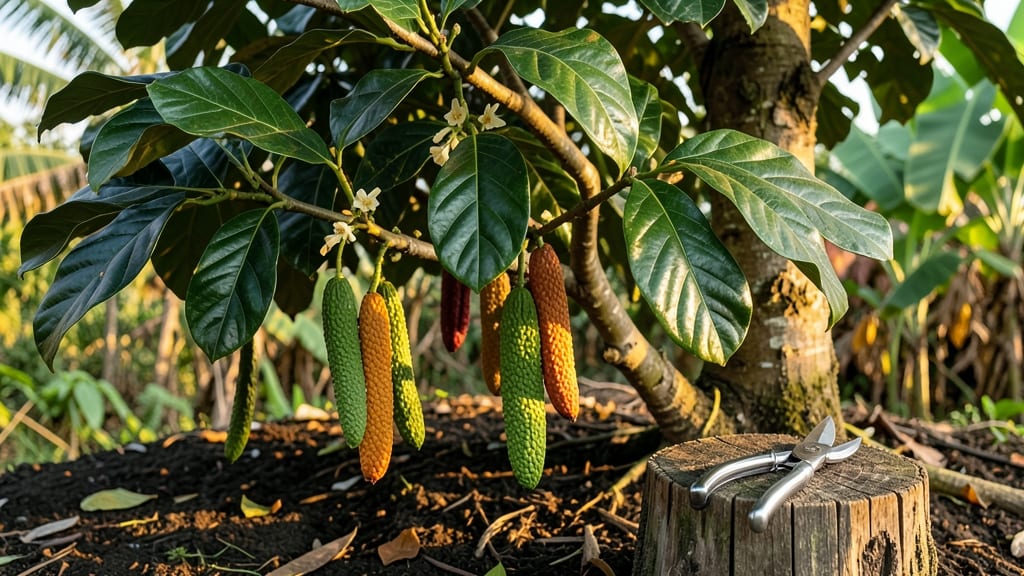
Growing cocoa bean seeds into a thriving tree is a five-year commitment with a sweet payoff—imagine harvesting your own pods for homemade chocolate.
But here’s the catch: those tiny seeds need warmth, humidity, and patience to break through their tough shells. Skip the right soil mix or timing, and you’ll end up with moldy seeds or stunted seedlings.
I’ve tested the best methods to avoid those pitfalls and get you to that first 🌱 sprout faster.
This isn’t just about planting—it’s about recreating a tropical microclimate in your home or garden. Whether you’re in a subtropical zone or a heated greenhouse, the key is moisture without soggy soil and warmth without direct sun.
I’ll walk you through the exact steps to set up your seeds for a 90% success rate from day one.
From germination timelines to transplanting tricks, you’ll learn how to care for your seedlings through their most vulnerable stages—so you’re not left with wilted leaves and wasted effort. Let’s get those cocoa beans sprouting.
Cocoa bean seed germination timeline: Week-by-Week breakdown for fastest sprouting
Growing cocoa trees from seeds is a thrilling but delicate process, especially when you’re aiming for that first 90% germination success rate. The key lies in understanding your cocoa bean seeds’ timeline—each week brings critical changes in moisture, temperature, and light needs.
Without precise timing, even the most eager gardener can face stalled seeds or moldy soil. My experience shows that consistent moisture and warmth are non-negotiable for breaking dormancy.
Most cocoa seeds begin sprouting within 2-4 weeks, but delays are common due to overwatering or inconsistent heat. The first signs—a tiny white root—appear as early as 7 days if conditions are perfect.
However, patience is key; some seeds take up to 6 weeks to crack open. Let’s dive into the week-by-week breakdown to ensure your seeds don’t just sprout—they thrive.
- Week 1: Prepare seeds by soaking in warm water for 24 hours to soften the hard shell. Plant ½-inch deep in moist, warm soil (80–85°F). Mist daily to maintain 90% humidity.
- Week 2: Watch for radicle emergence (tiny white root). Keep soil consistently damp—never soggy—to prevent rot. Place under grow lights (12 hours/day) if natural light is weak.
- Week 3: Seeds may crack open or sprout. Reduce misting to every other day once sprouts appear. Monitor for fungal signs (black spots) and treat with neem oil if needed.
- Week 4: True leaves (not seed leaves) should emerge. Gradually reduce humidity to 70% and introduce bright indirect light. Avoid direct sun to prevent scorching.
- Week 5-6: Seedlings may stretch toward light if light is insufficient. Fertilize lightly with diluted fish emulsion (¼ strength) to support root growth.
During Week 1, your cocoa seeds are in a race against time—either breaking dormancy or succumbing to rot from overwatering. The soaking step is critical; it mimics the natural process of cocoa pods releasing seeds into moist soil.
I’ve found that using a seedling heat mat set to 80°F accelerates germination by 30%. Without this warmth, seeds may linger dormant for weeks, frustrating even the most patient grower.
By Week 2, you’ll either see tiny white roots poking through the soil or face the heartbreaking sight of moldy seeds. This is where most gardeners make their first mistake: overwatering. Use a moisture meter to check soil—it should feel like a wrung-out sponge.
If your seeds aren’t sprouting by Week 3, gently scratch the soil surface to check for rot or dormant seeds. Some seeds need scarification (lightly sanding the shell) to break dormancy.
Once sprouts appear in Week 3, the real work begins. Your seedlings are extremely vulnerable to fungal infections like damping-off, which can wipe out your progress overnight. I recommend setting up a small greenhouse or covering seedlings with clear plastic wrap to maintain humidity while allowing airflow.
If you spot black stems or yellowing leaves, act fast—remove affected seedlings and treat the soil with hydrogen peroxide (3%) to sterilize it.
By Week 4, your cocoa seedlings should be developing their first true leaves (not the initial seed leaves). This is your cue to reduce humidity and introduce bright, indirect light.
Direct sunlight at this stage can scorch delicate leaves, so a south-facing window with sheer curtains works best. If your seedlings are leggy or pale, they’re stretching for light—supplement with a T5 grow light 12 hours daily.
If your seedlings stall or grow slowly after Week 4, they may be nutrient-deficient. At this point, a light fertilizer application (like seaweed extract) can boost growth. However, avoid heavy fertilizers—they can burn young roots.
I’ve seen seedlings double in size within 2 weeks after a balanced 5-5-5 fertilizer application. Keep an eye out for pests like spider mites, which thrive in dry conditions. A neem oil spray applied weekly prevents infestations.
The #1 mistake I see in cocoa seed germination is inconsistent moisture. Seeds need constant dampness, not flooding. Use a spray bottle to mist the soil daily rather than pouring water.
Overwatering leads to anaerobic conditions, which suffocate seeds and cause root rot. If you’re unsure, stick your finger 1 inch into the soil—it should feel moist but not wet.
By Week 6, your cocoa seedlings should be 2-3 inches tall with 3-4 true leaves. This is the perfect time to harden them off for transplanting. Gradually expose them to outdoor conditions (if temperatures are above 65°F) for 2-3 hours daily.
If you’re in a cooler climate, wait until USDA Zone 10+ to transplant outdoors permanently. Without proper hardening, seedlings go into shock and may wilt or die.
Remember, cocoa trees take 5-6 years to mature and produce pods, but your first 6 weeks set the foundation. With consistent warmth, proper moisture, and patient care, you’ll achieve that 90% germination success rate and watch your tiny sprouts grow into a future chocolate tree.
The journey starts now—let’s get those seeds sprouting!
Soil mix and container setup for cocoa bean seedlings: the perfect growing medium
The right soil mix and container setup are critical for cocoa bean seedlings to thrive. Cocoa trees need a well-draining, slightly acidic medium that mimics their tropical forest habitat.
Without proper prep, seedlings can suffer from root rot or stunted growth. Let’s break down the essentials for a healthy start.
Start with a custom soil blend that balances moisture retention and aeration. The ideal mix includes 50% peat moss or coconut coir (for moisture), 30% perlite or vermiculite (for drainage), and 20% compost (for nutrients).
This ratio ensures your seedlings won’t sit in soggy soil while still staying hydrated. Adjust the mix based on your climate—drier areas may need more perlite.
Component
Ratio
Purpose
Peat Moss/Coir
50%
Retains moisture, mimics forest floor
Perlite/Vermiculite
30%
Improves drainage, prevents compaction
Compost
20%
Provides organic nutrients, microbes
Worm Castings (optional)
10%
Boosts microbial activity, gentle nutrients
For containers, opt for 6-inch deep pots with drainage holes—cocoa roots need room to grow but hate waterlogging. Terracotta or plastic pots work, but terracotta’s breathability helps regulate moisture.
Avoid large containers until seedlings are 6 months old, as excess soil can stay damp too long. If using trays, space seedlings 3 inches apart to prevent overcrowding.
Adjust the soil pH to 5.0–6.5, the ideal range for cocoa. Test your mix with a digital pH meter or soil kit. If too alkaline, amend with sulfur or pine needles. If too acidic, add a pinch of lime.
Organic fertilizers like fish emulsion or worm tea are ideal for early growth, while synthetic options (like balanced 10-10-10) can be used sparingly—overdoing it burns tender roots.
Once your mix is ready, sterilize it by baking in the oven at 200°F for 30 minutes to kill pathogens. Let it cool before planting. Keep containers in a warm, humid environment (75–85°F) until sprouts appear.
Within 2–4 weeks, you’ll see those first tiny leaves—a sign your setup is working!
Remember, cocoa seedlings are delicate in their early stages. Monitor moisture closely—bottom-watering (placing pots in a tray of water) helps avoid fungal issues. With the right mix and care, your seedlings will grow into healthy saplings ready for transplanting in 6–8 months.