Lawn
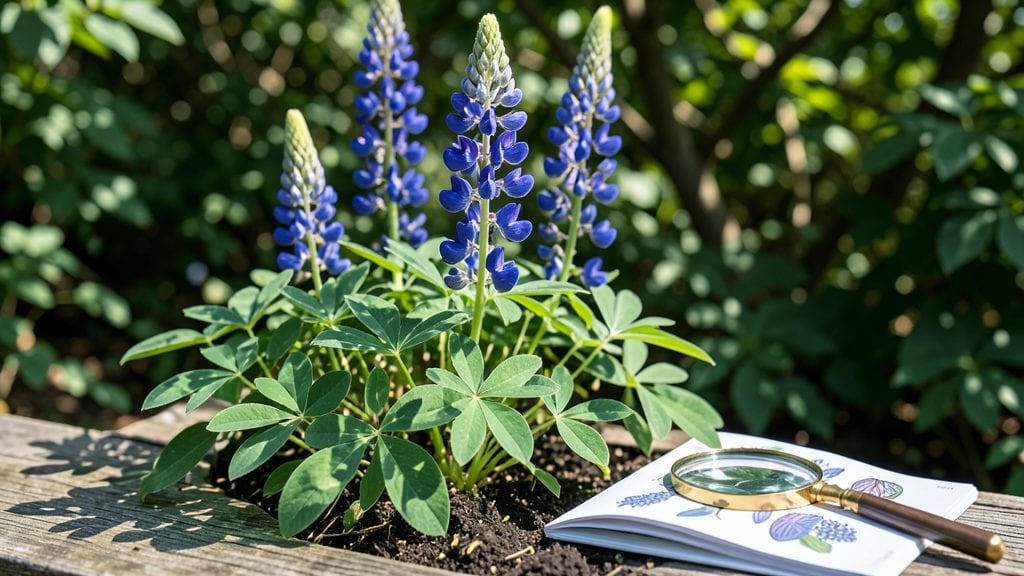
A seed identification guide is your first step toward a flawless lawn—because spotting the right seeds means the difference between a lush carpet of grass and a patchy, weedy mess. 🌱 I’ve spent years sorting through seed mixes, and the key isn’t memorizing names—it’s learning the tiny details that set each seed apart. apart.
A single misidentified seed can throw off your entire lawn, so let’s cut through the confusion with a foolproof visual guide.
The right tools make this easy: a magnifying glass, a seed catalog, or even a free app like Seed Identifier can turn guesswork into certainty.
Focus on three things—shape (round, oval, or winged?), texture (smooth or ridged?), and color (tan, brown, or speckled?)—and you’ll spot the difference between clover and ryegrass in seconds. Most seeds fall into one of five basic shapes, and once you recognize those, the rest clicks into place.
By the end, you’ll confidently match seeds to their plants, ensuring your lawn thrives without surprises. No more wasted seed packets or mystery sprouts—just the perfect blend for your yard’s needs. Ready to become the seed detective your garden deserves?
This guide works for beginners and seasoned gardeners alike, whether you’re planting a new lawn or troubleshooting an old one. Let’s get those seeds identified—and growing—right.
📚 In This Guide
- What you need
- Instructions
- Tips and common mistakes
- Wrapping up and next steps
What you need
- ● Magnifying glass (3x–10x magnification) – Essential for inspecting fine details like seed texture, color, and shape.
- ● Ruler or caliper (measuring up to 2 inches) – Helps measure seed dimensions accurately (e.g., length, width).
- ● White or light-colored tray (12" x 12" minimum) – Provides a clean background for comparing seeds side by side.
- ● Soft-bristle paintbrush (small, #2 or #4) – Gently moves seeds without damaging them for closer inspection.
- ● Field guide or printed seed ID chart – A reference for comparing your finds to known species (digital or physical).
- ● Notebook or digital note-taking app – Record observations like size, shape, color, and location.
- ● Small containers with lids (3–5, 2 oz each) – Store seeds you want to save or study later.
- ○ Hand lens with LED light (optional but helpful) – Illuminates seeds for better visibility in low light.
- ● Seed identification app (e.g., PlantNet, iNaturalist) – Use your phone to snap photos and get AI-assisted ID help.
- ● Moisture meter or spray bottle – Test seed moisture content if you’re storing them long-term.
- ● Seed catalog or local nursery samples – Compare your seeds to commercial varieties for clues.
- ● Gloves (nitrile or cotton) – Protects hands from prickly or unknown seeds (e.g., smartweed or crabgrass).
- ● Portable UV flashlight (blacklight) – Reveals fluorescence in some seed coatings for easier ID.
How to identify common lawn seeds by visual traits
Here's my go-to method for telling seeds apart—no microscope needed.
🌱 Step 1: Examine Seed Shape and Size
Start by comparing seeds to common objects. Fescue seeds are tiny ovals about the size of a grain of rice, while ryegrass seeds look like elongated footballs with pointed ends. Bluegrass seeds resemble tiny, flattened teardrops—almost like a tiny almond slice. Hold them up to a ruler to check dimensions: fescue seeds measure roughly 1/16 inch long, while ryegrass seeds are closer to 1/8 inch.
I always spread a few seeds on a white piece of paper first. The contrast makes it easier to spot subtle differences in color and texture. Look for ridges, bumps, or smooth surfaces—these are your first clues. For example, clover seeds have a distinct heart shape with a small notch, while vetch seeds are more rounded with a shiny coat.
🌿 Step 2: Check for Distinctive Markings or Textures
Some seeds have telltale patterns under good light. Kentucky bluegrass seeds often have a faint striped pattern when viewed edge-on, while creeping red fescue seeds have a slightly wrinkled surface. Run your fingernail gently over the seed—rough textures usually indicate hard seed coats (like those on alfalfa), while smooth seeds (like perennial ryegrass) germinate faster.
Pay attention to color variations too. Seeds like alfalfa have a mottled greenish-brown hue, while white clover seeds are almost uniformly pale green. If seeds look dull or faded, they might be older or stored improperly. Fresh seeds often have a slight sheen—this is especially true for ryegrass and tall fescue varieties.
💧 Step 3: Test for Moisture and Seed Coat Integrity
Hold a seed between your thumb and forefinger and press lightly. Fresh seeds should feel slightly firm but yield under gentle pressure. If a seed crumbles or feels powdery, it’s likely old or damaged. For hard-coated seeds like alfalfa, try the "float test": place seeds in a bowl of water. Hard-coated seeds will sink, while softer-coated ones may float initially before absorbing water.
Look for tiny cracks or hairs on the seed surface. Some seeds, like those of red clover, have fine hairs that help with moisture absorption. Others, like smooth bromegrass, have a nearly impermeable coat until scarified (scratch-tested). If you’re unsure, rub the seed between your fingers—rough or gritty textures often indicate hard seed coats that need pre-treatment.
☀️ Step 4: Compare with Reference Charts or Seed Packets
Cross-reference your observations with a printed seed identification chart. Most seed companies include magnified images of their products—compare these to your samples. For example, tall fescue seeds often have a distinct "winged" appearance when viewed under magnification, while fine fescue seeds look more like tiny, smooth beads. I keep a small magnifying glass handy for tricky IDs, especially when dealing with seeds under 1/16 inch in length.
If you’re working with a mixed seed sample, separate them by size first using a fine mesh sieve. Larger seeds like alfalfa or vetch will stay on top, while smaller grasses will sift through. This quick sorting makes it easier to group similar seeds together for closer inspection. Always check the seed packet for any included identification tips—some brands even print tiny symbols next to their seeds.
✂️ Step 5: Verify with Germination or Sprouting Tests
For a definitive ID, conduct a small germination test. Place a few seeds between damp paper towels in a sealed plastic bag and wait 3-7 days for sprouting. Fescue seeds typically sprout in 5-10 days, while clover seeds may take 10-14 days. The shape of the first leaves (cotyledons) can also help: grass seeds usually produce long, narrow leaves, while clover seeds sprout with rounded, trifoliate leaves.
If you don’t want to wait, look for seedling characteristics in a seed tray. Grass seedlings have a single, elongated leaf, while clover seedlings show three distinct leaflets almost immediately. This visual cue is one of the fastest ways to confirm your ID. Just be sure to label your trays clearly—seedlings can look surprisingly similar in their early stages!
Tips & tricks for mastering seed identification
Here's what I've learned after years of sorting through mixed seed samples—these little tricks make all the difference when you're trying to tell similar seeds apart.
The Lighting Factor: Natural daylight is your best friend for seed identification. Place your seeds near a bright window or use a desk lamp with a white light bulb. Artificial lighting can cast shadows that hide subtle markings. I've ruined several ID attempts by using dim lighting—always work in bright conditions. The slight sheen on fresh ryegrass seeds becomes much more noticeable under good light, and those faint stripes on Kentucky bluegrass seeds pop out clearly.
Magnification Game-Changer: Don't underestimate the power of a simple magnifying glass, especially for seeds under 1/16 inch. I keep a small 3x magnifier in my toolkit because those tiny details—like the "winged" appearance of tall fescue seeds or the fine hairs on red clover—become crystal clear. For tricky IDs, this is the difference between guessing and knowing for sure. If you don't have one, even a jeweler's loupe from a hardware store works perfectly.
Seed Handling Technique: Always handle seeds with clean, dry hands or tweezers to avoid contaminating your samples. I've learned this the hard way—oily fingerprints can make seeds look dull or dirty, masking their natural characteristics. When comparing textures, use a clean white surface and avoid touching the seeds more than necessary. For the float test, use room-temperature water to get accurate results—cold water can make some seeds behave differently than they would in natural conditions.
Reference Material Strategy: Create your own seed ID card by printing high-quality images from reputable seed companies and laminating them. I keep mine in a small binder with pockets for seed samples. This lets me compare my finds directly with professional images. For seeds like alfalfa that have distinctive mottled patterns, having a reference side-by-side helps me spot those subtle color variations that make all the difference. You can also use seed catalogs or gardening apps that include identification guides.
Pro Tips for Seed Identification Guide
- Here's what I've learned after years of sorting through mixed seed samples—these little tricks make all the difference when you're trying to tell similar seeds apart.
- The Lighting Factor: Natural daylight is your best friend for seed identification.
- Magnification Game-Changer: Don't underestimate the power of a simple magnifying glass, especially for seeds under 1/16 inch.
Frequently asked questions
Got questions about identifying lawn seeds? You’re not alone! Here are some of the most common concerns—and quick, practical answers to help you get it right.
How can I tell if a seed is viable before planting?
Test viability with a simple water float test: Drop seeds in a bowl of water. Viable seeds sink within 15 minutes (like ryegrass or fescue), while hollow or dead ones float. For a more precise method, use a paper towel germination test—moisten a towel, place seeds between two, and check for sprouts in 3–7 days.
What’s the best time of year to identify seeds in my lawn?
Spring (March–May) and early fall (September–October) are ideal. Warm soil and moisture trigger germination, making seeds easier to spot. Cool-season grasses (like Kentucky bluegrass) germinate faster in spring, while warm-season grasses (like Bermuda) peak in fall. Avoid testing in winter or drought—seeds may be dormant or buried.
Can I use a magnifying glass or app to identify seeds more easily?
A hand lens (10x magnification) reveals key details like seed coat texture or embryo shape. For tech-savvy gardeners, apps like PlantNet or iNaturalist let you upload photos for AI-assisted ID. Pro tip: Photograph seeds against a white background and note size (compare to a coin) for clearer matches.
What if my seeds look like weeds but I’m not sure?
Start by comparing your finds to a local weed seed database (check your state’s extension office). Common lawn imposters include crabgrass (flat, spiky seeds) or dandelion (white, fluffy seed heads). If unsure, dig up a small patch—weeds often have broad leaves or deep taproots, while grass seeds grow in clumps with narrow blades.
What should I do if I can’t identify a seed at all?
Try these steps:
- Press the seed into a damp paper towel and wait 24 hours for sprouting clues.
- Check for seed wings (like maple) or barbs (e.g., foxtail).
- Post a photo in gardening forums (e.g., LawnCare Forum) with your location for regional expertise.
Wrapping up and next steps
Mastering seed identification is your first step toward a lush, healthy lawn—and you’ve just unlocked the key! 🌱 Whether you’re troubleshooting patchy grass, planning a new lawn, or simply satisfying your curiosity, this visual guide puts the power of recognition in your hands.
Now that you can spot fescue from Bermuda or ryegrass from clover with confidence, take that knowledge and transform your outdoor space.
Ready to put your skills to work? Grab a sample of your lawn seeds, compare them to your new guide, and start tailoring your care routine. Happy identifying—and even happier growing! 🌿