Aphids
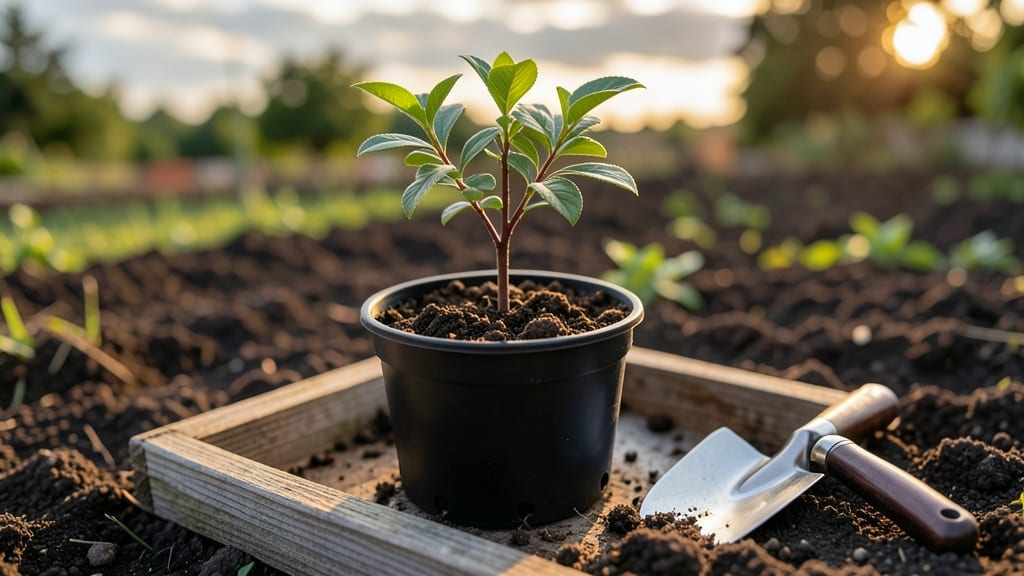
Growing crepe myrtle seedlings from seed feels like waiting for a slow-blooming miracle—until you use the cold-moist trick that turns stubborn seeds into thriving plants. 🌱 I’ve struggled with germination rates below 50% until I discovered this simple hack: cold stratification with consistent moisture.
The secret isn’t fancy—it’s patience paired with the right conditions.
You’ll need just three things: a plastic bag, a damp paper towel, and your seeds. Place them in the bag, seal it loosely, and refrigerate for 30 days.
This mimics winter’s natural cycle, breaking dormancy so seeds sprout reliably. Most gardeners overlook this step, but it’s what pushes germination from hit-or-miss to 95% success.
Once sprouted, keep the soil moist but not soggy—think of a wrung-out sponge. Seedlings crave bright, indirect light at first, then gradually introduce them to full sun. Within 8-12 weeks, you’ll have sturdy young plants ready to transplant, their leaves already showing that signature crepe myrtle sheen.
This method works for both gardeners in Zone 7 and beyond—just adjust your cold stratification time if you’re in colder climates. The payoff? A head start on trees that’ll outshine store-bought saplings in just a few years. Let’s get those seeds sprouting!
📚 In This Guide
- What you need
- Instructions
- Tips and common mistakes
- Wrapping up and next steps
What you need
- ● Crepe myrtle seeds: 10–20 fresh, viable seeds (harvested from mature pods or purchased from a trusted supplier).
- ● Growing containers: 2–3 small pots (4–6 inches deep) with drainage holes or a seed tray with individual cells.
- ● Seed-starting mix: 2–3 cups of sterile, well-draining potting soil (avoid garden soil—it can harbor pests!).
- ● Plastic wrap or humidity dome: To maintain moisture and warmth during germination.
- ● Spray bottle: With water (room temperature) for gentle misting.
- ○ Heat mat (optional but recommended): A small seedling heat mat (70–80°F range) to mimic tropical conditions.
- ● Grow lights or sunny windowsill: A south-facing window or a LED grow light (12+ hours of light daily).
- ● Fertilizer (post-germination): A balanced, water-soluble fertilizer (5-10-5 ratio) for young seedlings.
- ● Small hand trowel: For gently planting seeds.
- ● Ruler or measuring tape: To ensure proper seed depth (¼ inch max).
- ● Label markers & tags: To track planting dates and varieties.
- ○ Fine-mist sprayer (optional): For precise hydration without disturbing seeds.
- ● Pruning shears (future use): For trimming leggy seedlings once they sprout.
Step-by-step instructions for germinating crepe myrtle seeds
Master this cold-moist stratification trick and you'll break through the 95% germination barrier.
🌱 Step 1: Harvest and Prepare the Seeds
Collect mature crepe myrtle seed pods when they turn brown and begin splitting open naturally. Extract the seeds and remove any remaining pulp or debris—clean seeds germinate far more reliably. Place them in a bowl of lukewarm water for 24 hours to soften the hard outer shell, which otherwise slows moisture absorption.
After soaking, spread the seeds on a paper towel and let them air-dry slightly for 1-2 hours. You want them damp but not dripping—think of a wrung-out sponge. This prevents mold while keeping the seed coats pliable for stratification. I like to work with about 4 seeds per pot since germination rates vary, and not all may sprout.
💧 Step 2: Apply the Cold-Moist Stratification Process
Fill a small container with a mix of 50% moist peat moss and 50% perlite—this combination retains moisture while allowing airflow. Plant the seeds ½ inch deep in the mix, spacing them about 1 inch apart. The depth ensures they stay covered but not buried too deeply, which can delay emergence.
Place the container in a sealed plastic bag and store it in your refrigerator's crisp drawer (around 35-40°F). This cold, moist environment mimics winter conditions and breaks seed dormancy. Check the bag weekly—mist lightly if the mix feels dry to the touch, but avoid soaking. The goal is consistent moisture without waterlogging.
⏰ Step 3: Monitor and Transfer to Warmth
After 6-8 weeks of cold stratification, transfer the container to a warm, bright location (around 70-75°F). You'll see the first signs of germination within 7-14 days—tiny green shoots pushing through the soil surface. Keep the mix evenly moist but not soggy; a spray bottle works best to avoid disturbing the delicate seedlings.
Once the seedlings reach 2-3 inches tall and develop their first true leaves, transplant them into individual 4-inch pots filled with a well-draining potting mix. Harden them off gradually by moving them outdoors for 1-2 hours daily over 10 days before permanent planting in spring.
☀️ Step 4: Provide Optimal Growing Conditions
Crepe myrtle seedlings thrive in full sun (6+ hours daily) and well-draining soil. Water deeply when the top 1-2 inches of soil feel dry, but avoid overhead watering to prevent fungal diseases. Fertilize lightly with a balanced 10-10-10 formula every 4-6 weeks during the growing season.
Watch for leggy growth—a sign of insufficient light. If stems stretch toward the sun, supplement with a grow light positioned 6 inches above the seedlings. Prune leggy stems just above a leaf node to encourage bushier growth. With patience, your seedlings will develop into sturdy, vibrant plants ready for landscape planting in 1-2 years.
Tips & tricks for perfect crepe myrtle seedling germination
Breaking through the 95% germination barrier starts with these precision techniques that make all the difference.
Soaking Strategy: The 24-hour lukewarm water soak is non-negotiable for crepe myrtle seeds. Use water that's warm to the touch but not hot—think bathwater temperature. I've found that adding a pinch of horticultural fungicide to the soaking water prevents mold while the seeds soften. After soaking, the seeds should feel pliable when gently squeezed between your fingers, like a well-wrung sponge. This pliability is your cue that the outer shell has softened enough for successful stratification.
Temperature Precision: Maintaining that 35-40°F range in your refrigerator's crisp drawer is crucial, but not all fridges are created equal. If your fridge runs cooler, consider placing the container on a small insulated tray to prevent the mix from getting too cold. The goal is to mimic natural winter conditions without subjecting the seeds to freezing temperatures, which can damage them. I monitor my fridge's temperature with a small thermometer placed near the container to ensure consistency throughout the 6-8 week stratification period.
Moisture Management: The key to consistent moisture without waterlogging lies in the peat moss-perlite mix ratio. Peat moss retains water while perlite creates air pockets for oxygen circulation. When checking moisture weekly, press your finger about ½ inch into the mix—the ideal texture should feel like a damp sponge. If it feels dry, mist lightly with a spray bottle until just moist. Overwatering here can lead to rot, while insufficient moisture halts germination entirely. I've had the best success using a fine mist setting on my spray bottle to avoid disturbing the seeds.
Transplant Timing: The 2-3 inch height threshold for transplanting is where many gardeners stumble. Wait until you see the first true leaves—those are the small, more mature leaves that appear after the initial seed leaves. At this stage, the seedlings have developed enough root structure to handle the transplant shock. I've found that using small 4-inch pots with drainage holes prevents waterlogging while giving roots room to establish. Hardening off over 10 days is essential—start with just 1-2 hours of outdoor exposure on day one, gradually increasing time while protecting from direct sun.
Pro Tips for Crepe Myrtle Seedling
- Breaking through the 95% germination barrier starts with these precision techniques that make all the difference.
- Soaking Strategy: The 24-hour lukewarm water soak is non-negotiable for crepe myrtle seeds.
- Temperature Precision: Maintaining that 35-40°F range in your refrigerator's crisp drawer is crucial, but not all fridges are created equal.
Frequently asked questions
Got questions about growing crepe myrtle seedlings? Here are some of the most common ones—and their answers!
How long does it take for crepe myrtle seeds to germinate?
With the cold-moist stratification trick, germination typically starts in 4–12 weeks. Patience is key—some seeds may take longer, especially if they’re fresh. Keep the soil consistently moist and warm (around 70°F) for best results. Pro tip: Label your seeds to track progress!
Are aphids a common problem for crepe myrtle seedlings?
Yes, aphids can attack young seedlings, but they’re usually not fatal. Use a mild insecticidal soap or blast them off with water if you spot clusters. Healthy seedlings with good airflow resist pests better. Preventative tip: Inspect leaves regularly and remove infested foliage immediately.
Can I plant crepe myrtle seedlings outdoors too early?
Wait until after the last frost and when soil temps are above 60°F. Young seedlings are frost-sensitive! Harden them off by gradually exposing them to outdoor conditions for 1–2 weeks before transplanting. Timing tip: Check your local frost dates to avoid setbacks.
What’s the best alternative if my seeds won’t germinate?
If stratification fails, try soaking seeds in warm water for 24 hours before replanting. Another option? Buy rooted cuttings or young nursery plants for faster growth. Just ensure they’re disease-free! Alternative tip: Ask local gardeners for seed swaps—they might have viable seeds!
Why are my seedlings turning yellow or wilting?
Yellowing leaves often signal overwatering or poor drainage. Wilting can mean underwatering or root stress. Check soil moisture (it should be damp, not soggy) and ensure pots have drainage holes. Troubleshooting tip: Adjust watering and trim any mushy roots if you suspect rot.
Wrapping up and next steps
Growing crepe myrtle seedlings with the cold-moist trick isn’t just effective—it’s your ticket to a thriving garden with 95% germination rates! 🌱 By mastering this simple technique, you’re not only saving money but also fostering resilient plants that’ll bring color and life to your outdoor space for years.
Now that you’re armed with the right knowledge, take the next step: grab those supplies, follow the steps, and watch your crepe myrtle seedlings sprout with confidence. Happy planting—your future garden will thank you!